Setting up a new console can feel overwhelming. However, learning how to set up Nintendo Switch is actually simple and intuitive. The system offers multiple modes—TV mode, tabletop mode, and handheld mode. Each provides a unique gaming experience.
Moreover, the process takes less than 30 minutes. You just need the right tools and clear instructions. This guide walks you through every stage. Whether you’re a parent, casual player, or first-time owner, knowing how to set up Nintendo Switch ensures you start strong.
 Unboxing Your Nintendo Switch
What’s Included in the Box
How to set up nintendo switch? Before powering on, open the box carefully. Inside, you’ll find several key components. These are essential for your initial setup.
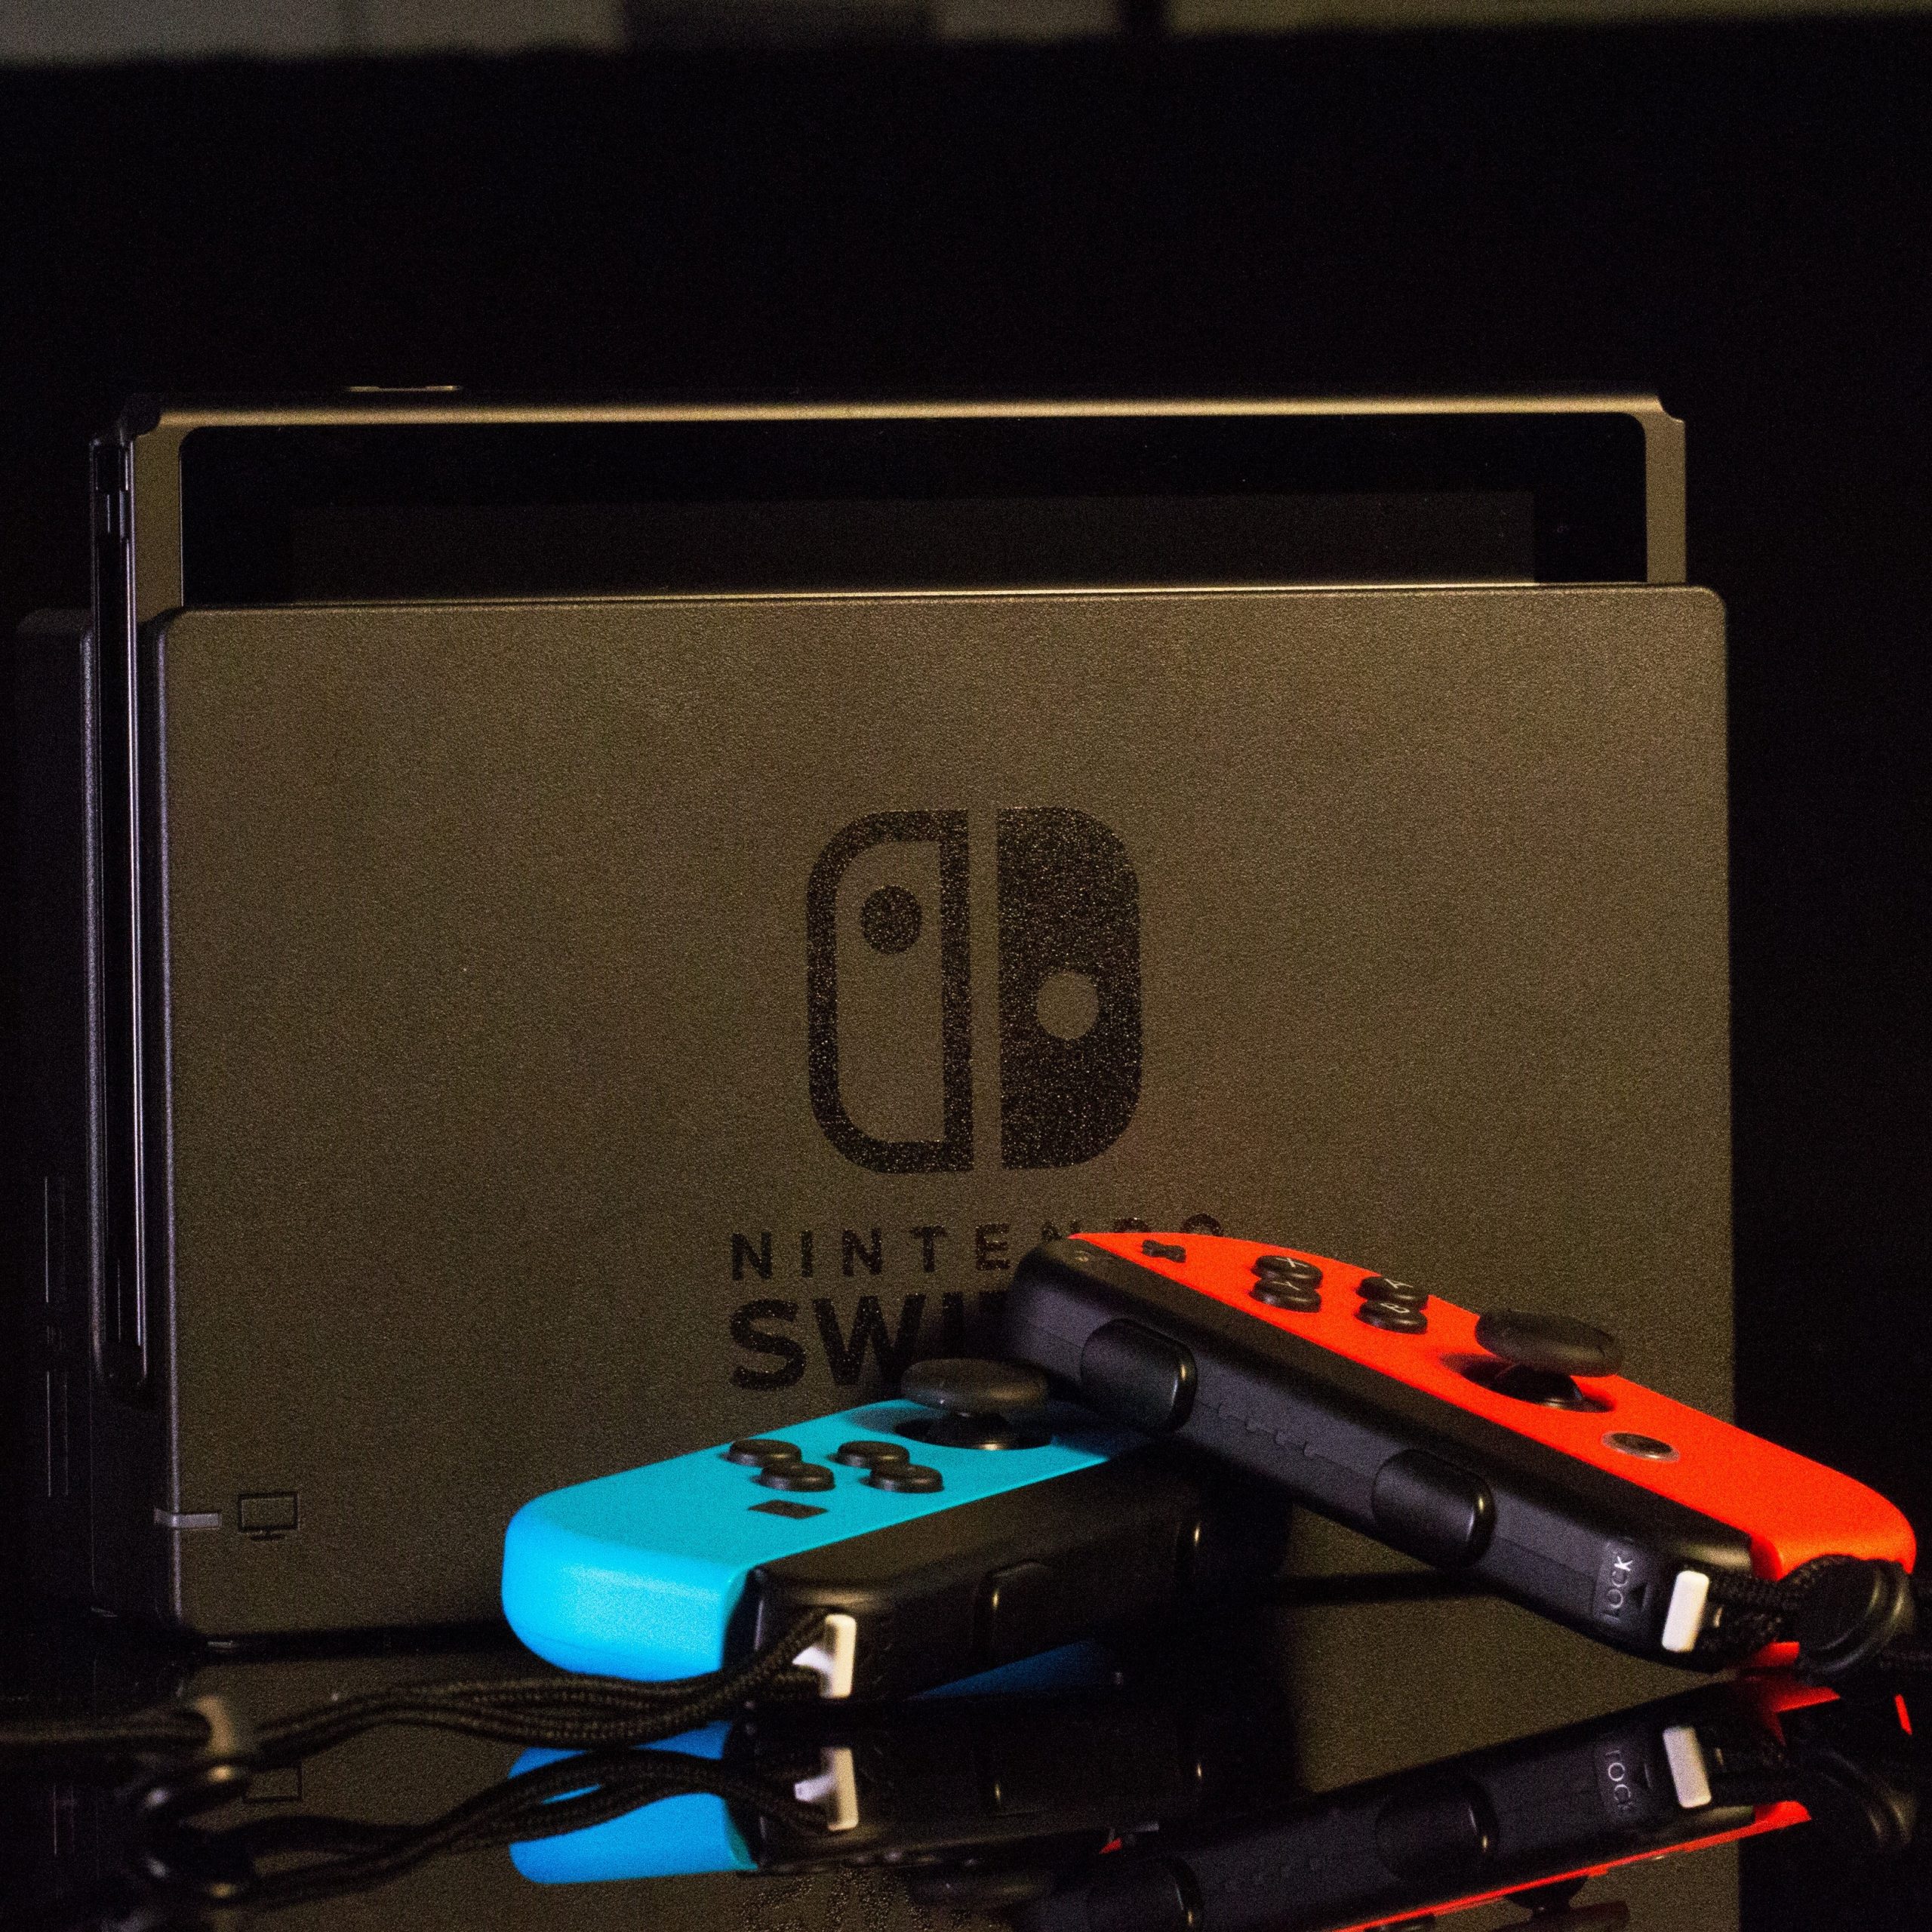
The main item is the Nintendo Switch console itself. It has a vibrant screen and detachable Joy-Con controllers. Slide them on securely before use.
You also get the dock. This small black unit connects to your TV. It holds the console when not in handheld mode.
A power adapter comes with a cord. Plug this into the dock. Then connect it to an outlet. Make sure the voltage matches your region.
An HDMI cable links the dock to your television. Attach one end to the dock. Connect the other to any HDMI port on your TV.
Joy-Con straps help prevent drops. Snap each Joy-Con into its strap. Secure the wristband snugly.
Additionally, there may be stickers or a quick start guide. Keep these handy for reference.
Do not discard anything yet. Every piece plays a role. Once confirmed, move to the next step.
Connecting to Your TV (TV Mode)
Getting Started with Big-Screen Play
To use your Nintendo Switch on a TV, you need to set up TV mode. First, place the dock near your television. Ensure space around it for airflow.
Plug the HDMI cable into the back of the dock. Then insert the other end into your TV’s HDMI input. Note which port number you use.
Next, connect the power adapter to the dock. Attach the USB-C end to the top slot. Plug the other end into a wall outlet.
Now, slide the Nintendo Switch console into the dock. It should click gently into place. The screen will turn off. That’s normal.
Switch your TV to the correct HDMI source. Use your remote to select the matching input. Within seconds, the Nintendo Switch logo appears.
If no image shows, check all connections. Re-seat the HDMI cable. Confirm the dock light is blue. Restart the console if needed.
Once done, your system is ready for home-screen setup. You now have full access to games and apps.
Thus, setting up TV mode prepares you for immersive play. Large screens enhance action and detail.
 Charging and Power Management
Ensuring Your Device Is Always Ready
After unboxing, check the battery level. The Nintendo Switch often ships partially charged.
When docked, the console charges automatically. A white LED near the power button glows. It turns off when fully charged.
For handheld use, charge without the dock. Use the included USB-C cable. Plug one end into the bottom of the console. Attach the other to the power adapter.
Avoid third-party chargers. Some deliver incorrect voltage. This may damage internal parts. Stick to official or certified accessories.
Battery life varies by model. Original versions last 4.5 to 9 hours. Newer OLED models offer longer playtime. Intensive games reduce duration.
Enable Airplane Mode when not using Wi-Fi. This saves power during travel. Turn it off only when updates are needed.
Turn off the console properly. Press and hold the power button. Select “Power Options” then “Turn Off.” Never force shutdowns.
Use Sleep Mode between sessions. Close the cover or press the home button briefly. It pauses gameplay instantly. Waking is fast.
Therefore, proper charging habits extend device life. They ensure your system stays ready whenever you are.
Initial System Setup and Account Creation
Customizing Your User Experience
After powering on, follow the startup prompts. The first step is selecting your language. Choose one from the list. Tap “Continue.”
Next, pick your country or region. This affects store content and pricing. Be accurate. Changes later require resetting.
Then, set the date and time. Enable automatic settings if possible. This keeps your clock synced.
Connect to Wi-Fi. Select your network. Enter the password. Wait for confirmation. A checkmark means success.
Agree to the terms of service. Read them briefly. Tap “I Agree” to proceed. Skipping isn’t an option.
Create a user profile. Pick a nickname. Upload an icon. Choose from Mii characters or custom images.
Link a Nintendo Account. If you have one, sign in. Otherwise, tap “Create a New Account.” You’ll need an email address.
Verify your email. Open it on another device. Click the link from Nintendo. Return to the console afterward.
Enter your birthday and gender. These help tailor game recommendations.
Set parental controls if needed. Create a PIN. Restrict content by age rating.
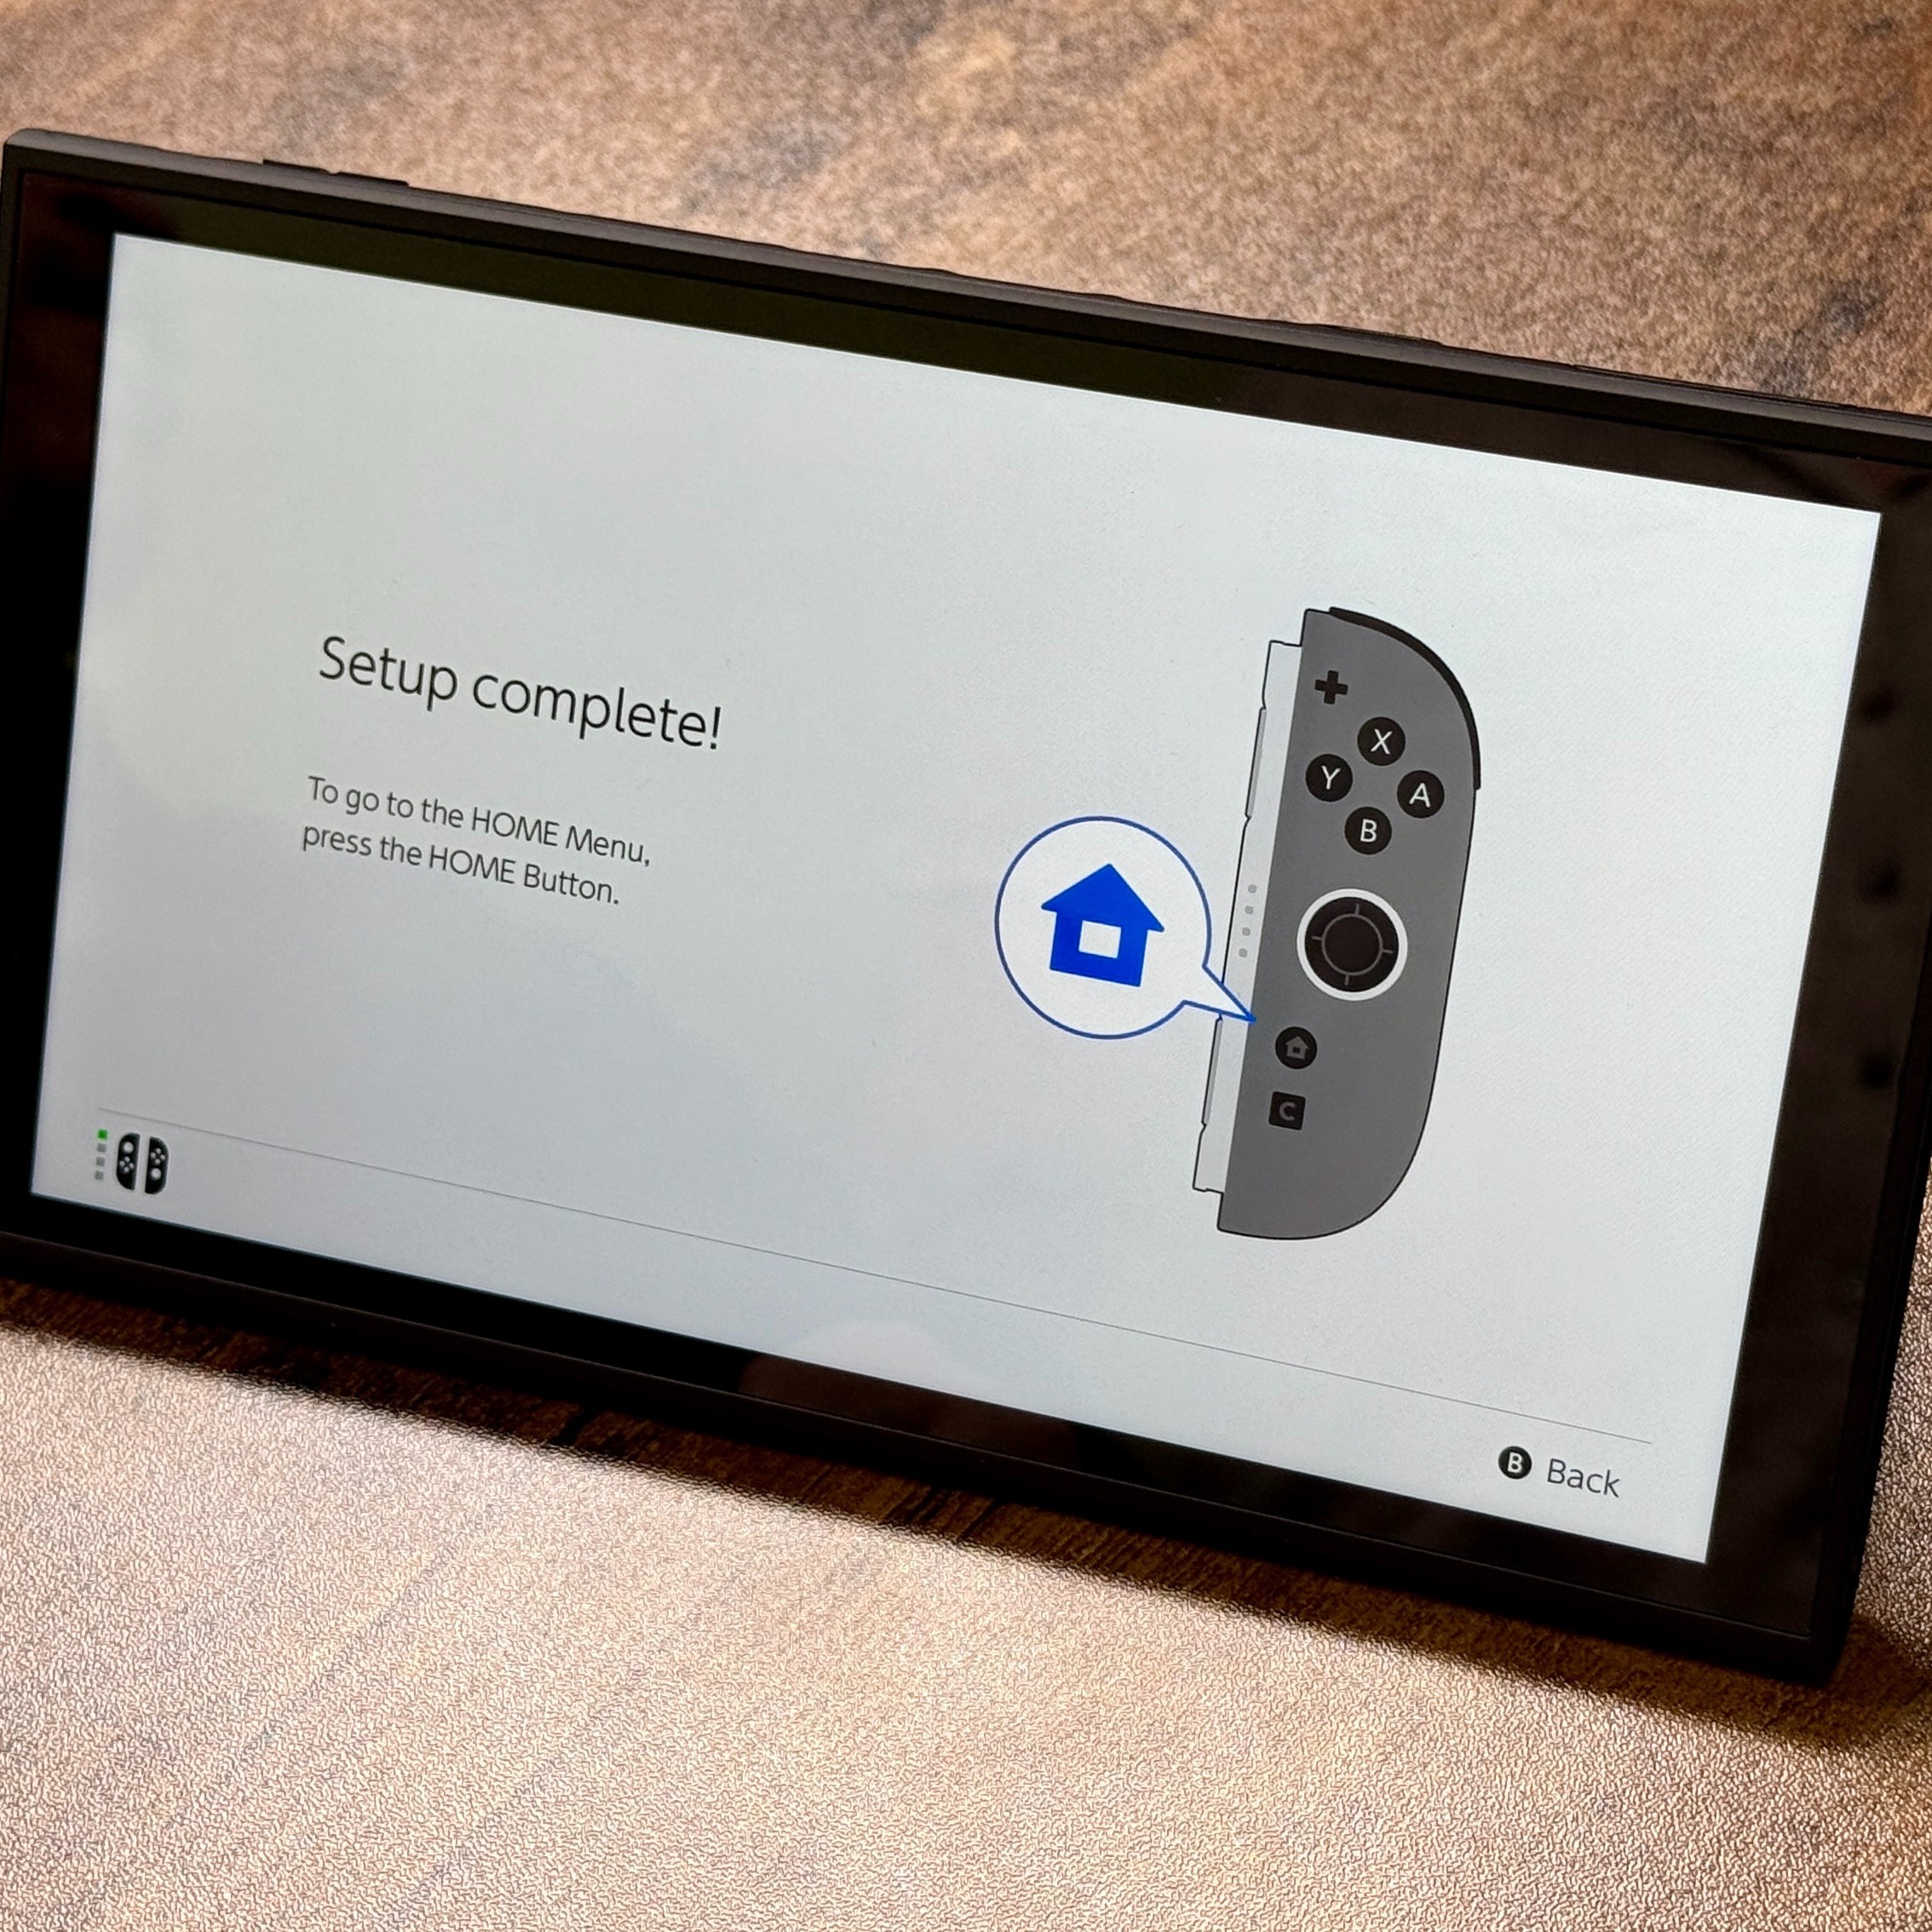
Finally, register your console online. This activates warranty benefits. You’re now ready to explore.
Installing Games and Updates
Preparing for Smooth Gameplay
Once your system is online, check for updates. Go to System Settings. Scroll down to “System Update.” Tap it.
If available, download the latest patch. This improves stability and security. Do not skip this step.
Updates may take minutes. Stay connected to Wi-Fi. Avoid closing the app. Let it finish.
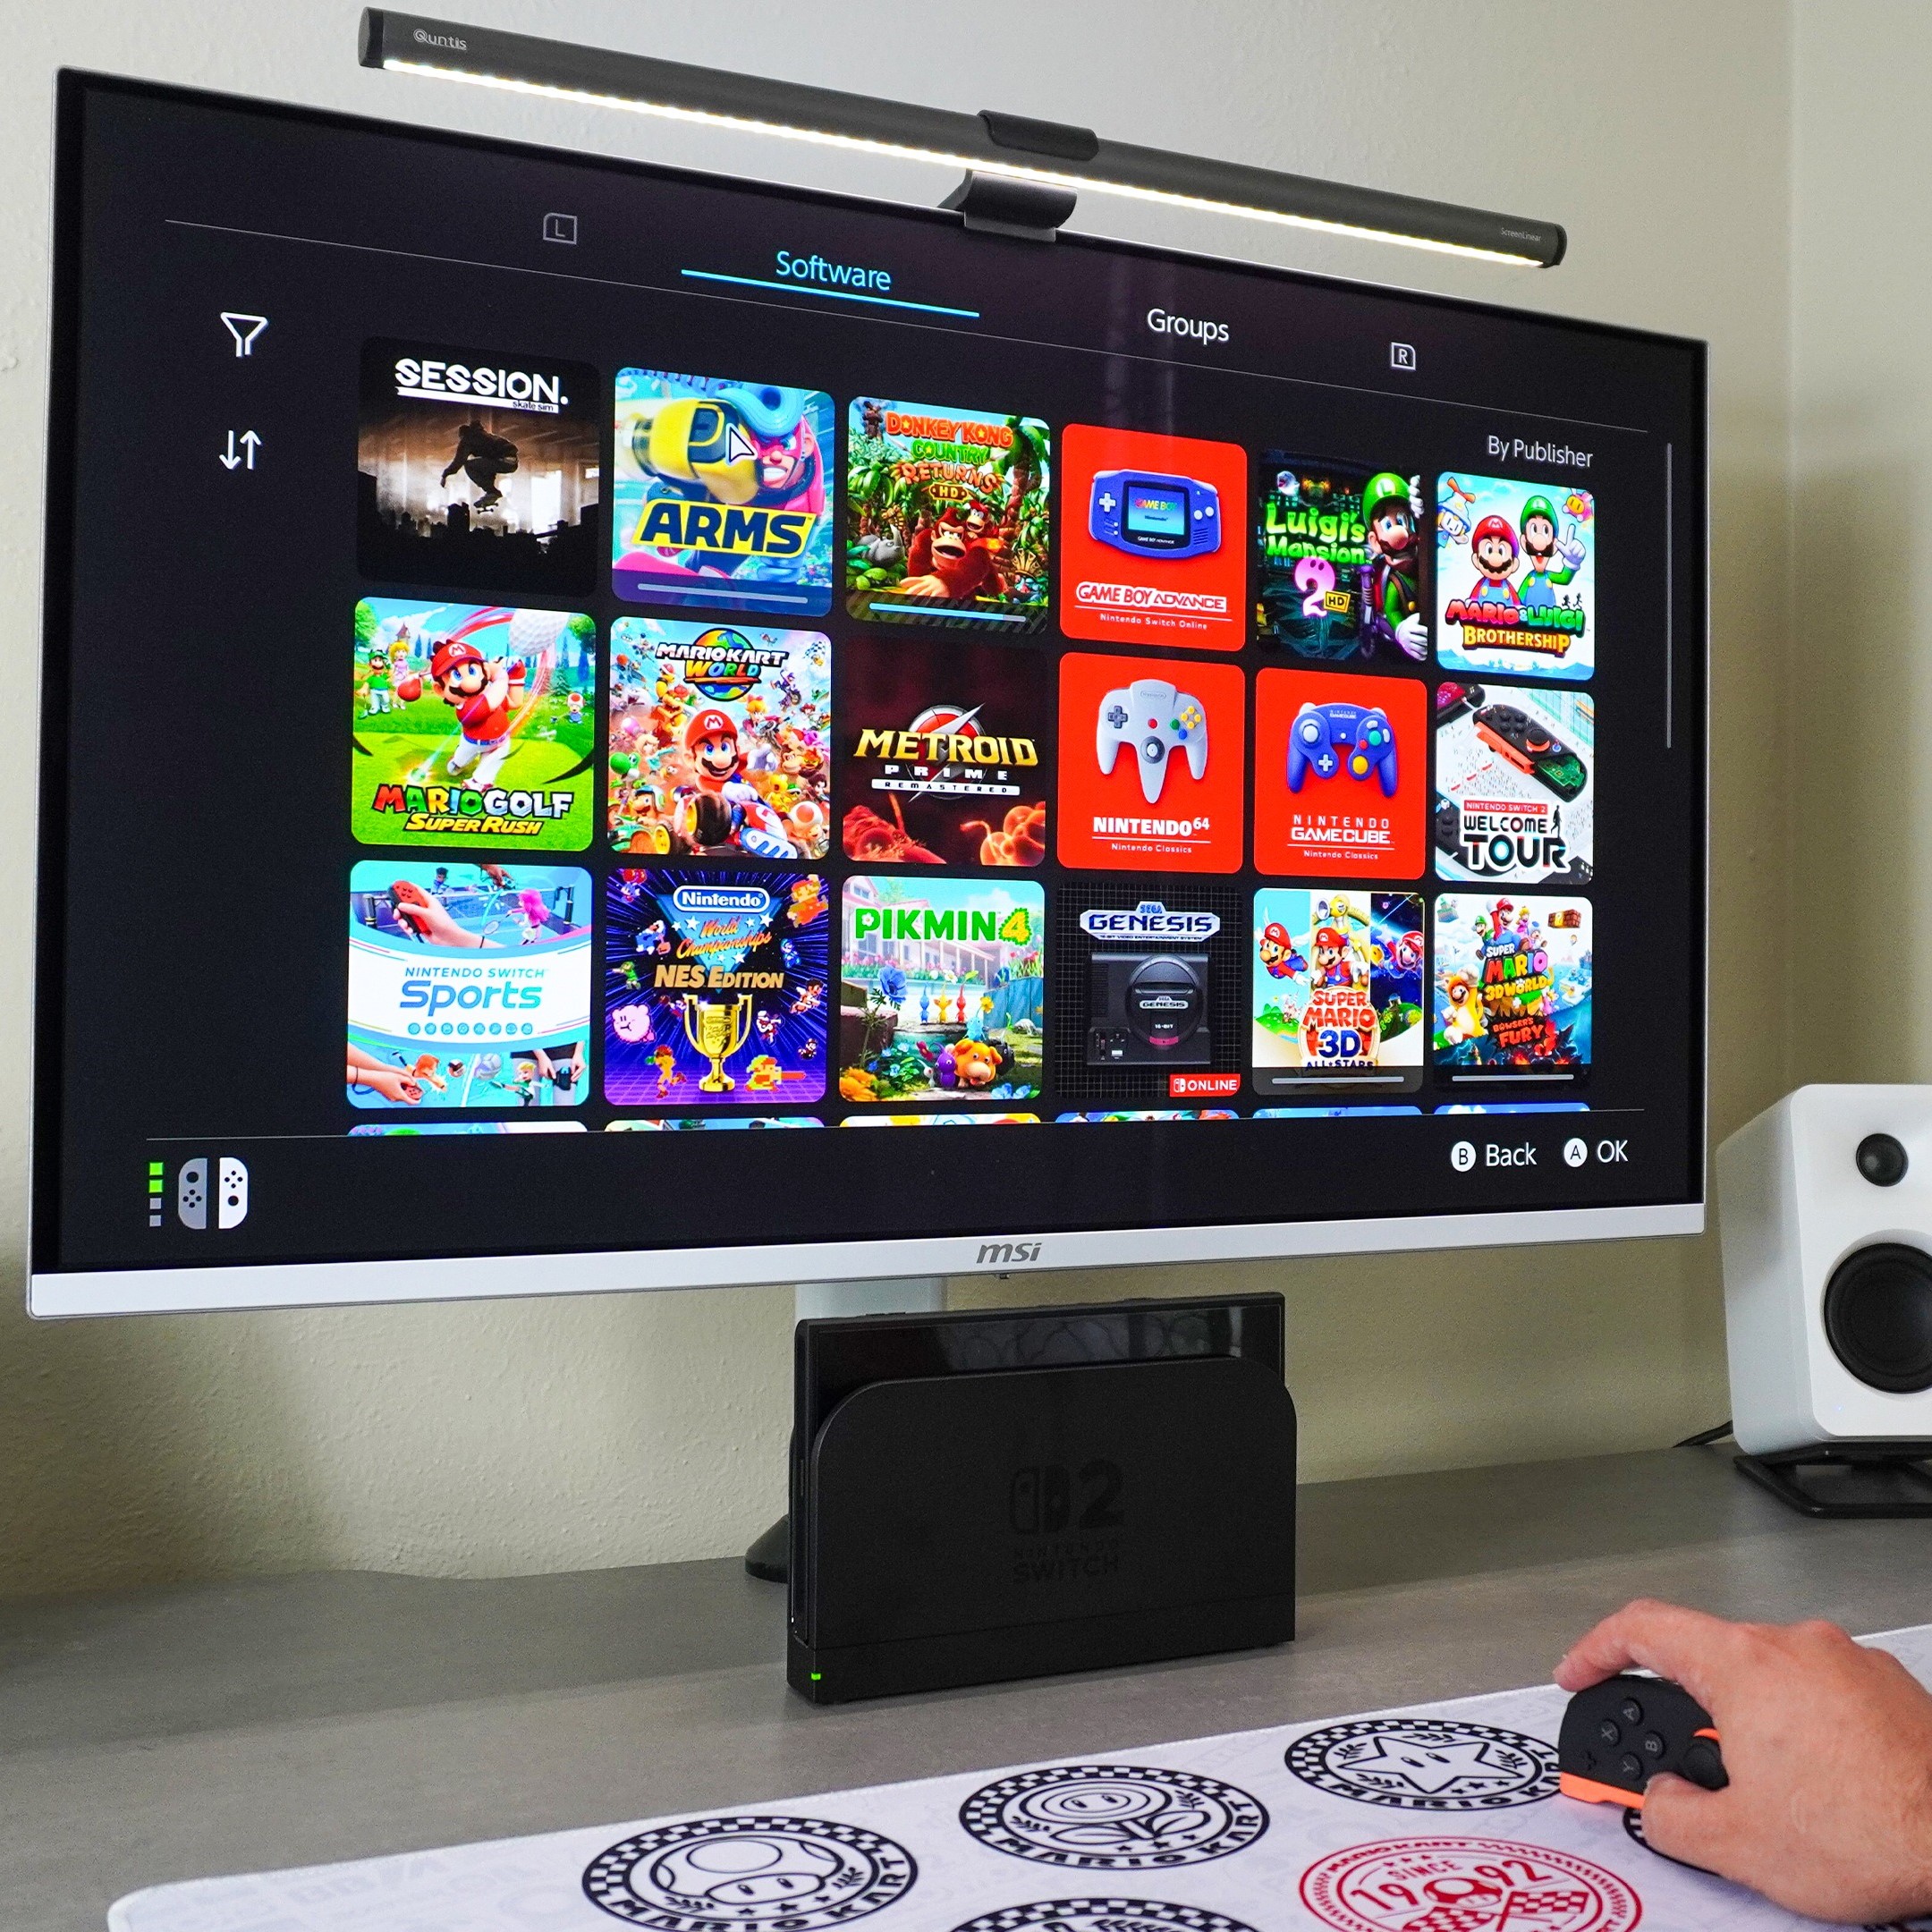
Now, install games. Insert a physical cartridge. Slide it into the top edge. The screen detects it automatically.
For digital titles, go to the Nintendo eShop. Browse or search. Buy with linked payment. Downloads begin immediately.
Manage storage wisely. Internal memory is limited. Add a microSD card if needed. Transfer data under System Settings.
Delete unused games to free space. Highlight a title. Press the plus button. Select “Delete Software.”
Reinstall later if desired. Purchased games stay in your library.
Some games require patches after launch. Auto-download helps. Enable it in settings.
Launch any game from the home screen. Tap its icon. Wait briefly. Enjoy seamless play.
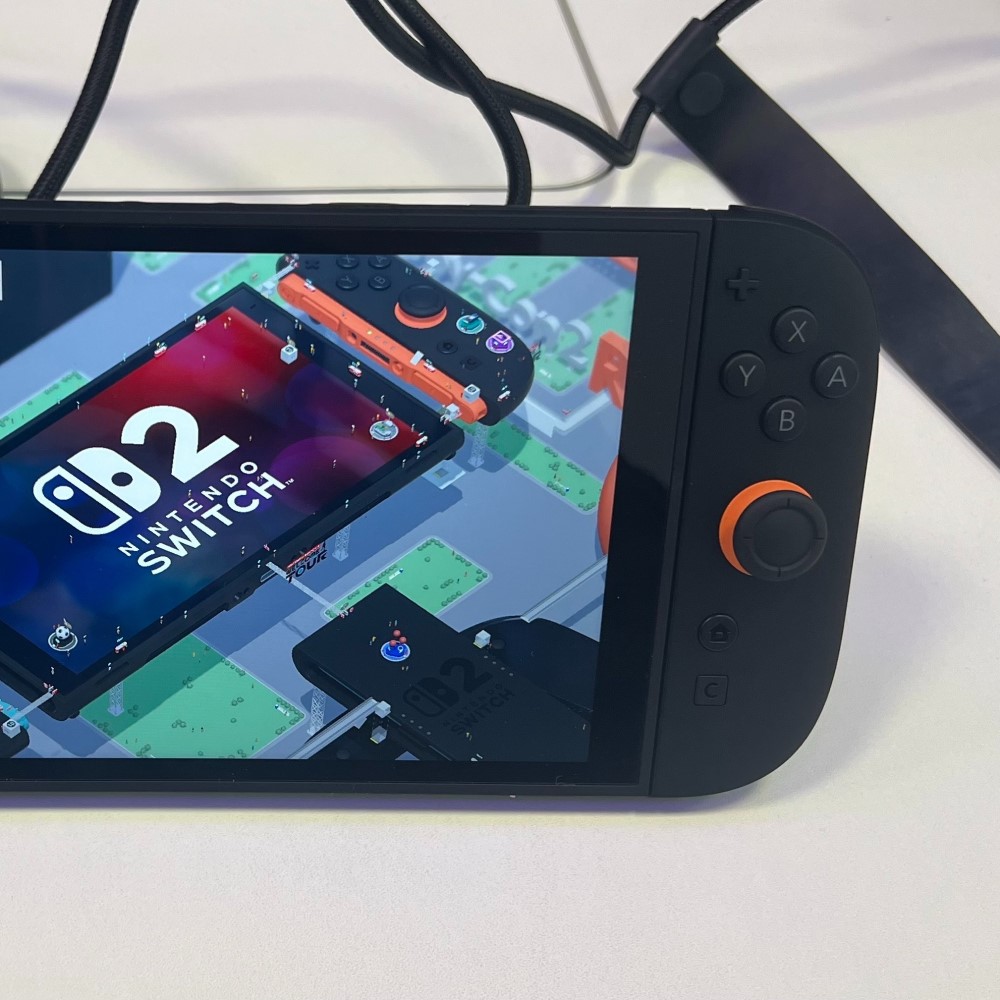
 Using Handheld and Tabletop Modes
Flexible Gaming Anywhere
One major strength of the Nintendo Switch is versatility. You don’t always need a TV.
For handheld mode, remove the console from the dock. Detach the Joy-Con controllers if attached. Hold the system like a tablet.
Open the kickstand on the back. Place it on a flat surface. Angle it for best viewing.
Launch a game. Touchscreen works for some titles. Others rely on buttons.
Attach Joy-Con controllers again if preferred. Slide them onto each side. They snap into place.
In tabletop mode, keep the Joy-Con detached. Share one per player. Perfect for local multiplayer.
Games like Mario Kart or Overcooked support this. No extra hardware needed.
Carry the system easily. Use a protective case. Prevent scratches and drops.
Play on flights, buses, or park benches. Battery powers everything. Bring headphones for quiet areas.
Thus, mobility defines the Switch. You play where and when you want.
Setting Up Multiplayer and Online Features
Playing with Friends Locally and Online
Nintendo Switch supports various multiplayer options. Start with local play.
For split Joy-Con, pair both controllers. Go to “Controllers and Sensors.” Select “Change Grip/Order.” Follow prompts.
Invite someone nearby. Hand them the second controller. Launch a two-player game.
For online play, subscribe to Nintendo Switch Online. Go to the eShop. Find the membership section. Purchase monthly or yearly plans.
Sign in with your Nintendo Account. Download voice chat apps like Discord if needed. In-game chat varies by title.
Join friends via friend codes. Exchange IDs. Send requests. Accept incoming invites.
Create or join lobbies. Host races, battles, or co-op missions. Voice communication enhances teamwork.
Participate in tournaments. Check event schedules. Test skills against global players.
Ensure stable internet. Wired LAN adapters improve connection. Reduce lag during intense matches.
Update games regularly. Patches fix bugs and balance gameplay. Stay current.
Therefore, connecting with others expands fun. Gaming becomes social.
Parental Controls and Safety Settings
Keeping Young Players Safe
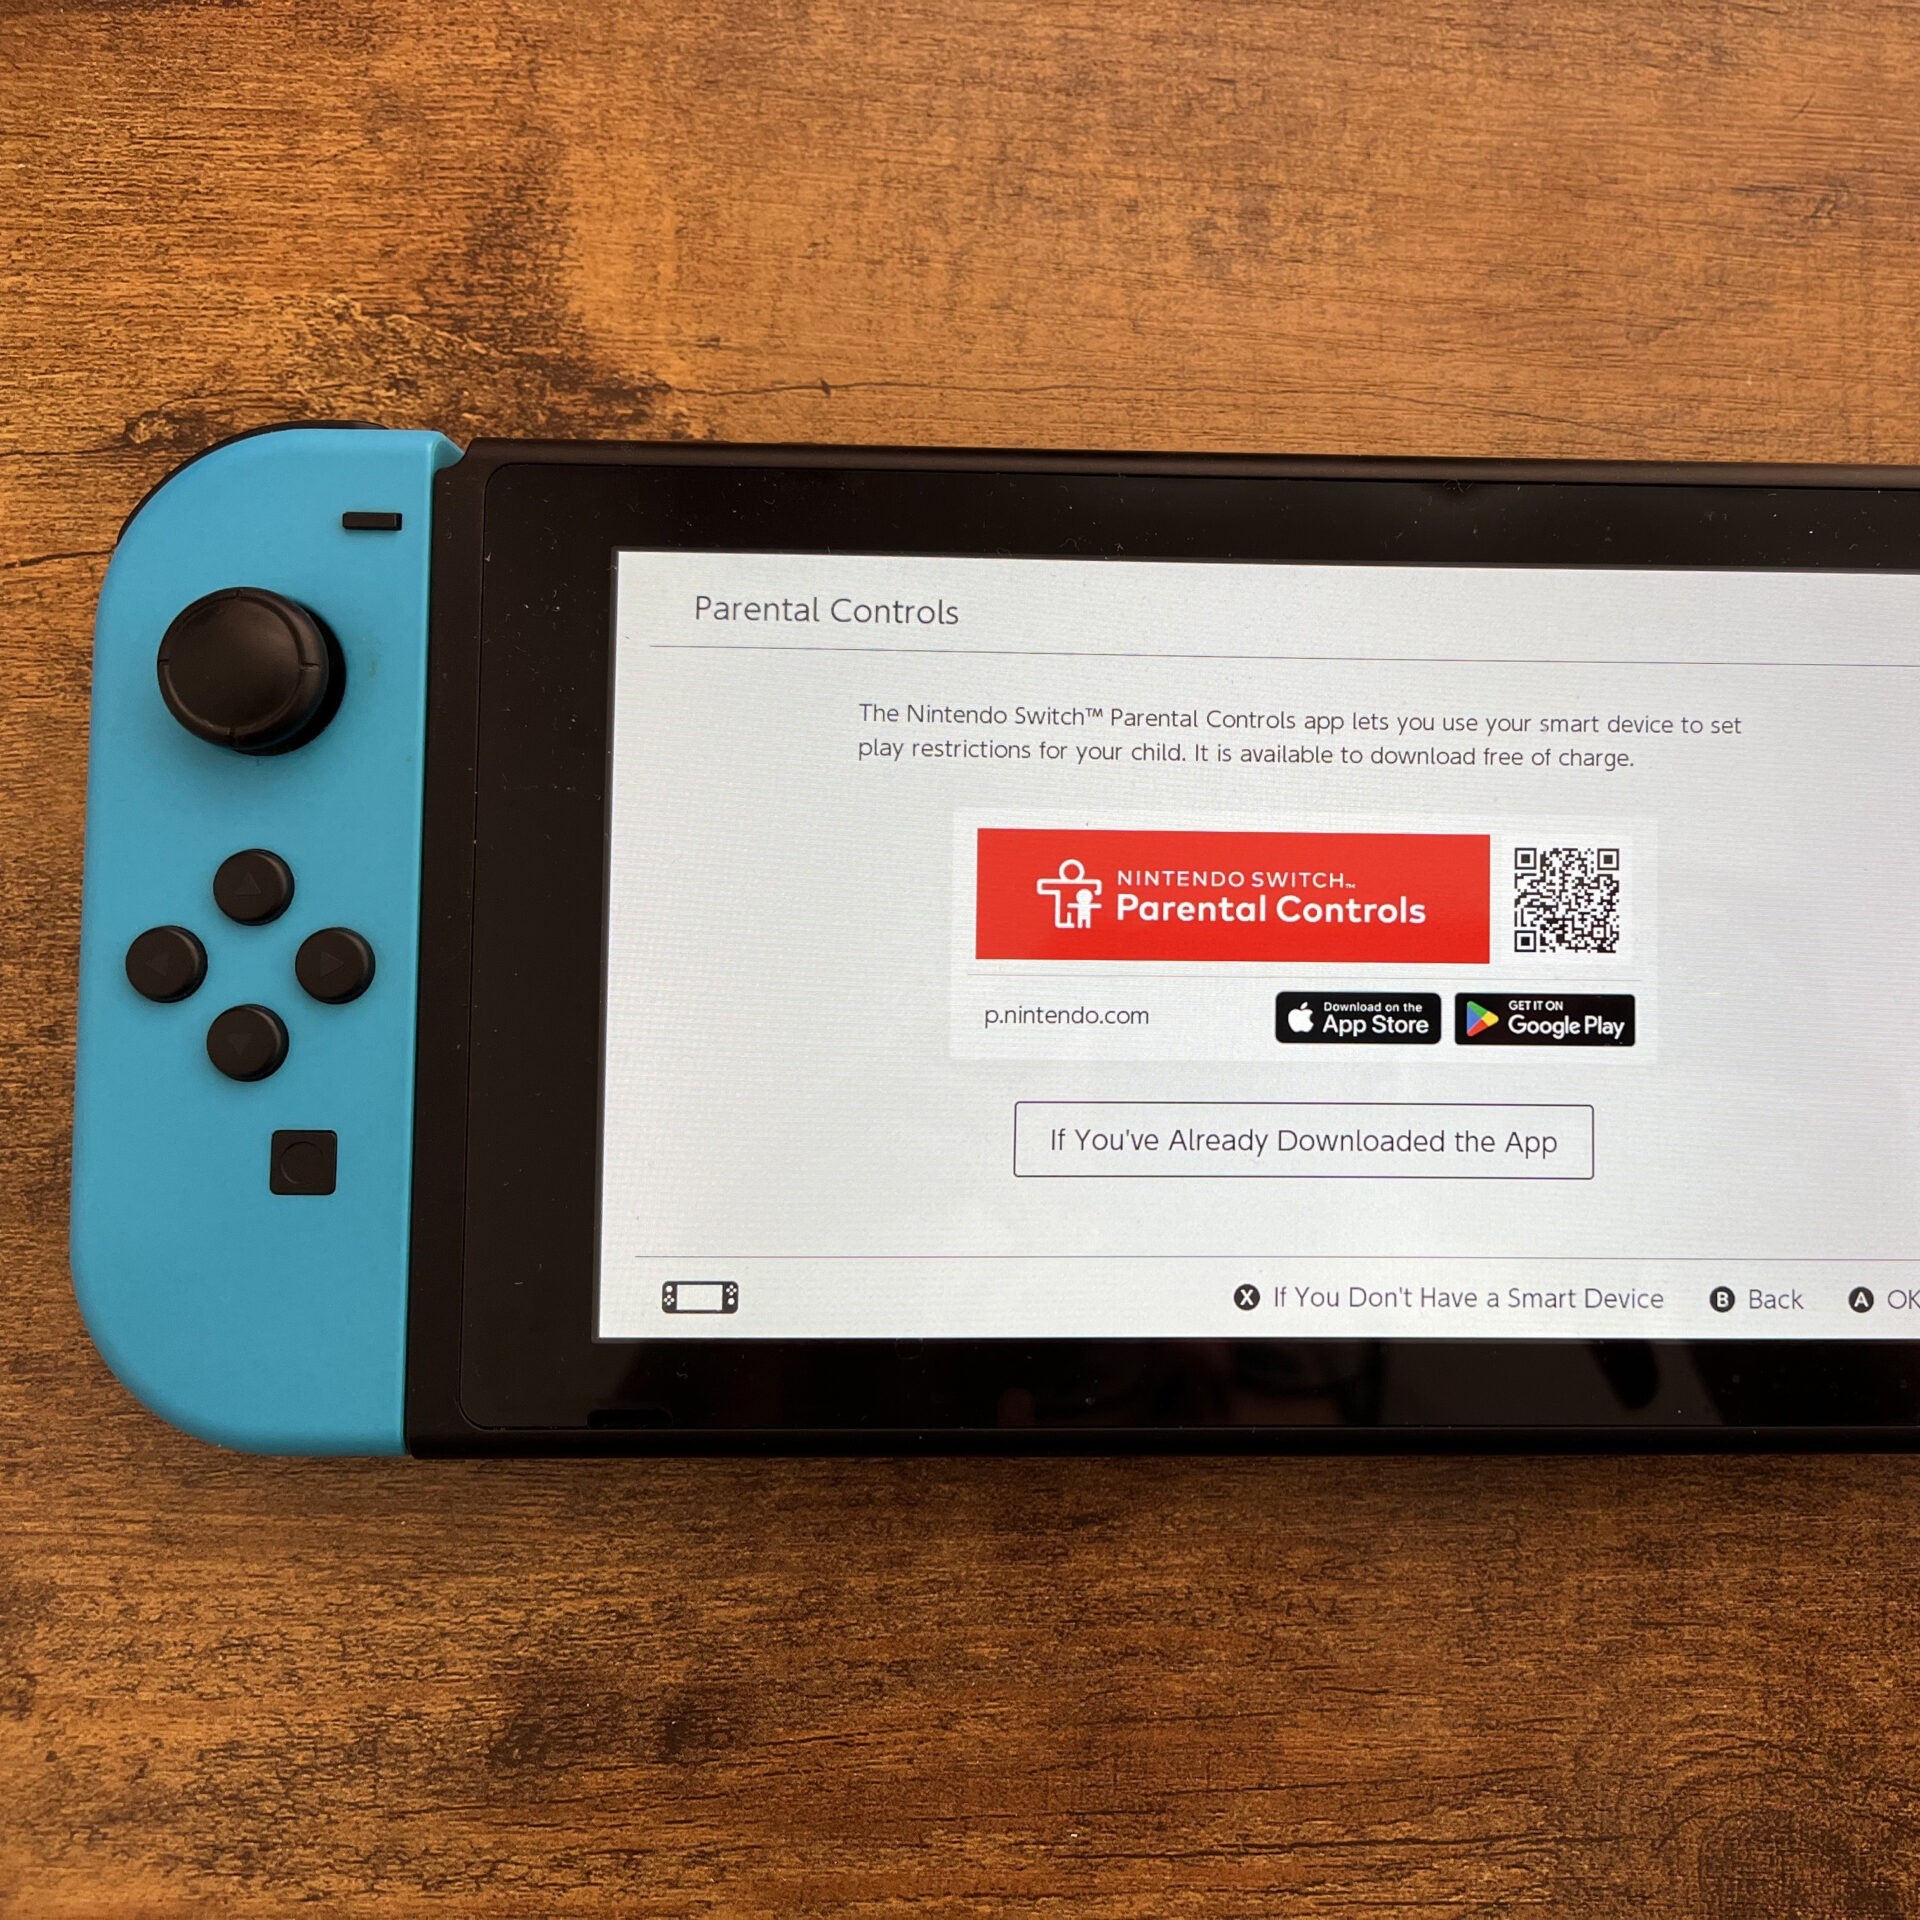
Parents can manage what children see and do. Use the free Nintendo Switch Parental Controls app. Download it on a smartphone.
Link it to your console. Scan the QR code shown on-screen. Confirm pairing.
Set daily play limits. Choose how long each session lasts. Schedule bedtime cutoffs.
Filter inappropriate content. Block high-age-rated games. Require approval for downloads.
Monitor activity reports. See what games were played. Track time spent. Get alerts for changes.
Disable online interactions if needed. Prevent messaging. Limit multiplayer access.
Use guest accounts for visitors. These don’t save progress. Protect personal data.
Review settings monthly. Adjust as kids grow. Encourage open conversations about safety.
Thus, peace of mind comes with preparation. Responsible gaming starts at home.
Frequently Asked Questions
Common Concerns Before You Begin
How do I know if my Switch is updated? Check under System Settings. Look for “System Update.” Install if prompted.
Can I use Bluetooth headphones? Only in handheld mode. Go to Audio settings. Pair compatible devices.
What if my Joy-Con drifts? Recalibrate in Controller Settings. Contact support if unresolved. Free repairs exist for eligible units.
Is internet required? Not always. Offline play works. But updates and online features need Wi-Fi.
Can multiple users share one console? Yes. Create separate profiles. Save data stays individual.
How do I clean the screen? Use a soft, dry cloth. Gently wipe. Never spray liquid directly.
Does the dock overheat? Rarely. Ensure ventilation. Don’t stack items on it.
These answers resolve common issues. Preparation prevents frustration.
 Final Thoughts on Mastering Your Console
Why Knowing How to Set Up Nintendo Switch Matters
Learning how to set up Nintendo Switch unlocks full enjoyment. It transforms a new device into a powerful entertainment hub.
From big-screen TV play to portable adventures, every feature adds value. Proper setup ensures reliability and fun.
With clear steps and smart choices, anyone can master the process. The console grows with your needs.
Whether for solo quests or family nights, it delivers. Understanding setup empowers confidence.
Now that you know how to set up Nintendo Switch, dive in. Explore games, connect with friends, and play freely.