Turning on your Nintendo Switch might seem straightforward, but many new users struggle with the process. Whether you just unboxed your console or haven’t used it in a while, knowing exactly how to turn on Nintendo Switch is essential for a smooth gaming experience. Some people press buttons without results, others see no screen response, and a few even worry their device is broken. In reality, the issue often lies in small details like battery level, button placement, or connection status.
Moreover, different models of the Nintendo Switch—such as the original model, OLED version, and Lite edition—have slight variations in power behavior. Therefore, understanding how to turn on Nintendo Switch correctly ensures you avoid confusion and downtime. This guide walks you through every step clearly, addresses common mistakes, and offers troubleshooting tips. By the end, you’ll confidently power up your system anytime.
 Understanding Your Nintendo Switch Model
Recognizing Physical Differences Between Models
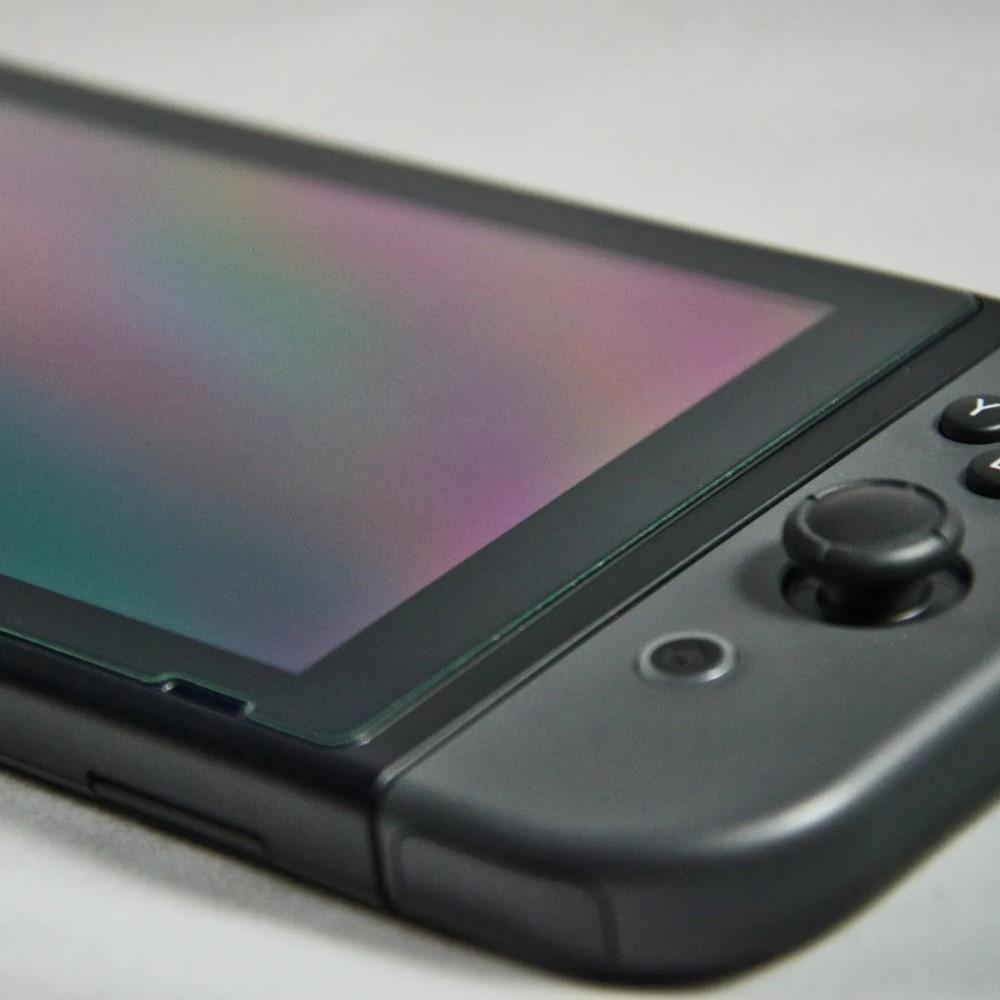
Each Nintendo Switch variant has unique design elements that affect how you interact with it. The original Nintendo Switch, released in 2017, features detachable Joy-Con controllers and a docked mode for TV play. Its power button sits at the top right of the main unit when held horizontally. Meanwhile, the Nintendo Switch OLED model, launched later, includes a larger screen and improved speakers, but keeps the same power location.
On the other hand, the Nintendo Switch Lite is designed solely for handheld use. As a result, its power button is positioned along the top edge, similar to a smartphone. Because of this, users transitioning from one model to another may press the wrong area by mistake. Additionally, the brightness and responsiveness of the screen can vary between models after powering on.
Therefore, identifying your specific device first helps prevent confusion during startup. You should also check whether your system is charged before attempting to turn it on. Otherwise, pressing the power button may yield no visible reaction, leading to unnecessary concern. Always verify your model type to apply the correct method when you want to turn on Nintendo Switch.
Preparing the Console Before Powering On
Ensuring Proper Battery Charge and Connection
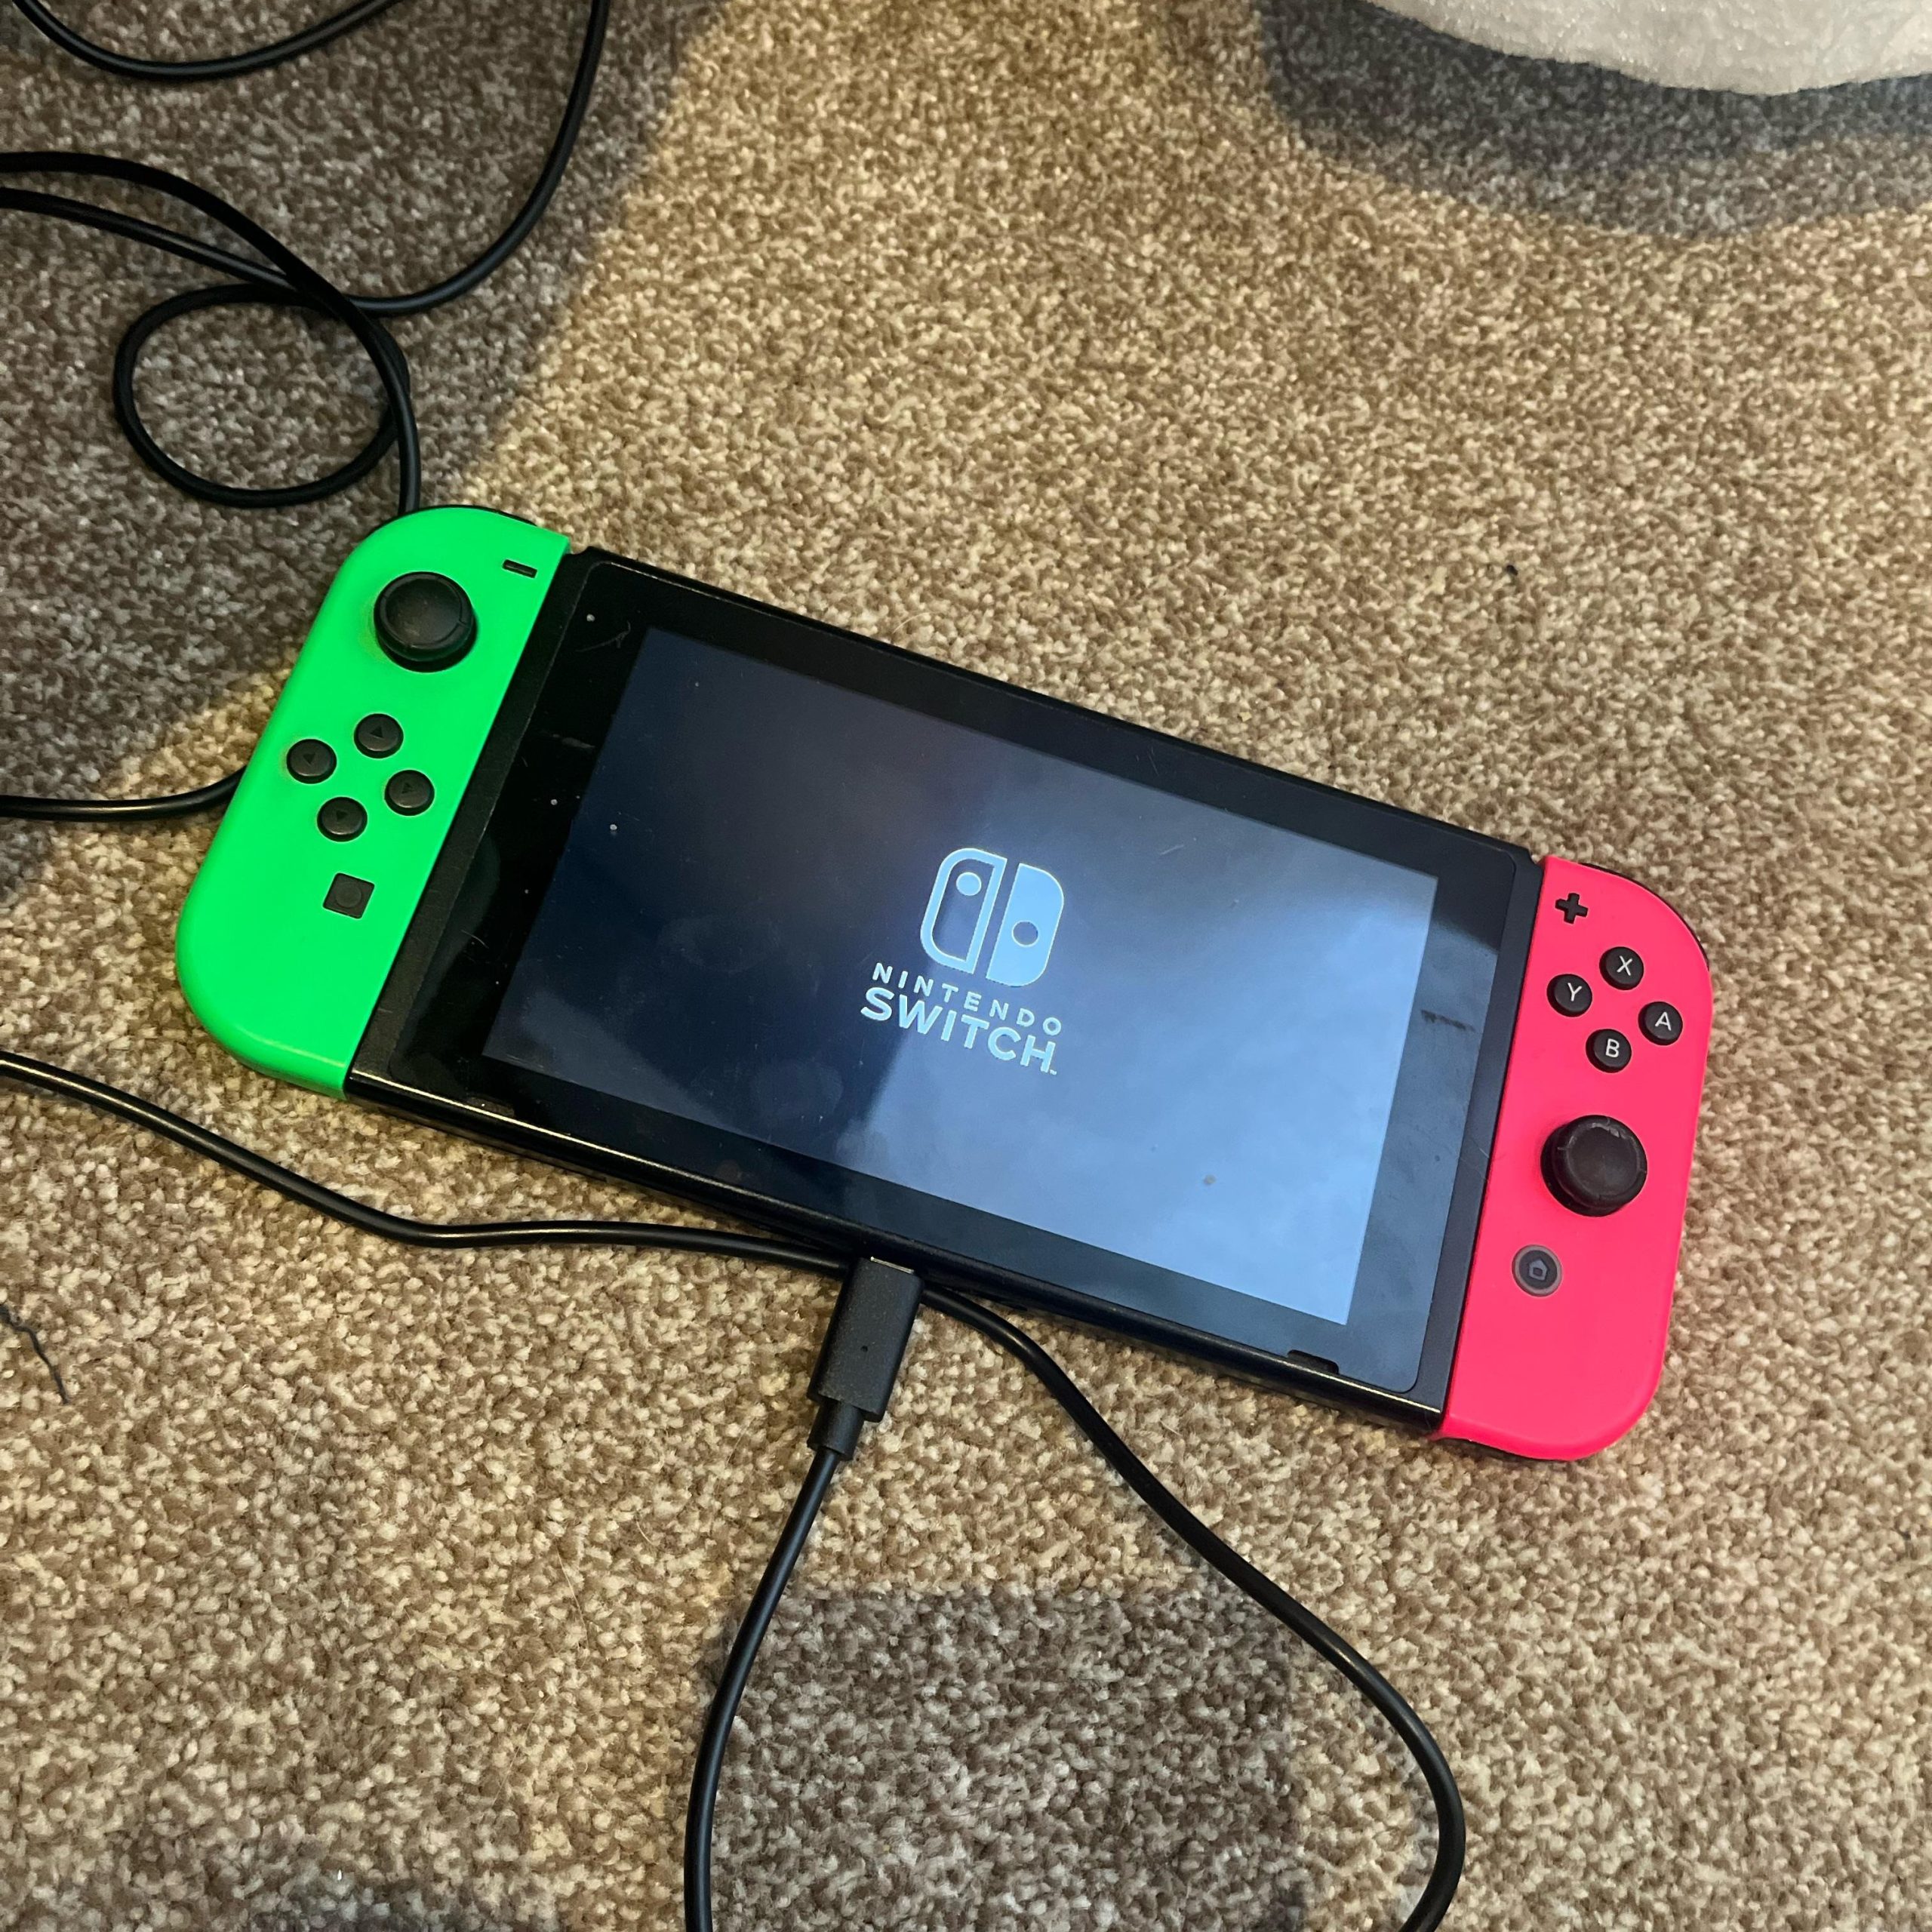
Before trying to turn on Nintendo Switch, confirm that the device has sufficient battery life. If the console has been unused for weeks, the battery may have drained completely. In such cases, connect it to the official charger and allow it to charge for at least 15 to 30 minutes. Once charging begins, a small LED light near the USB-C port will glow red.
Next, inspect the charging cable and adapter for damage. Using third-party chargers sometimes leads to slow or failed charging. For optimal performance, always use Nintendo-approved accessories. Also, ensure the power outlet functions properly. Plugging into a non-working socket delays the entire startup process.
Furthermore, if you plan to play on a TV, make sure the dock is connected correctly. Attach the HDMI cable from the dock to your television and plug the AC adapter into the dock. Then insert the Switch into the dock securely. After these steps, proceed to power on the system. Taking time to prepare avoids frustration and increases success when you attempt to turn on Nintendo Switch.
 Correctly Locating and Pressing the Power Button
Identifying the Exact Button Position
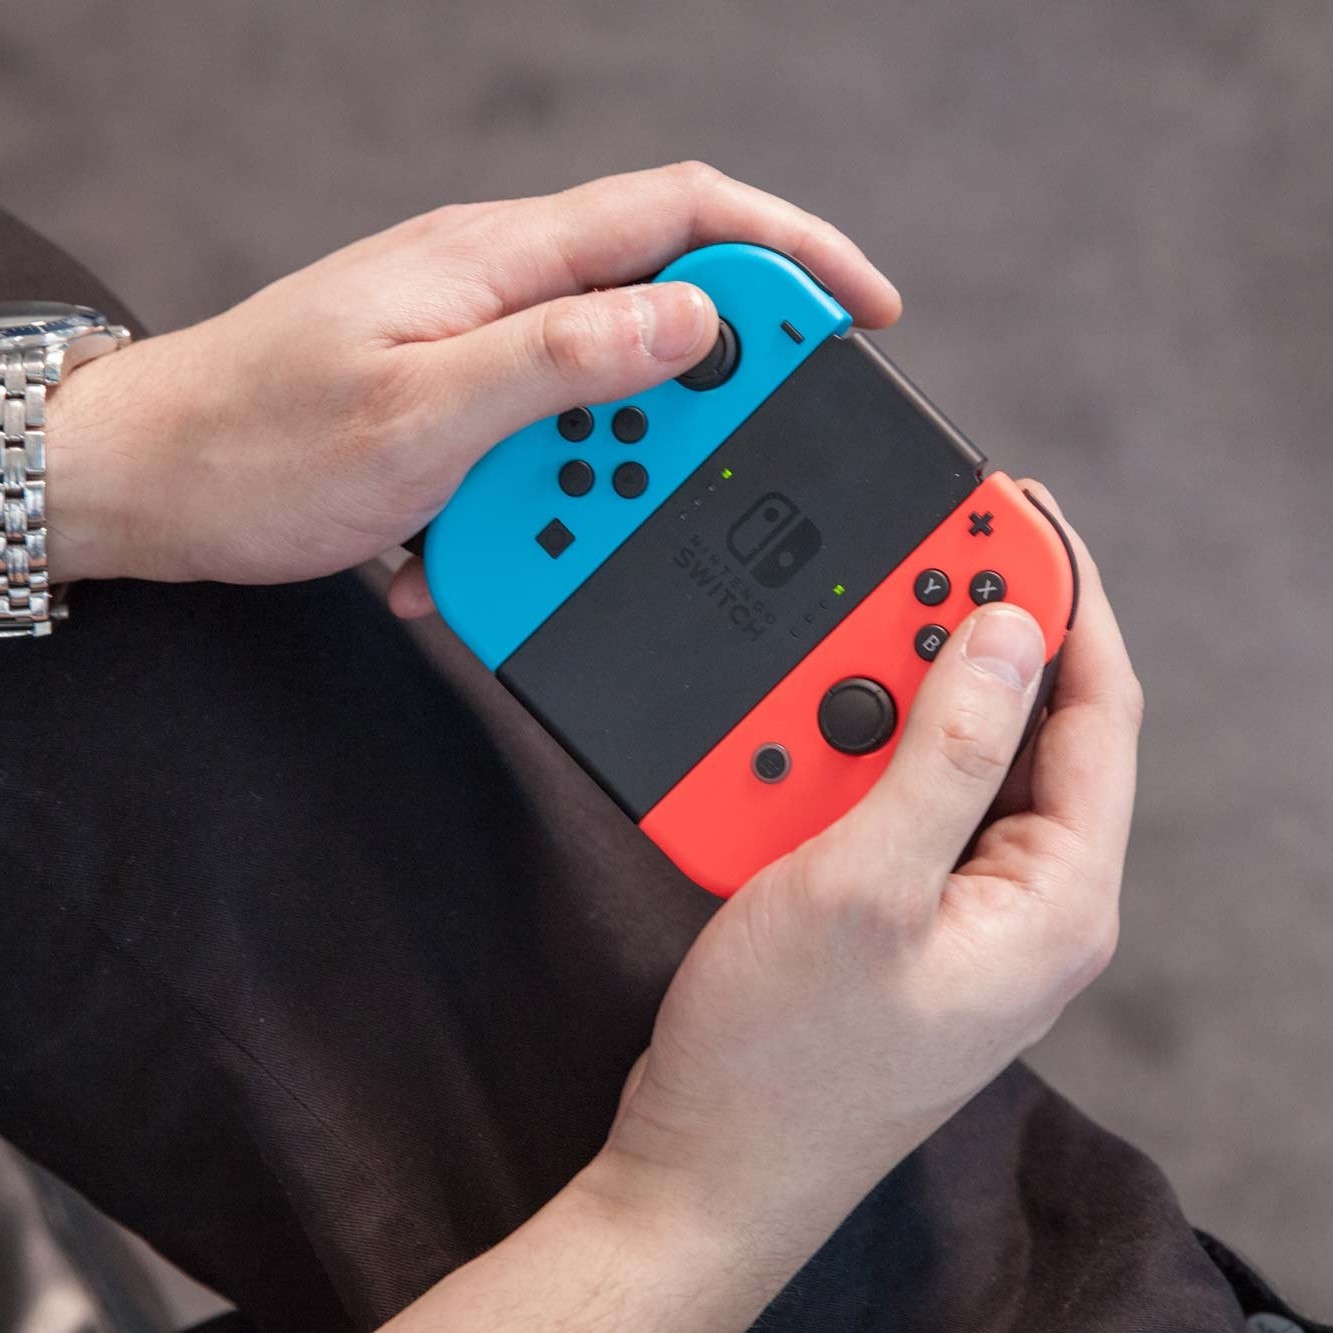
The power button on all Nintendo Switch models is located on the top-right side when viewing the screen face-up. However, because it’s small and blends into the frame, some users overlook it. On the standard and OLED models, the button doubles as the screenshot capture function when pressed briefly with the Home button.
To activate the console, press and hold this button for about two to three seconds. Do not tap it quickly, as this action won’t trigger startup. Instead, maintain steady pressure until the screen lights up. You’ll notice the Nintendo logo appear momentarily, followed by the home menu if the system boots successfully.
Meanwhile, on the Nintendo Switch Lite, the power button operates similarly but lacks screenshot functionality due to its fixed design. Since the Lite doesn’t support TV mode, the focus remains entirely on handheld operation.
Additionally, cold environments or low battery levels may delay the startup animation. Hence, patience is key. Avoid rapid repeated presses, which could interfere with the boot sequence. Learning how to turn on Nintendo Switch properly prevents accidental wear on the hardware over time.
Troubleshooting When the Screen Doesn’t Light Up
Addressing Common Startup Failures
Sometimes, pressing the power button yields no response. First, recheck the battery level. Even if the console was recently used, background updates or sleep mode drainage might deplete power. Connect the device to the charger again and wait several minutes. Often, a completely dead battery needs longer to show signs of life.
Second, examine the charging equipment. Faulty cables or worn connectors interrupt power delivery. Try using a different USB-C cable or wall adapter known to work with other devices. Also, test multiple outlets to rule out electrical issues.
Third, consider software glitches. Rarely, firmware bugs prevent normal startup. To resolve this, perform a hard reset by holding the power button for 12 seconds. Release it, then press again normally. This clears temporary errors and forces a reboot.
Lastly, inspect the screen for physical damage. Cracks or dark spots may hide internal problems affecting display output. If none of these steps restore function, contact Nintendo Support. Knowing how to turn on Nintendo Switch includes recognizing when professional help is needed.
 Using the Dock for TV Mode Gameplay
Connecting and Powering Up in Docked Mode
If you prefer playing on a big screen, using the dock is essential. Start by placing the dock on a stable surface near your TV. Connect one end of the HDMI cable to the dock and the other to an available HDMI input on your television. Make sure the TV is set to the correct source channel.
Then, plug the AC adapter into the dock and connect it to a working power outlet. Now, gently slide the Nintendo Switch console into the dock until it clicks into place. Align the ports carefully to avoid damaging the connectors. Once seated, the system should begin charging automatically.
Now, press and hold the power button on the console itself—not on the Joy-Con or dock. The screen will turn off, and the game or menu will appear on your TV. Audio and video transmit seamlessly when everything is connected right.
This method enhances gameplay quality, especially for titles like The Legend of Zelda or Mario Kart. Mastering how to turn on Nintendo Switch in docked mode expands your gaming flexibility across environments.
Managing Joy-Con Controllers During Startup
Syncing and Checking Controller Readiness
Even after turning on Nintendo Switch, unresponsive Joy-Con controllers can disrupt gameplay. Before starting a game, ensure both controllers are paired and powered. Press the small sync button on each Joy-Con briefly to wake them up. They should reconnect automatically if previously synced.
Alternatively, go to the Home Menu, select “Controllers,” and choose “Change Grip/Order.” This forces the system to search for nearby controllers. If a controller appears grayed out, it’s either disconnected or out of battery. Charge it using the included strap or a USB cable.
For multiplayer sessions, sync additional Joy-Con units ahead of time. Each player should press the sync button simultaneously so the system detects all inputs. Delays in recognition often stem from interference or distance. Keep controllers within three feet of the console during pairing.
Also, disable any Bluetooth devices nearby that might cause signal conflicts. Wireless headphones or phones operating close to the Switch may interfere. Resolving these issues ensures smooth interaction once you successfully turn on Nintendo Switch.
 Optimizing System Settings After Startup
Once you manage to turn on Nintendo Switch, the home screen displays available games and apps. Take a moment to review active notifications, such as system updates or friend requests. These pop-ups can affect performance if ignored.
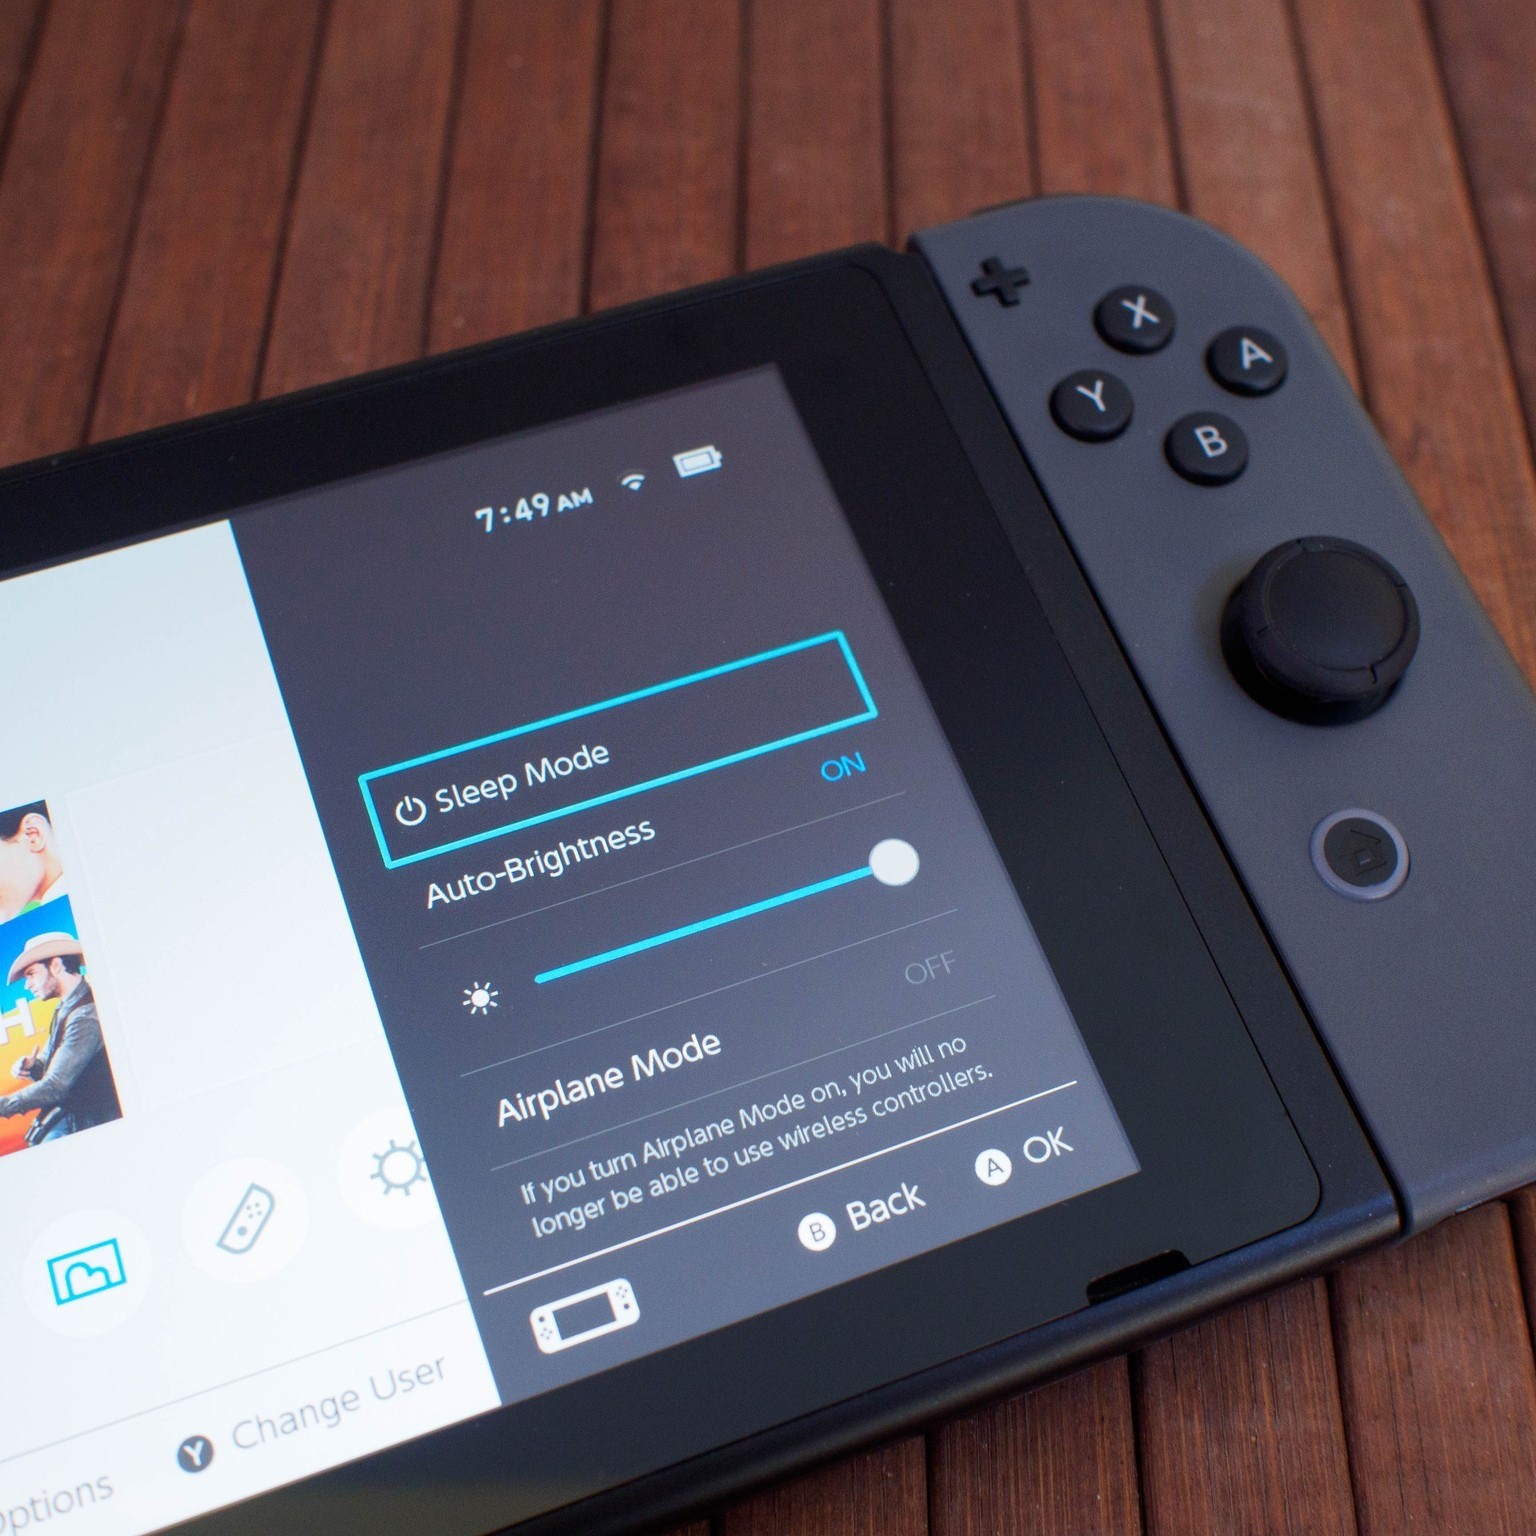
Navigate using the joystick or touchscreen (on OLED and Lite models). Select “System Settings” to adjust volume, internet connection, and parental controls. Connecting to Wi-Fi early allows automatic downloads of pending updates. Many games require patches before launch.
Additionally, customize sleep mode settings under “Power.” Set auto-sleep to 10 minutes for handheld mode and 30 minutes for docked mode. This conserves battery without interrupting gameplay frequently.
You can also register user profiles and link a Nintendo Account for cloud saves. Doing so protects progress if the device is lost or damaged. Personalizing your setup enhances long-term usability. Proper configuration after learning how to turn on Nintendo Switch makes each session more enjoyable.
Frequently Asked Questions About Powering On
Clarifying Common User Concerns
Why won’t my Nintendo Switch turn on even after charging?
First, ensure the charger works with another device. Second, hold the power button for 12 seconds to force a restart. Third, leave it charging for at least 30 minutes before retrying. A deep discharge may need extended charging time.
Can I turn on Nintendo Switch while it’s in the dock?
Yes. Simply press the power button on the console after inserting it into the dock. The screen will switch to your TV automatically if connections are secure.
Does the power button differ on the Lite model?
No, the location is the same—top-right edge—but it only supports handheld mode. There’s no TV output capability.
Is it safe to hold the power button too long?
Holding it for up to 12 seconds is safe and recommended for resets. Longer than that isn’t harmful but serves no purpose.
Understanding these points simplifies daily use and reinforces confidence in how to turn on Nintendo Switch correctly.
 Summary
Final Tips for Reliable Console Operation
Mastering how to turn on Nintendo Switch improves your overall gaming experience. Always begin by verifying battery charge and using genuine accessories. Locate the power button accurately based on your model type. Apply consistent pressure for two to three seconds to initiate startup.
For TV play, ensure the dock, HDMI cable, and power adapter are properly connected before powering on. Check controller sync status to avoid input lag. Update system software regularly to prevent boot errors. Store the device in a cool, dry place to maintain battery health.
If the screen remains black, try a forced restart and extended charging period. Contact Nintendo Support only after exhausting basic troubleshooting. With practice, turning on your console becomes second nature. Remember, knowing how to turn on Nintendo Switch is the first step toward endless entertainment.