If you’re wondering how to hook up switch to tv, you’re not alone. Thousands of new Nintendo Switch owners want to enjoy their games on a larger screen. The good news is that the process is simple and fast. With just a few cables and basic steps, your console can go from handheld mode to full HD display.
Moreover, connecting your Switch to a TV unlocks its full potential. You gain access to better graphics, bigger visuals, and multiplayer fun with friends. Whether you’re using a flat-screen LED or a high-end 4K TV, knowing how to hook up switch to tv ensures smooth setup every time.
 What You Need Before You Begin
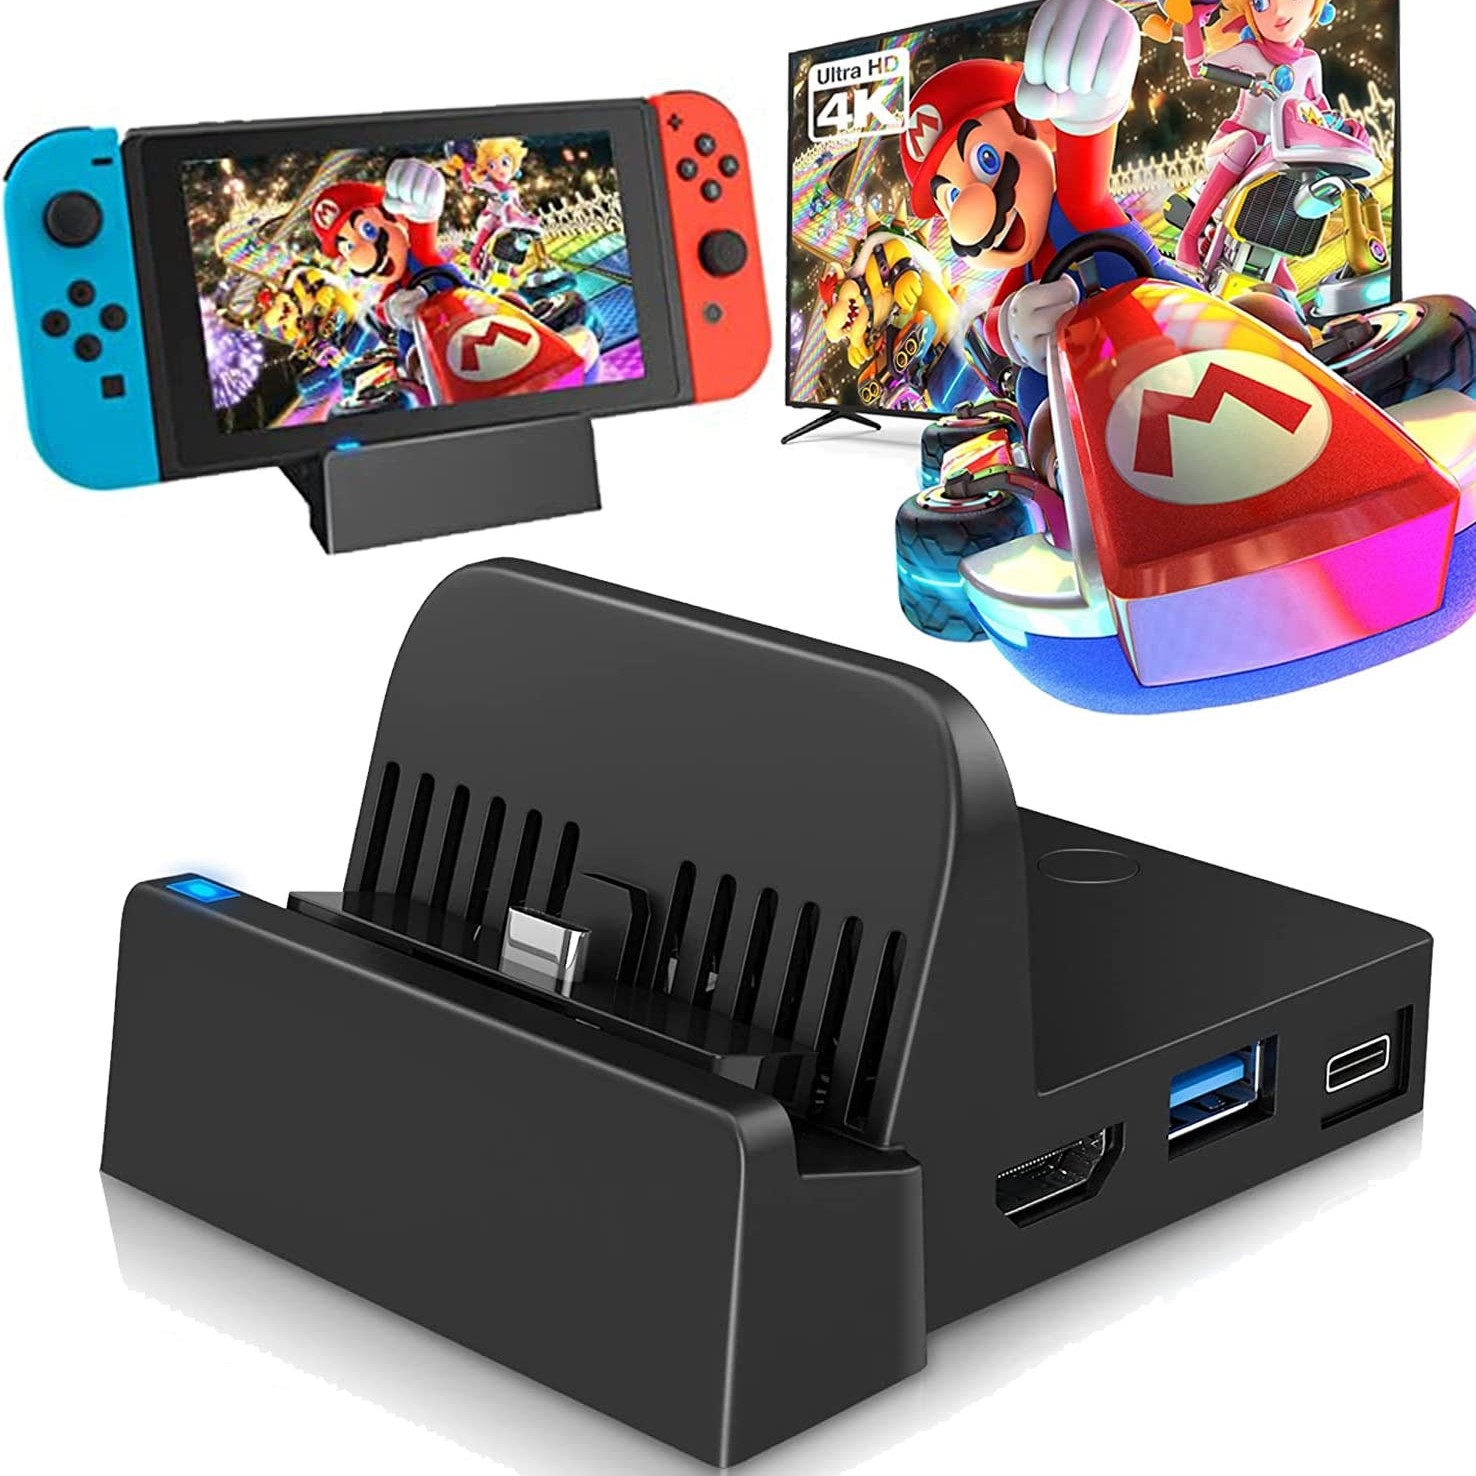
How to hook up switch to tv? Before you start, gather all necessary components. First, locate the Nintendo Switch dock. This small black box connects your console to the TV. Without it, you cannot output video to a television.
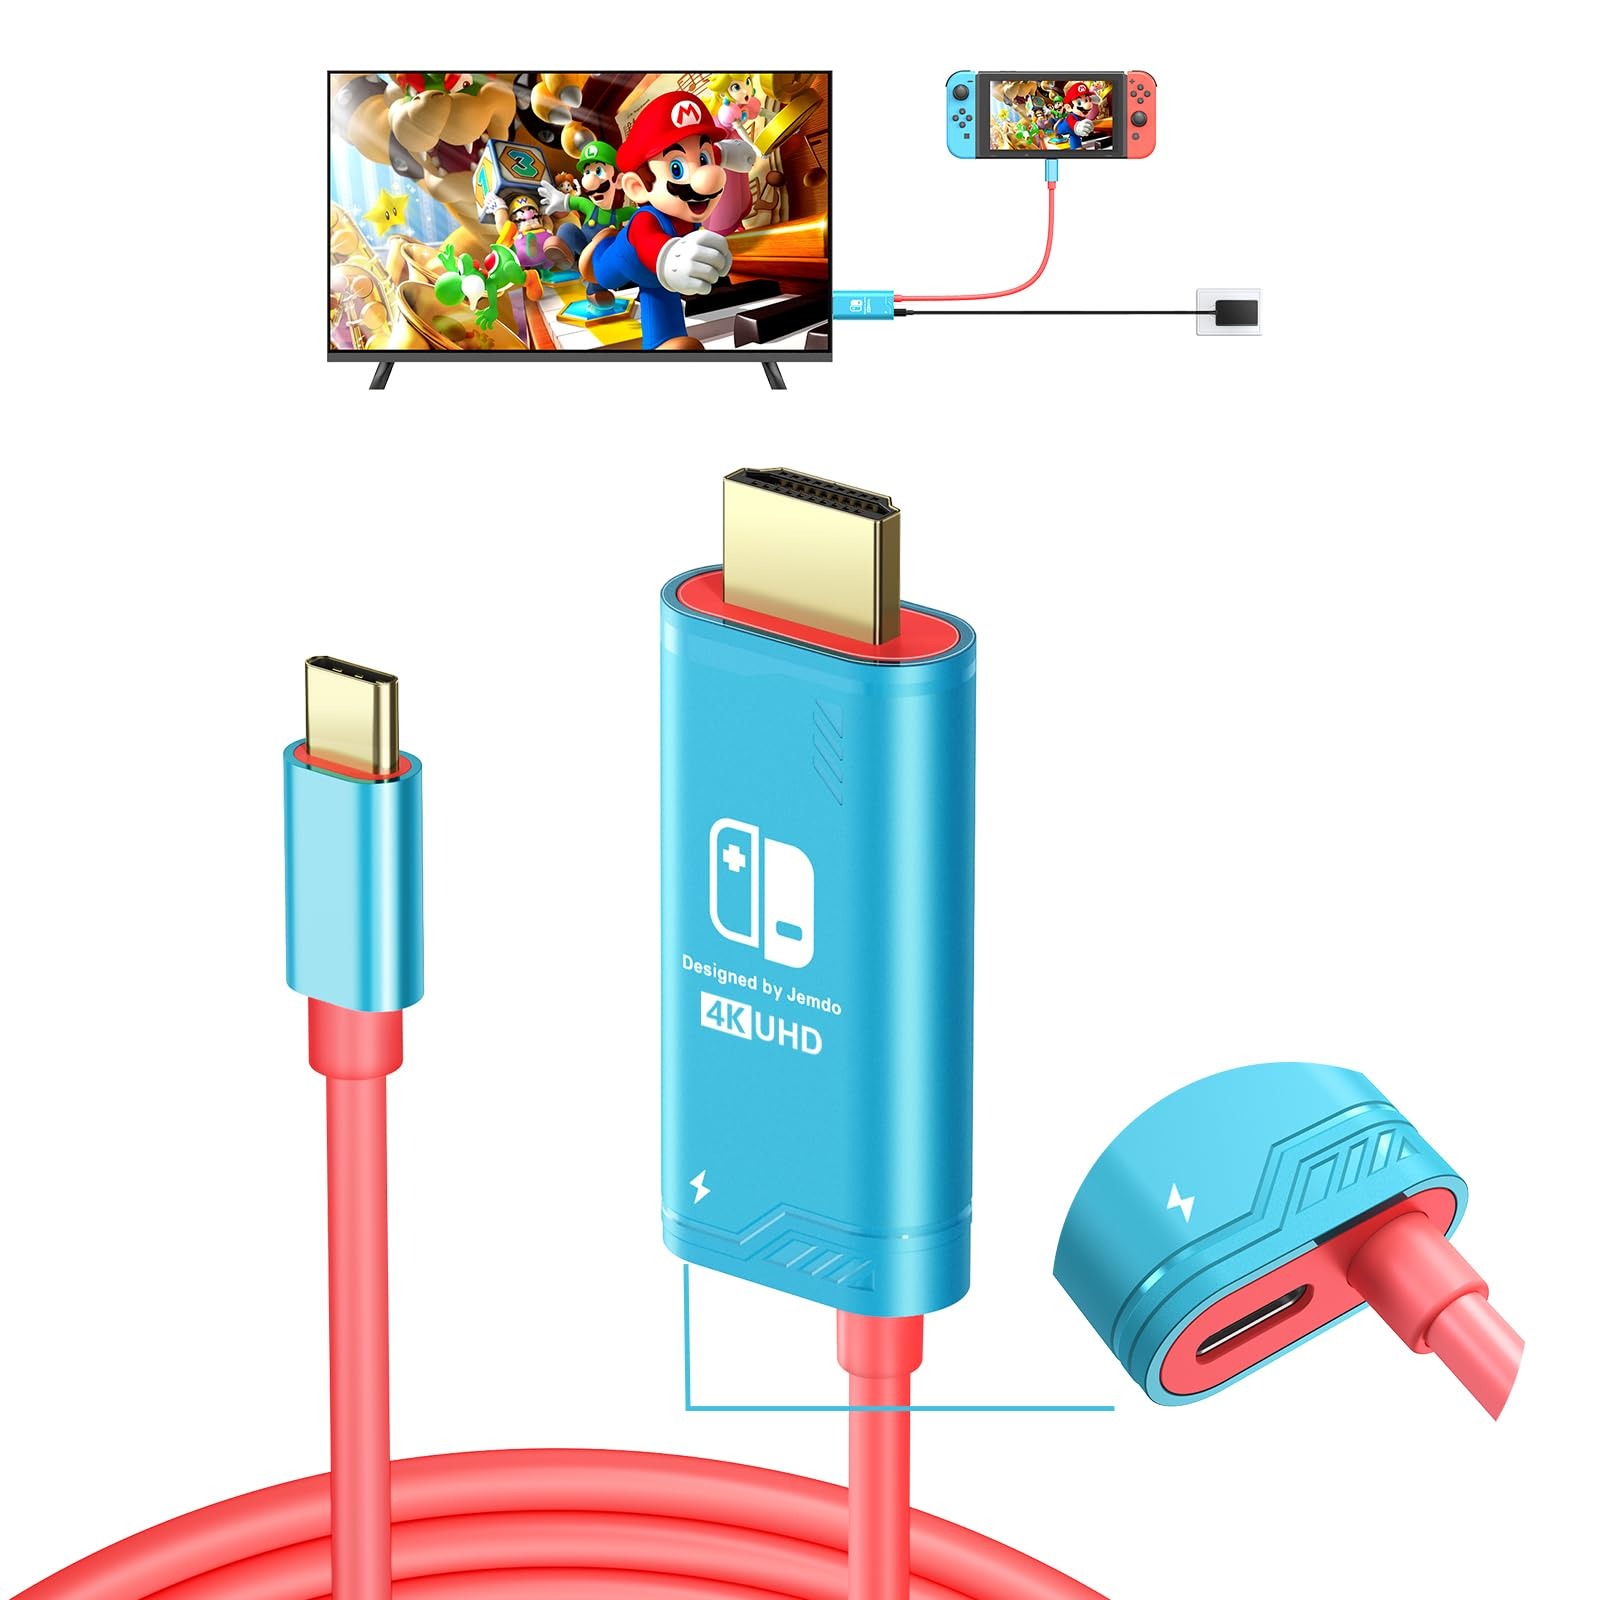
Next, find an HDMI cable. Most docks come with one, but if yours is missing, any standard HDMI cable works. Ensure it supports at least 1080p resolution for best results.
You’ll also need a power adapter. The Switch charging block plugs into the dock. It powers both the dock and the console simultaneously. Never skip this step—running the system without power may cause issues.
Additionally, check your TV’s HDMI ports. Most modern TVs have two or more. Choose one that’s clearly labeled and not already in use.
Make sure your Switch has enough battery. While it charges in the dock, starting with 50% or more helps avoid interruptions.
Finally, turn off your TV before making connections. This prevents signal conflicts. It also protects internal electronics from surges.
Understanding Each Component’s Role
The dock acts as a bridge between your Switch and TV. When you insert the console, it sends video and audio signals through the HDMI cable.
HDMI carries both picture and sound. One cable delivers everything to your TV. This reduces clutter and simplifies setup.
The power adapter supplies energy. It keeps the dock running and charges your Switch. A weak or faulty adapter leads to unstable performance.
Your TV receives the signal and displays it. Modern sets auto-detect input sources. Older models may require manual selection.
The Switch itself switches modes automatically. Once seated in the dock, it exits handheld mode. The screen turns off, and output shifts to the TV.
Each piece plays a vital role. Missing even one stops the process. Always double-check availability before starting.
 Step-by-Step Instructions for How to Hook Up Switch to TV
Begin by placing the dock near your TV. Leave space around it for airflow. Overheating affects stability and longevity.
Connect the HDMI cable to the port on the back of the dock. Push it in firmly until it clicks. Then plug the other end into an HDMI input on your TV.
Attach the power adapter to the dock. Use the included USB-C end. Plug the other side into a wall outlet. The dock’s front light should glow green.
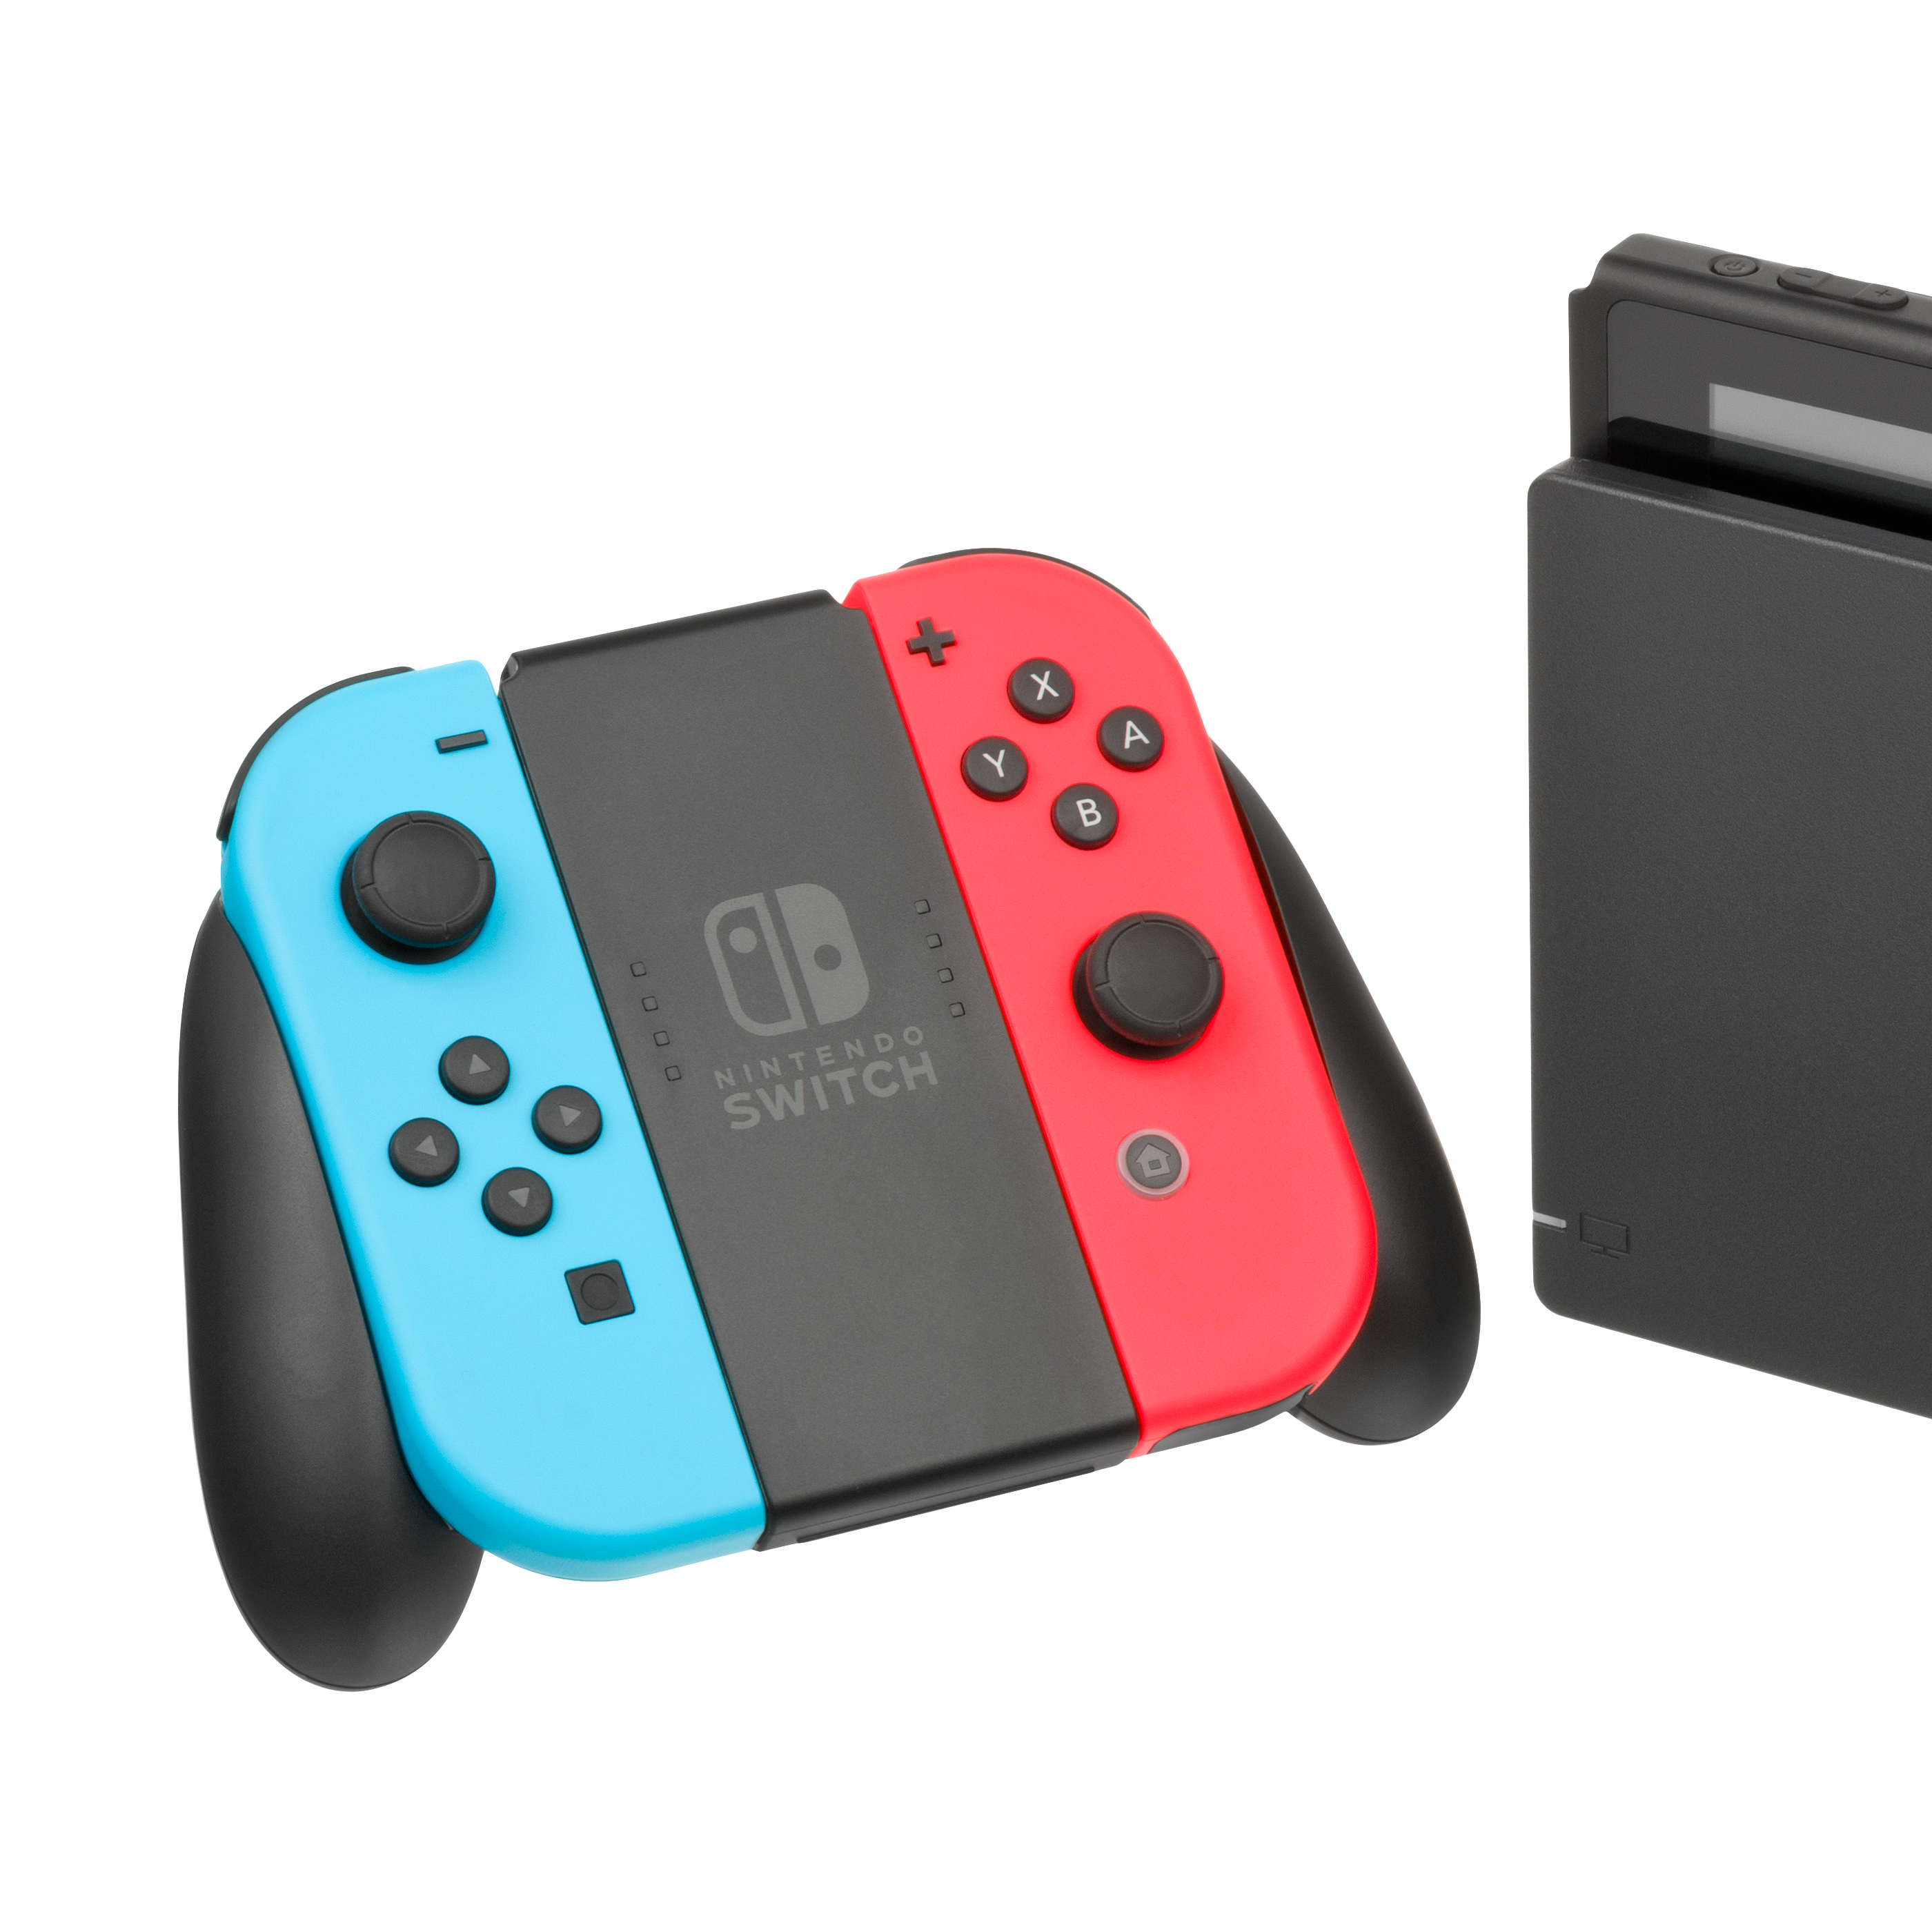
Now, open the top cover on your Nintendo Switch. Slide the console into the dock with the screen facing forward. Align the connectors carefully. Let it click into place.
Turn on your TV. Use the remote to select the correct HDMI input. Look for labels like “HDMI 1” or “Input 2.” If unsure, cycle through each option.
Once selected, the Nintendo logo appears on screen. Your home menu loads shortly after. You are now playing on your TV.
Remove the Joy-Con controllers. Attach them to the sides of the console or use them wirelessly. Both options work in docked mode.
Troubleshooting Common Setup Issues
Sometimes, no picture appears. First, confirm the TV is on the right input. Double-check the HDMI port used.
If the screen stays black, reseat the HDMI cable. Unplug and reconnect both ends. Make sure they fit snugly.
A red light on the dock means no power. Check the outlet and adapter. Try a different plug if needed.
Ensure the Switch is fully inserted. A loose connection breaks communication. Listen for the click when docking.
Restart the TV and console. Turn everything off. Wait ten seconds. Power back on in order: TV first, then dock.
Update your system software. Outdated firmware causes compatibility problems. Connect to Wi-Fi and install updates.
If sound comes through but not video, test another HDMI cable. Faulty wires interrupt image transfer. Replace if damaged.
Contact Nintendo Support if issues persist. Provide details about your setup. They offer live help and replacement parts.
Optimizing Display Settings After Hooking Up
After successful connection, adjust settings for clarity. Go to System Settings > TV Output. Here, you can fine-tune resolution and screen size.
Set Screen Size to match your TV. Incorrect sizing causes cut-off edges. Use the visual guide to align borders properly.
Choose the right Resolution Mode. By default, the Switch outputs 1080p. On older HDTVs, it may drop to 720p. That’s normal.
Enable HDR if your TV supports it. Games like The Legend of Zelda: Breath of the Wild support HDR. Colors appear richer and more vibrant.
Adjust Brightness and Gamma. Dark rooms benefit from brighter screens. Well-lit areas need higher contrast.
Turn on Game Streaming features if desired. Capture video clips easily. Share them directly to social media.
Use Audio Output settings to route sound correctly. Some users connect soundbars or surround systems. Change HDMI audio format as needed.
Save changes before exiting. Test gameplay to ensure visuals look sharp. Smooth motion enhances immersion.
Enhancing Sound and Visual Quality
For better audio, consider external speakers. Built-in TV speakers often lack depth. A soundbar improves dialogue and effects.
Optical audio cables carry sound separately. Use them if your TV lacks HDMI ARC support. This avoids lip-sync delays.
Some gamers prefer headphones. Plug into the controller or a USB adapter. This isolates audio during late-night sessions.
Reduce input lag for competitive play. Enable Game Mode on your TV. This disables unnecessary image processing.
Avoid dynamic contrast and motion smoothing. These filters create ghosting or blur. Turn them off for crisp response.
Use a premium high-speed HDMI cable. Cheaper versions may not handle 1080p at 60fps consistently. Look for certification labels.
Position the dock securely. Keep it upright or horizontal based on space. Avoid blocking ventilation slots.
Regularly clean dust from ports. Use compressed air gently. Prevents overheating and connectivity loss.
 Using the Switch Online and with Accessories
Once hooked up, explore online features. Sign in to your Nintendo Account. Access the eShop and download new titles.
Multiplayer gaming expands with internet play. Invite friends to join Animal Crossing or Mario Kart 8 Deluxe. No extra hardware needed.
Connect wired LAN adapters for stable internet. The dock has a USB port. Plug in an Ethernet adapter for faster speeds.
Use USB hubs to add devices. Connect keyboards, external drives, or headsets. More ports increase functionality.
Charge multiple controllers. Use a charging grip or dock extension. Ensures full batteries for long sessions.
Stream gameplay via YouTube or Twitch. Built-in capture makes sharing easy. Press the capture button anytime.
Sync saves with cloud storage. Purchase a Nintendo Switch Online plan. Protect progress across consoles.
Enjoy local co-op with extra Joy-Cons. Pair up to four controllers. Play together on the same screen.
Expanding Your Gaming Experience
Mount the dock out of sight. Place it behind the TV stand. Use adhesive strips or brackets for safety.
Label your HDMI input. Name it “Switch” on your TV. Makes switching easier later.
Use a surge protector. Power spikes damage electronics. Invest in a quality strip with USB ports.
Keep spare cables nearby. Accidents happen. Having backups saves time.
Organize cords with ties or sleeves. Reduces tangles and tripping hazards. Looks neater too.
Watch movies and apps. The Switch runs Netflix and Hulu. Great for family movie nights.
Try backward compatibility. Some older Wii U games work on Switch. Expand your library.
Stay updated on new features. Nintendo releases patches regularly. Improves performance and security.
 Frequently Asked Questions
Can I use any HDMI cable? Yes, but use a certified one. Cheap cables may cause flickering or disconnects.
Do I need internet to play on TV? No. Offline games work fine. Internet is only for downloads and online play.
Why does my Switch overheat in the dock? Poor ventilation. Keep space around the unit. Don’t stack items on top.
Can I leave it docked all the time? Yes. The battery stops charging at 100%. Safe for long-term use.
Does the Switch support 4K? No. Max output is 1080p. Even on 4K TVs, resolution stays the same.
Can I watch downloaded games on TV? Yes. All game types function normally when docked.
Is there sound delay? Sometimes. Adjust audio sync in TV settings. Or use headphones for real-time feedback.
 Final Thoughts
Learning how to hook up switch to tv opens up a world of immersive gaming. It transforms a portable device into a powerful home console. With clear visuals and rich sound, your living room becomes a personal arcade.
Furthermore, proper setup ensures reliability and enjoyment. Following each step carefully prevents common errors. Whether you’re a parent, casual player, or hardcore fan, mastering this process is essential.
As technology evolves, one thing remains certain: the ability to connect your Switch to a TV enhances every experience. From family fun to solo adventures, knowing how to hook up switch to tv makes all the difference. So grab your cables, follow the guide, and start playing today.