If you own a Nintendo Switch, you’ve likely asked yourself, “nintendo switch micro sd card where to insert?” This question is common among new users. The console comes with limited internal storage. As a result, many games and updates quickly fill the space. To expand capacity, players use micro SD cards. However, finding the correct slot can be confusing at first. The good news is that inserting a micro SD card is simple once you know where to look.
The process does not require tools or technical skills. Still, it’s important to follow the right steps. Inserting the card incorrectly may cause damage. In contrast, doing it properly ensures smooth performance. Over time, knowing how to manage your storage improves your gaming experience. Therefore, understanding nintendo switch micro sd card where to insert is essential for every user.
 How to Locate the Micro SD Card Slot on Your Nintendo Switch
Finding the Correct Port Without Damage
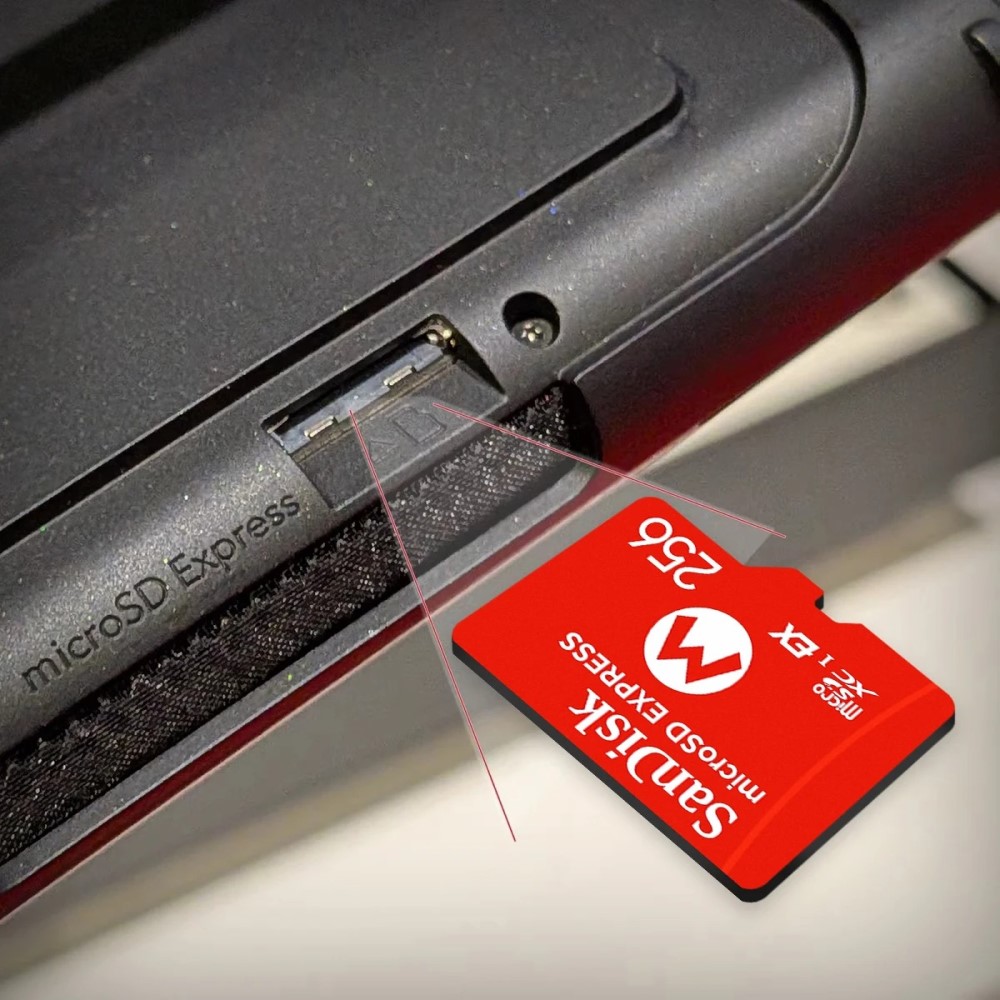
To begin, turn off your Nintendo Switch completely. While some devices allow hot-swapping, it’s safer to power down first. Next, flip the console over so the back faces up. Look along the top edge, near the USB-C charging port. You will notice a small rectangular flap. This cover protects both the micro SD card slot and the kickstand.
Gently slide the flap open using your fingernail or a soft tool. Be careful not to force it. Doing so might break the plastic hinge. Once open, you’ll see two compartments side by side. On the left is the micro SD card slot. On the right is the Joy-Con rail release. Focus only on the left section.
The slot appears narrow and dark. It is designed specifically for micro SD cards, not full-sized SDs. Make sure your card fits this size. If you have a regular SD card, it won’t work without an adapter. However, most modern cards come in micro format.
Now, prepare your micro SD card. Ensure it is compatible with the Nintendo Switch. Not all cards meet the speed and capacity requirements. After confirming compatibility, proceed to insertion.
 Proper Way to Insert the Micro SD Card
Step-by-Step Instructions for Safe Installation
Hold the micro SD card with the label facing up. Align the cut corner with the slot’s shape. Then, gently push the card into the slot until it clicks. You should feel slight resistance followed by a secure snap. Do not press too hard. The card only goes in one way. Forcing it may bend pins or damage the reader.
Once inserted, close the protective flap. Avoid leaving it open during normal use. Dust and debris can enter the port otherwise. After closing, power on your Nintendo Switch. The system will automatically detect the new storage.
Next, go to System Settings. Scroll down to “Data Management.” Select “Manage Software” to view available space. The console now shows total capacity, including the micro SD card. From here, you can move downloaded games and apps.
It’s best to install new titles directly onto the card. Go to System Settings > Data Management > Change Default Save Location. Choose the micro SD card as the primary destination. This prevents future storage issues.
Always eject data safely before removing the card. Never pull it out while the system is running. Doing so risks file corruption. Instead, turn off the console first. Then open the flap and press the card lightly. It will pop out slightly for easy removal.
Why Expanding Storage Improves Gameplay
More Space Means Better Gaming Freedom
Internal storage on the Nintendo Switch is only 32GB. Many major games take up 10GB or more. Titles like The Legend of Zelda: Breath of the Wild or Animal Crossing: New Horizons consume significant space. As a result, users run out of room quickly.
By adding a micro SD card, you gain extra gigabytes instantly. Most high-capacity cards offer 128GB, 256GB, or even 512GB. That means dozens of games can fit comfortably. You no longer need to delete one game to download another.
Additionally, frequent downloads and deletions slow down the system. Each action writes data to the internal memory. Over time, this wear reduces performance. Using external storage helps preserve the console’s lifespan.
Another benefit is faster access to content. Modern UHS-I or U3-rated cards deliver quick read speeds. Games load smoothly from the micro SD card. There is no noticeable lag compared to internal storage.
You also avoid subscription fatigue. Some players rely on cloud saves to free up space. Yet, this requires an active Nintendo Online membership. With expanded physical storage, you reduce dependency on recurring fees.
Ultimately, answering “nintendo switch micro sd card where to insert” unlocks greater freedom. Gamers enjoy uninterrupted play and seamless updates.
 Choosing the Right Micro SD Card for Your Console
Compatibility and Performance Factors
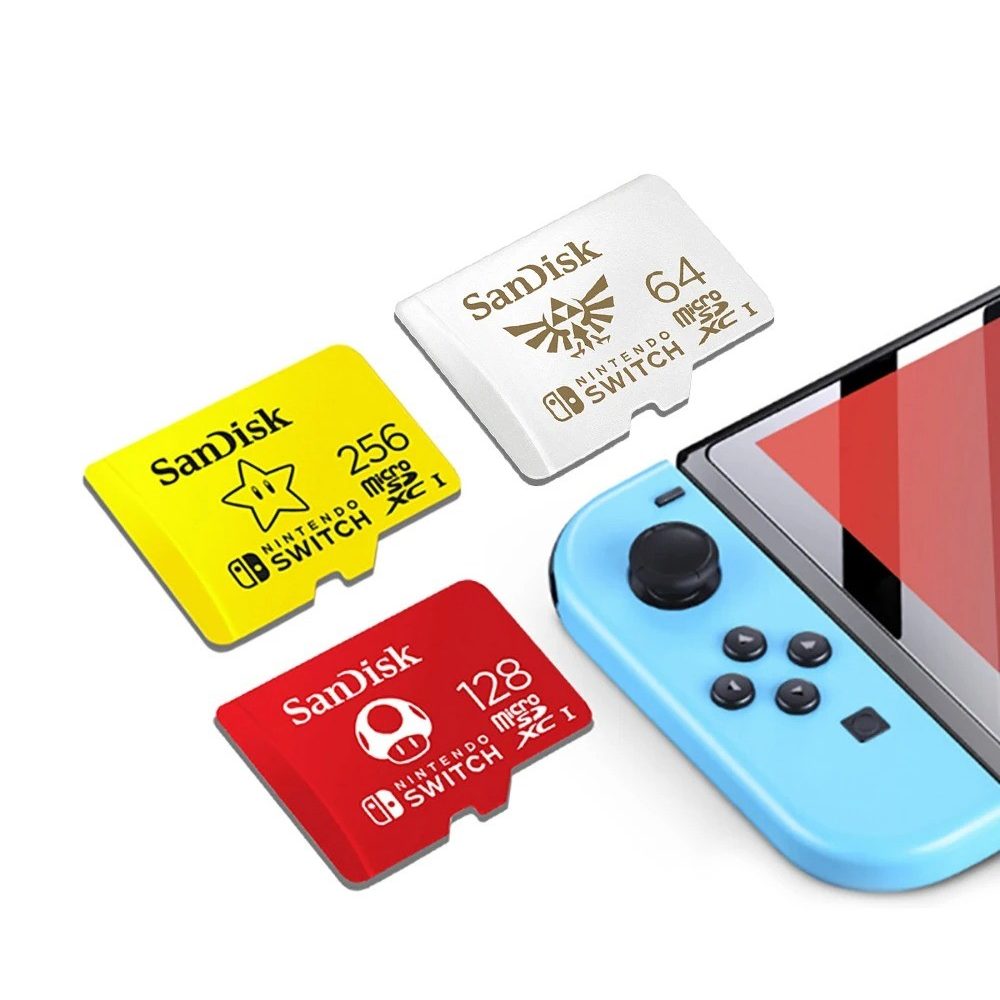
Not every micro SD card works well with the Nintendo Switch. First, check the type. The console supports micro SD, micro SDHC, and micro SDXC formats. Cards above 32GB fall under SDXC. These are ideal for large game libraries.
Speed class matters too. Look for cards labeled UHS-I Speed Class 3 (U3). This ensures minimum write speeds of 30MB/s. Faster cards reduce loading times and improve stability. Slower ones may cause stuttering or failed downloads.
Capacity is another key point. While 64GB works for casual users, serious gamers should consider 128GB or higher. AAA titles continue growing in size. Future updates may demand even more space.
Brands also influence reliability. Trusted names like SanDisk, Samsung, and Kingston perform consistently. They include error correction and durability features. Cheap, unbranded cards risk data loss or sudden failure.
Also, pay attention to the warranty period. Longer coverage indicates manufacturer confidence. Register your card if possible. Some brands offer data recovery services.
Finally, format the card correctly. Even pre-formatted cards should be set up through the Switch. Go to System Settings > Data Management > Format microSD Card. This optimizes it for the system.
Common Mistakes When Inserting a Micro SD Card
Errors to Avoid During Setup
One frequent mistake is forcing the card into the wrong slot. Remember, the micro SD card goes on the left. The right side controls the Joy-Con rails. Inserting into the wrong port damages both components.
Another issue is using outdated or low-speed cards. Older Class 4 or Class 6 SDs do not meet current standards. They struggle with modern game demands. This leads to long load times or installation errors.
Some users forget to format the card through the console. Even if formatted on a PC, the Switch needs its own setup. Skipping this step causes recognition problems. Always let the system handle formatting.
Leaving the protective flap open invites dust and dirt. Over time, particles clog the contacts. This interferes with data transfer. Always close the cover after insertion.
Also, removing the card while the system is on risks corruption. Wait until the Switch powers down fully. Then eject the card safely. Sudden disconnection harms saved files.
Lastly, buying counterfeit cards remains a risk. Fake versions mimic real packaging but fail quickly. Purchase from authorized retailers. Check reviews and serial numbers when possible.
 Troubleshooting: What to Do If the Card Isn’t Detected
Quick Fixes for Recognition Issues
If your Nintendo Switch doesn’t recognize the micro SD card, stay calm. First, restart the console. Sometimes a simple reboot resolves detection problems. Turn it off completely, wait ten seconds, then power it back on.
Next, reinsert the card. Remove it gently and put it back in. Ensure it clicks into place. Misalignment prevents proper contact. Clean the card’s metal contacts with a dry cloth if needed.
Then, try formatting the card again. Go to System Settings > Data Management > Format microSD Card. Confirm the action. Note that this erases all data. Back up important files first if possible.
Check whether the card works on another device. Insert it into a phone, tablet, or computer. If other systems don’t detect it, the card may be faulty. Contact the seller for replacement.
Update your Switch system software. Older firmware versions sometimes lack support for newer cards. Connect to Wi-Fi and install any pending updates.
If nothing works, test a different micro SD card. This helps determine if the issue lies with the hardware or the card itself. Persistent problems may require contacting Nintendo Support.
Never ignore warning messages. If the system reports corrupted data, act immediately. Delaying increases the risk of permanent loss.
Frequently Asked Questions About Nintendo Switch Micro SD Card Use
Answers to Top User Concerns
Can I use multiple micro SD cards? Yes, but only one at a time. Swap them as needed. However, moving games between cards requires re-downloading.
Does the micro SD card affect game performance? Not if it’s high quality. Fast U3 cards deliver smooth gameplay. Slow ones may cause delays.
Can I save screenshots and videos to the card? Yes. All user-generated content saves to the default location. You can change this in settings.
Is it safe to leave the card inserted all the time? Absolutely. The console treats it like internal storage. No harm occurs from continuous use.
Do DLC and updates install on the micro SD card? Yes, if the base game is stored there. Otherwise, they go to internal memory.
Can I play cartridge games with a micro SD card? Yes. Physical games run independently. The card stores digital content only.
Will removing the card delete my saves? No. Game saves sync to the cloud if you have Nintendo Online. Local saves remain unless manually deleted.
Are third-party cards reliable? Some are. Stick to reputable brands. Avoid unknown sellers on marketplaces.
 Final Thoughts on Nintendo Switch Micro SD Card Where to Insert
Understanding nintendo switch micro sd card where to insert makes a big difference in daily use. The process is straightforward once you know the location and method. By expanding storage, you unlock the full potential of your console. More games, faster access, and less frustration become possible.
Whether you’re a casual player or a dedicated fan, managing storage wisely enhances your experience. Knowing how and where to insert the card keeps your system running smoothly. So remember the steps, choose the right card, and enjoy endless gaming possibilities.