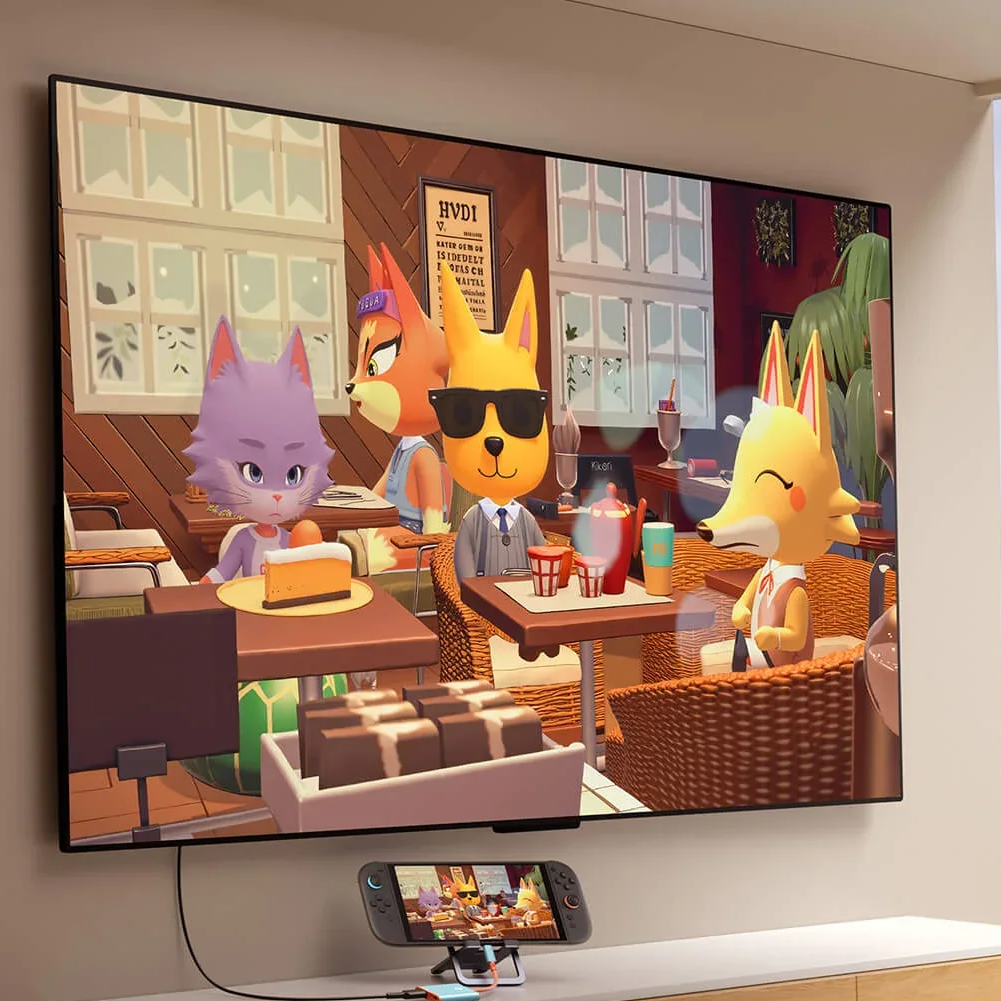
Connecting your Nintendo Switch to a TV enhances gameplay with a bigger screen and better sound. Whether you’re new to gaming or upgrading your setup, knowing how to set up Nintendo Switch to TV makes all the difference. The process is simple but requires attention to detail.
From unboxing to launching your first game, each step ensures smooth performance. This guide walks you through every phase. It also covers troubleshooting, display settings, and tips for optimal viewing.
 Unboxing and Identifying All Components
What Comes in the Box and What You Need
Start by opening the box carefully. Inside, you’ll find the console, Joy-Con controllers, straps, and the dock. These are essential for TV mode.
The dock connects the Switch to your TV. It has an AC adapter that powers the system. Make sure both pieces are present.
Two Joy-Con controllers snap onto the sides of the tablet. They also detach for multiplayer games. Each comes with its own strap.
HDMI cables vary by model. Early versions included one. Newer OLED models may not. Check if you have it before starting.
A small screwdriver helps secure the HDMI port cover. Remove it from the bottom of the tablet. This allows insertion into the dock.
If any part is missing, contact customer support. Most retailers offer replacements. Do not use third-party docks unless certified.
Gather everything before setup. Work on a clean, flat surface. Avoid static-prone areas. Safety matters during assembly.
You do not need extra tools. The system uses standard connections. Simple steps lead to success.
Knowing what’s included prevents frustration. Prepare early for faster results. Understanding how to set up Nintendo Switch to TV begins with the basics.
Connecting the Dock to Power and TV
Step-by-Step Wiring Instructions
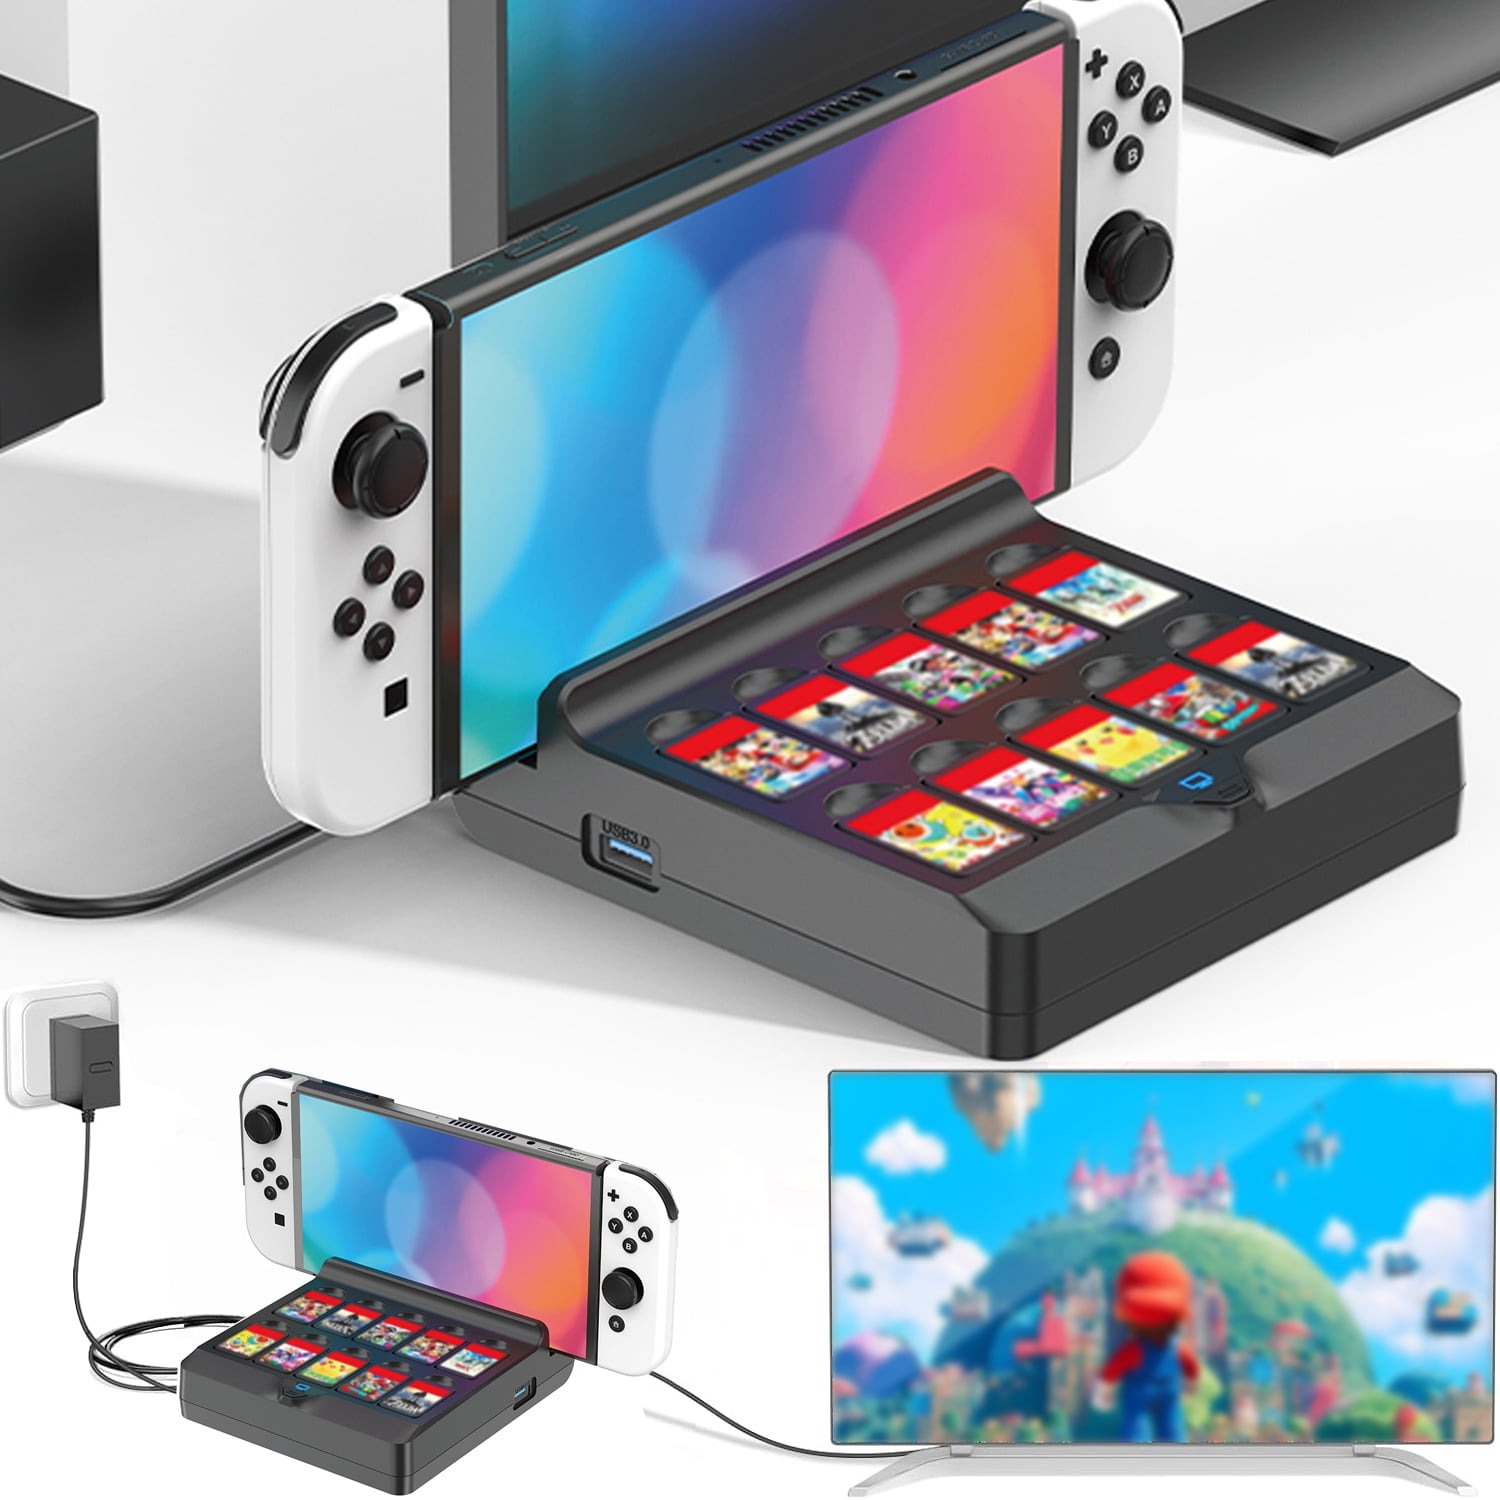
First, plug the AC adapter into a wall outlet. Then, connect the other end to the back of the dock. A green light will turn on when powered.
Next, take the HDMI cable. Insert one end into the top of the dock. Push firmly until it clicks. Ensure it sits tight.
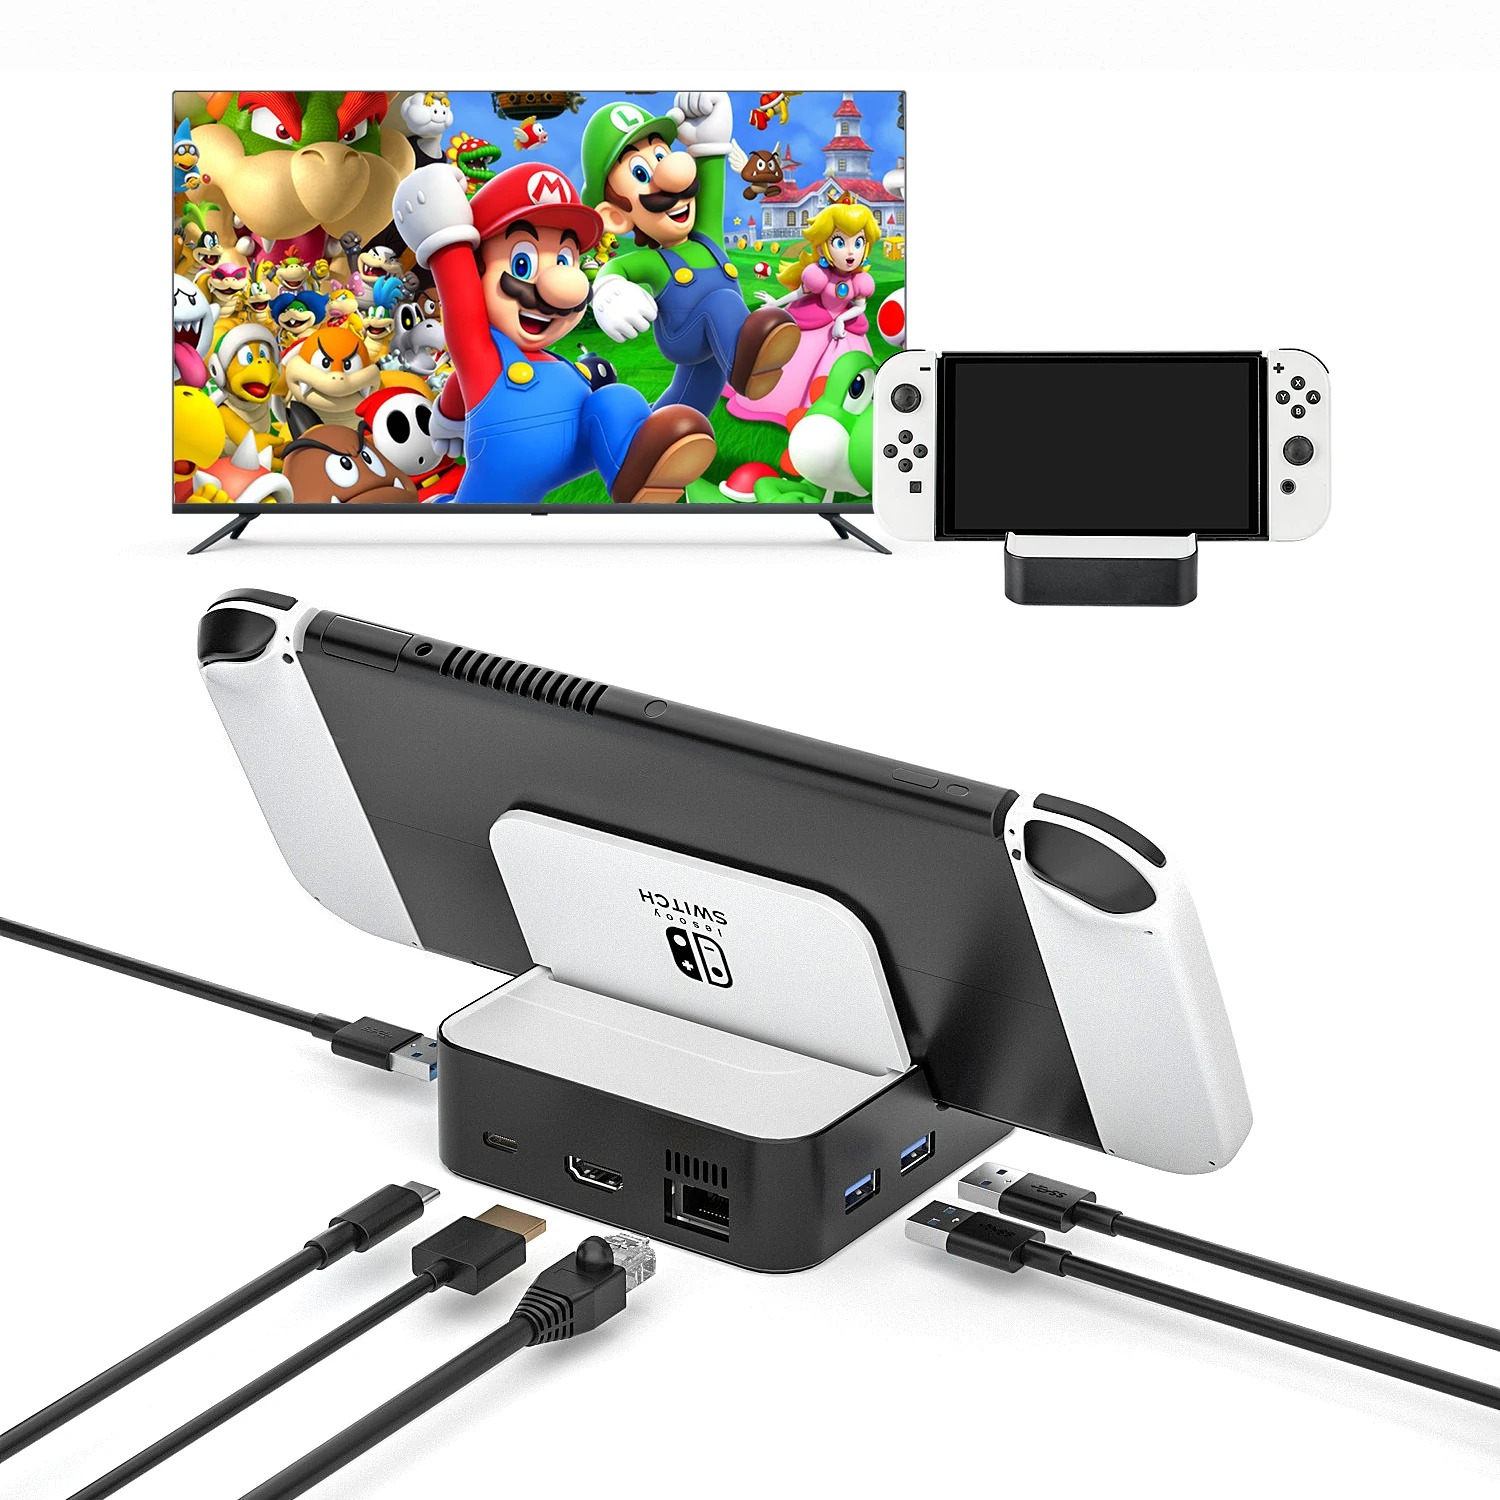
Attach the other end to your TV’s HDMI input. Choose a port labeled HDMI 1, 2, or 3. Remember which one you used.
Turn on your TV. Use the remote to switch to the correct HDMI source. Press “Input,” “Source,” or “TV/Video.” Navigate until the screen appears.
You should see the Nintendo logo. If not, double-check all connections. Loose cables cause blank screens.
Do not force any plugs. HDMI ports break easily. Align the connector correctly before pushing.
Keep cords organized. Use ties or clips to prevent tangles. Neat wiring reduces accidents. Pets and kids won’t trip.
Place the dock in a well-ventilated area. Avoid enclosing it in cabinets. Heat builds up without airflow. Overheating slows performance.
Use surge protectors for safety. Power spikes damage electronics. Protect your investment.
This stage completes the core hardware setup. Now you’re ready to add the console.
 Inserting the Nintendo Switch Into the Dock
Proper Alignment and Secure Placement
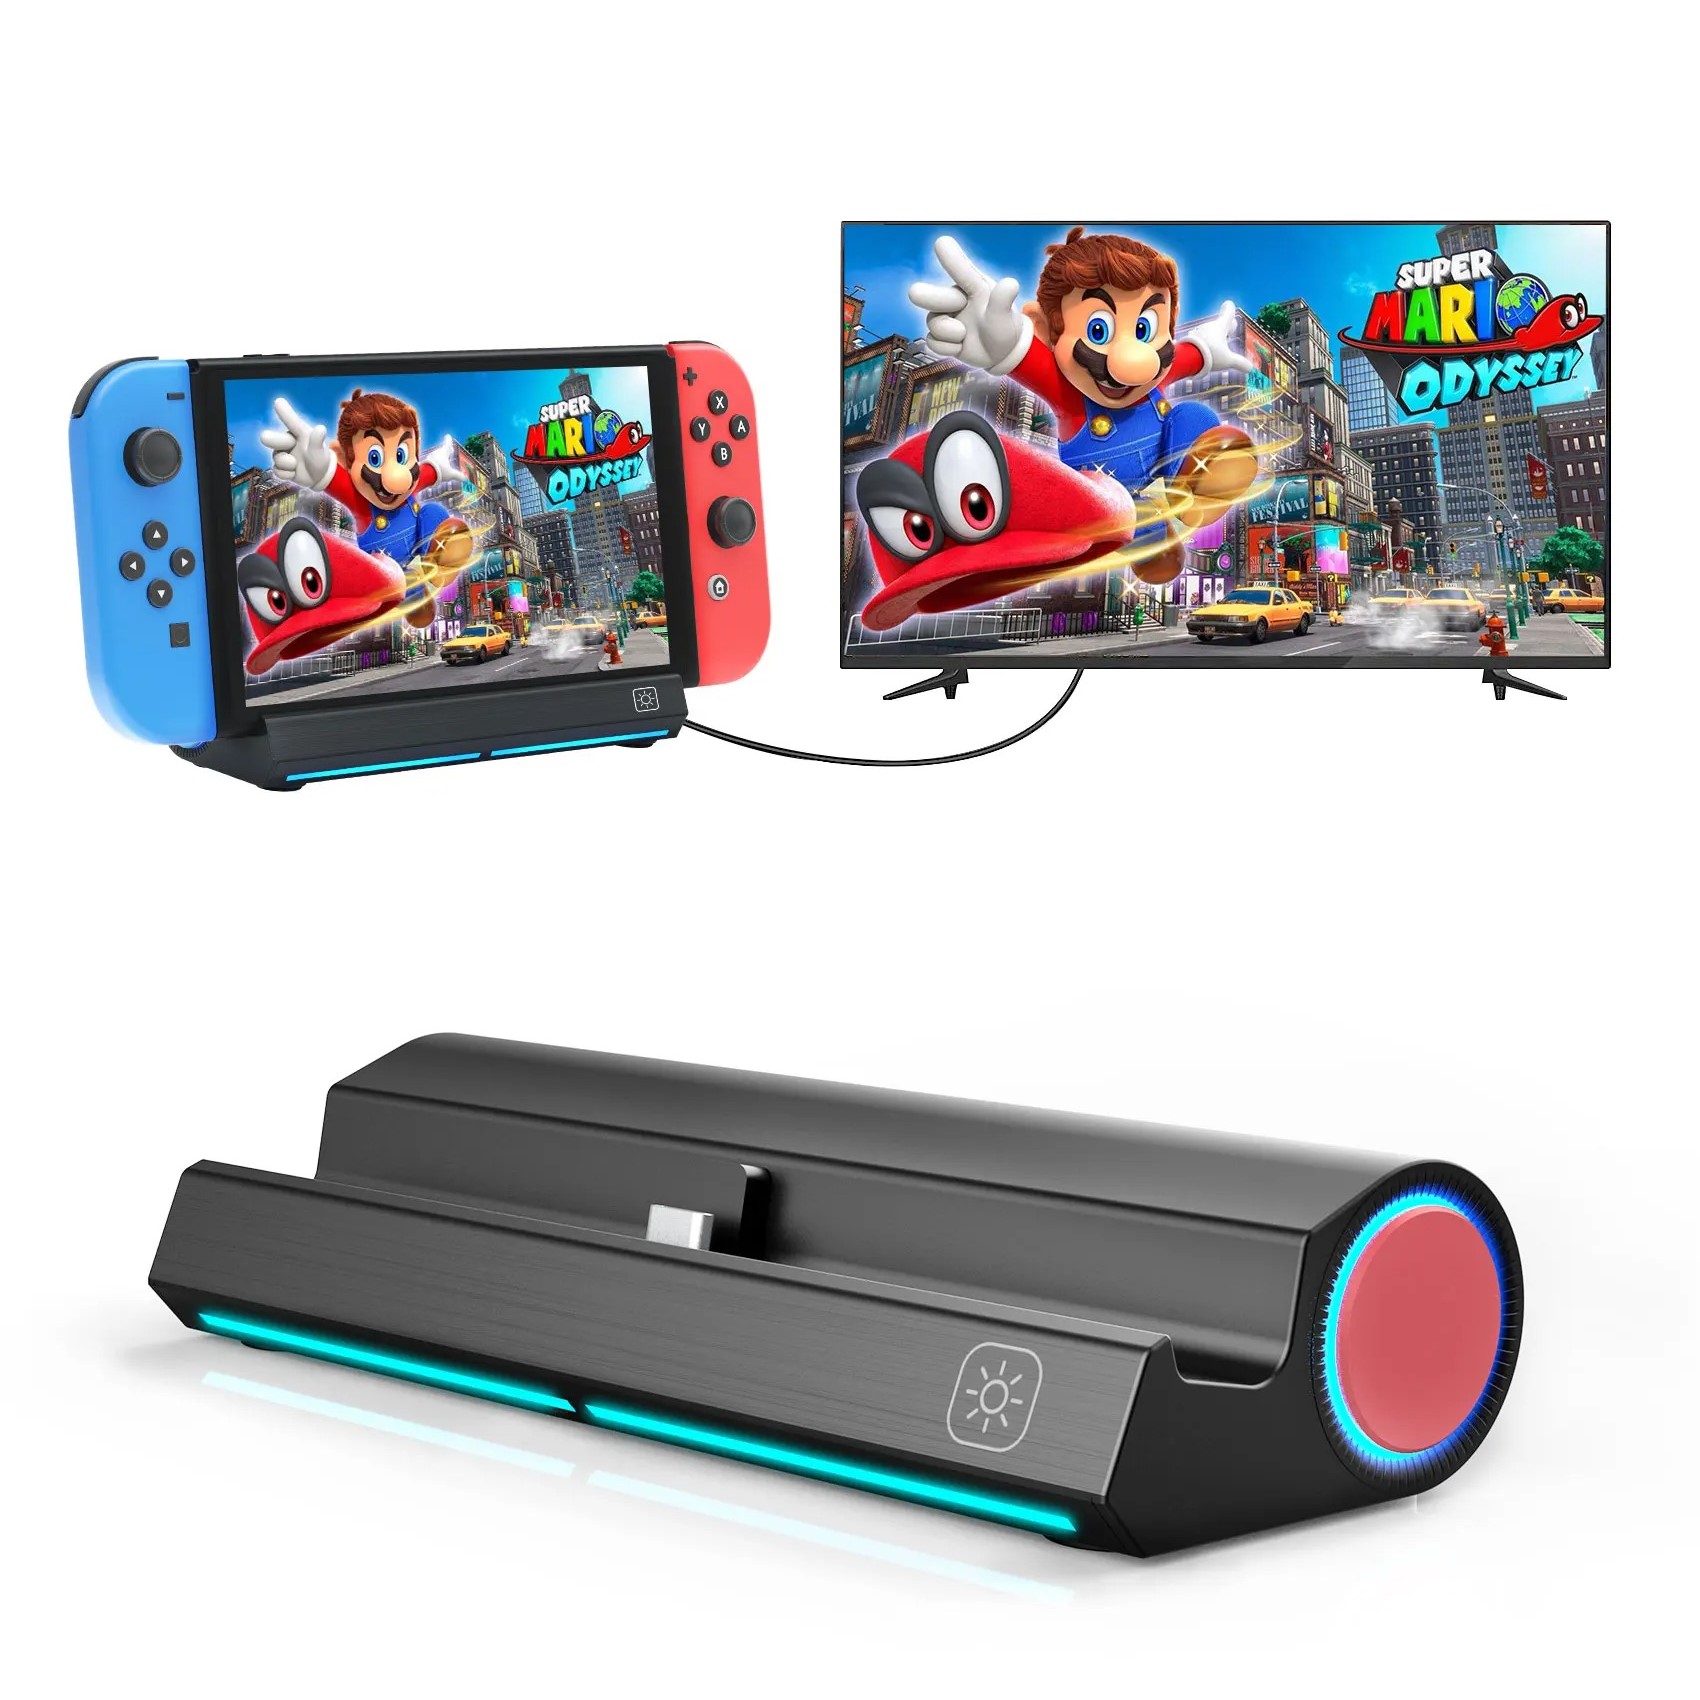
Hold the tablet with both hands. Slide it gently into the dock. The USB-C port at the bottom must face down.
It should glide smoothly. Stop if you feel resistance. Forcing it can damage the port. Realign and try again.
Once fully inserted, the screen will mirror to the TV. Your home menu appears on the big screen. Audio plays through the TV speakers.
Check the brightness. The docked mode automatically adjusts. If too dim, go to System Settings > Screen. Change brightness there.
Ensure the tablet stays upright. Some stands tip over. Place it on a stable surface. Keep it away from edges.
Remove the Joy-Con controllers before docking. Attach them after the screen loads. This avoids accidental inputs.
Wait ten seconds for full startup. Rushing causes confusion. Let the system sync properly.
If the screen stays black, press the power button on the dock. Restart the console. Try reinserting it.
Always undock when not in use. Prolonged charging wears batteries. Unplug once done playing.
Now your system runs on the TV. The next step is controller setup.
Pairing Controllers for TV Mode
Syncing Joy-Con and Pro Controller
Press and hold the SYNC button on the dock for one second. Release it. This activates pairing mode.
Take your left Joy-Con. Press the SYNC button on the side. Do the same for the right. Both should flash rapidly.
They will connect within seconds. Colored lights indicate player numbers. Player one is red, two is blue.
For more players, repeat the process. Up to four Joy-Cons work at once. Share with friends or family.
If using a Nintendo Switch Pro Controller, press its SYNC button. Located near the USB-C port. It pairs instantly.
To disconnect, go to System Settings > Controllers and Sensors. Select “Disconnect.” Or hold the SYNC button for five seconds.
Wash your hands before handling. Oils affect stick performance. Clean regularly with a dry cloth.
Controllers charge while attached. Use the grip or charging dock. Full power lasts about six hours.
Test each one before play. Move sticks and press buttons. Confirm responsiveness. Fix issues early.
Pro Controllers offer longer battery life. Ideal for long sessions. They mimic traditional console layouts.
Controller setup ensures smooth gameplay. Knowing how to set up Nintendo Switch to TV includes mastering input devices.
 Adjusting Display and Sound Settings
Optimizing Picture Quality and Volume
Go to System Settings > TV Settings. Here, you can adjust resolution and aspect ratio. Most HDTVs support 1080p output.
Select “Screen Size” to fit your display. Avoid overscan. Black borders reduce screen space. Disable it in your TV’s menu.
Change audio output if needed. By default, sound plays through the TV. Headphones stay active when plugged into the console.
For surround sound, check your AV receiver. Enable HDMI audio pass-through. Dolby formats improve immersion.
Reduce input lag for competitive games. Turn on Game Mode on your TV. Response time drops significantly.
Calibrate brightness and color. Use built-in test patterns. Match visuals to room lighting. Daytime and night settings differ.
Lower volume if too loud. Kids often crank it up. Set parental controls to limit maximum levels.
Enable notifications for updates. Firmware improves performance. Auto-download saves time later.
Save your preferences. Exit safely. Always apply changes before closing menus.
Fine-tuning boosts enjoyment. Crisp images and clear sound enhance every game.
Troubleshooting Common Connection Issues
Fixing No Signal, Black Screens, and Audio Drops
If the TV shows “No Signal,” check the HDMI connection. Unplug and reconnect both ends. Ensure the TV is on the right input.
Restart the dock. Unplug the power adapter. Wait 30 seconds. Plug it back in. This resets the system.
Clean the Switch’s USB-C port. Dust blocks contact. Use compressed air or a soft brush. Be gentle.
Try a different HDMI cable. Old ones degrade over time. Certified cables ensure compatibility.
Update the console software. Outdated firmware causes glitches. Connect to Wi-Fi and install updates.
Reset video output. Go to System Settings > TV Settings > Reset. Follow prompts. Reboot afterward.
Check the TV’s supported resolution. Older models only accept 720p. Adjust in settings accordingly.
Audio not working? Restart audio devices. Disconnect external speakers. Reconnect them after reboot.
Joy-Cons not syncing? Repair them manually. Hold the SYNC button until lights blink. Wait for connection.
Contact Nintendo Support if problems persist. Live chat and phone help are available. Provide error codes if shown.
Most issues have quick fixes. Patience leads to solutions.
 Using Parental Controls and Multi-User Setup
Managing Profiles, Restrictions, and Play Time
Create user profiles for each family member. Tap the plus sign on the home screen. Add name, avatar, and birthday.
Set parental controls via the free Nintendo Switch Parental Controls app. Link it using a QR code. Monitor usage remotely.
Limit daily playtime. Schedule bedtime cutoffs. The system shuts off automatically. Encourage healthy habits.
Restrict online interactions. Block voice chat or friend requests. Prevent exposure to strangers.
Filter game ratings. Only allow ESRB-approved titles. Avoid mature content for young kids.
Switch between users fast. Log out with a single tap. No need to restart. Save progress per profile.
Share digital games across accounts. Anyone on the primary console can play. One purchase serves many.
Back up save data with Nintendo Switch Online. Recover progress if lost. Cloud saves prevent heartbreak.
Teach kids responsibility. Assign chores tied to playtime. Balance fun with learning.
Family management makes shared use easy. Everyone enjoys their experience.
Frequently Asked Questions
Does every Switch come with an HDMI cable? No. Original and Lite models include one. OLED models require a separate purchase.
Can I use a long HDMI cable? Yes. Use high-speed cables under 15 feet. Longer ones may lose signal quality.
Why does my screen flicker? Faulty cables or loose connections. Replace the HDMI cord. Ensure snug fit.
Can I play while charging? Yes. The system supports simultaneous play and charge. Avoid overheating with good airflow.
What if my TV doesn’t have HDMI ARC? Standard HDMI ports work fine. ARC is for audio return, not required.
Do I need Wi-Fi to play on TV? Not for offline games. Online features and updates require internet.
Can I use Bluetooth headphones on TV mode? Only with a compatible adapter. Built-in Bluetooth works for audio in handheld mode.
Is the dock region-locked? No. Any Nintendo Switch dock works worldwide. Voltage adjusts automatically.
 Final Thoughts
Learning how to set up Nintendo Switch to TV opens up a world of immersive gaming. The larger screen brings games to life. Families gather around for Mario Kart battles. Friends challenge each other in Super Smash Bros.
With clear steps and proper tools, anyone can complete the setup. No technical skills are required. Just follow the instructions.
From powering the dock to syncing controllers, each phase ensures success. Adjustments improve picture and sound. Troubleshooting solves common issues.
Whether you’re a parent, student, or casual gamer, this guide supports your journey. Enjoy every adventure in full HD. Mastering how to set up Nintendo Switch to TV is the first step to endless fun.