Learning how to connect Nintendo Switch controller is essential for getting the most out of your gaming experience. Whether you’re using Joy-Cons, a Pro Controller, or third-party options, pairing them correctly ensures smooth gameplay and full functionality.
The Nintendo Switch supports multiple controllers at once. This allows for multiplayer fun right out of the box. You can connect two Joy-Cons for single-player mode or use four for local co-op games.
Bluetooth technology powers the connection. The console detects nearby controllers and pairs with them quickly. No wires are needed in most cases.
Some controllers attach directly to the Switch tablet. Others work wirelessly from a distance. Each method has its own setup steps.
Additionally, connecting controllers opens access to motion controls, HD rumble, and button customization. These features enhance immersion in games like Mario Kart or Zelda.
Troubleshooting may be needed if a controller fails to respond. Sync issues, low battery, or interference can cause problems. Knowing how to fix them saves time and frustration.
Therefore, mastering how to connect Nintendo Switch controller devices improves both performance and enjoyment.
 Connecting Joy-Con Controllers to Your Nintendo Switch
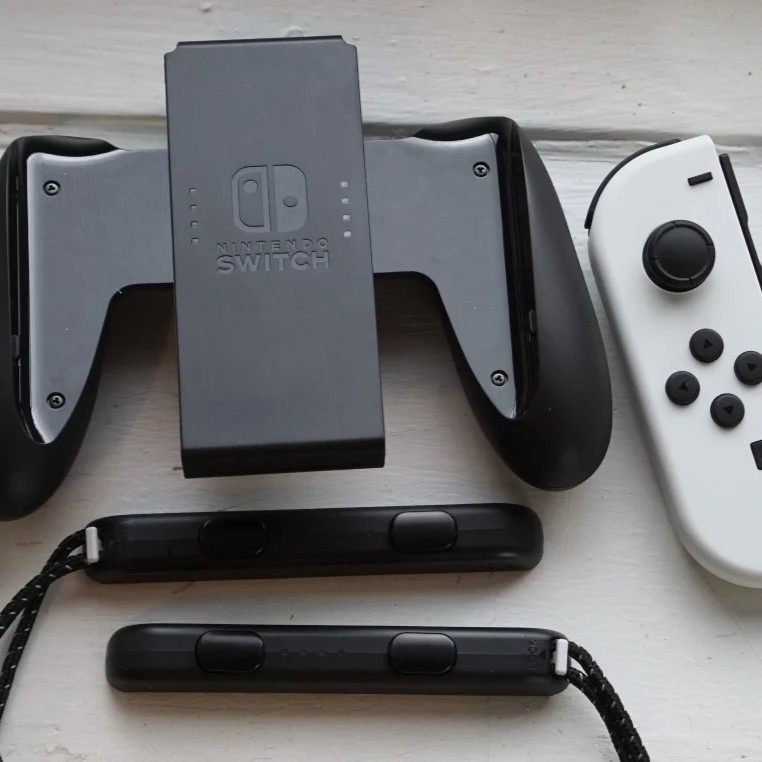
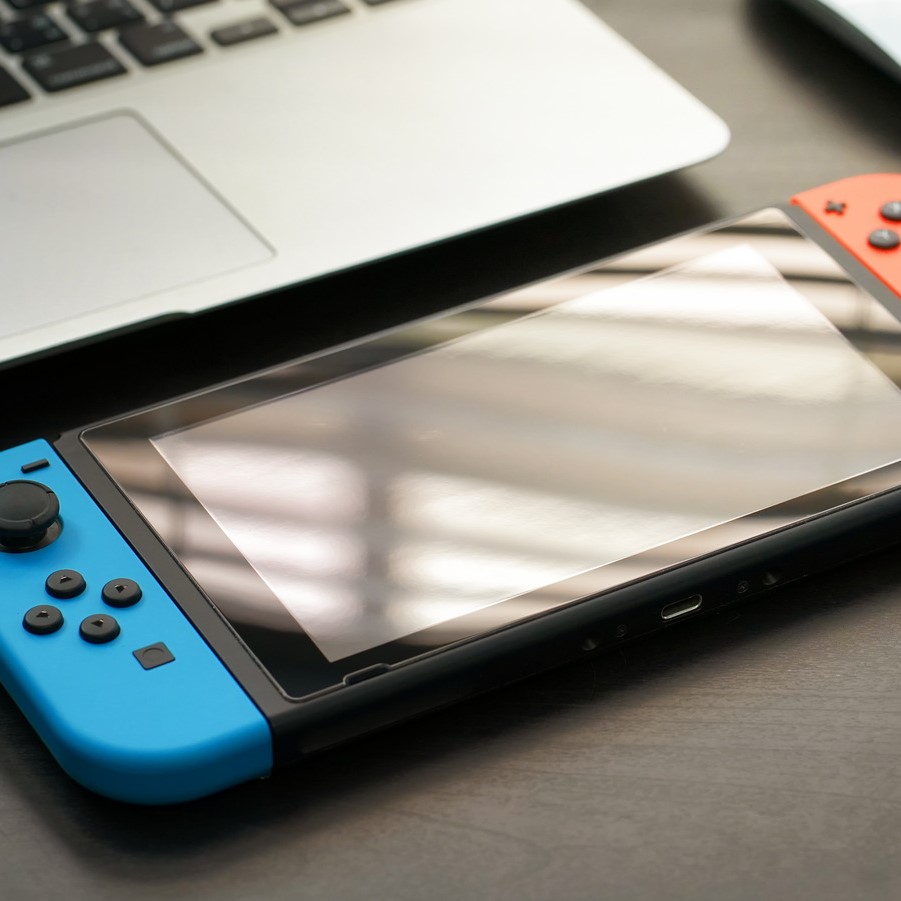
To connect Joy-Con controllers, start by sliding them onto the sides of the Switch tablet. They snap into place with a click. This charges them and links them automatically.
For wireless use, press and hold the SYNC button on the Joy-Con for one second. Do this on both the left and right units.
Next, go to the main menu of your Switch. Tap “Controllers” and then “Change Grip/Order.” The screen will search for available controllers.
Hold the SL and SR buttons on each Joy-Con while syncing. This helps the system recognize them properly.
Once detected, colored icons appear on screen. Red shows up for the right Joy-Con. Blue appears for the left.
You can now detach them and play wirelessly. Keep them within 30 feet of the console for best signal strength.
If only one connects, repeat the process for the other. Make sure both have enough battery.
After pairing, test the controls in a game or system menu. Check if buttons and motion sensors respond.
This method works every time you restart or switch profiles. Re-syncing takes just seconds.
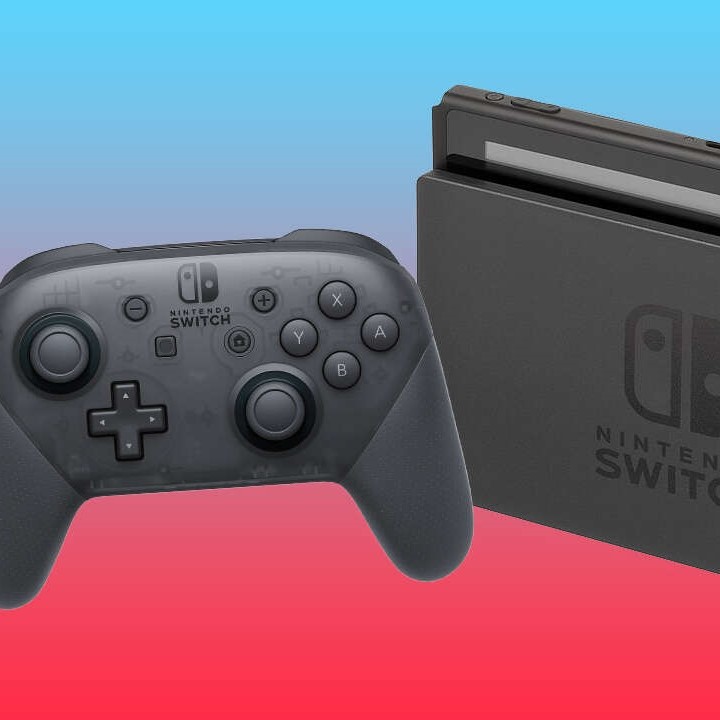
Pairing the Nintendo Switch Pro Controller
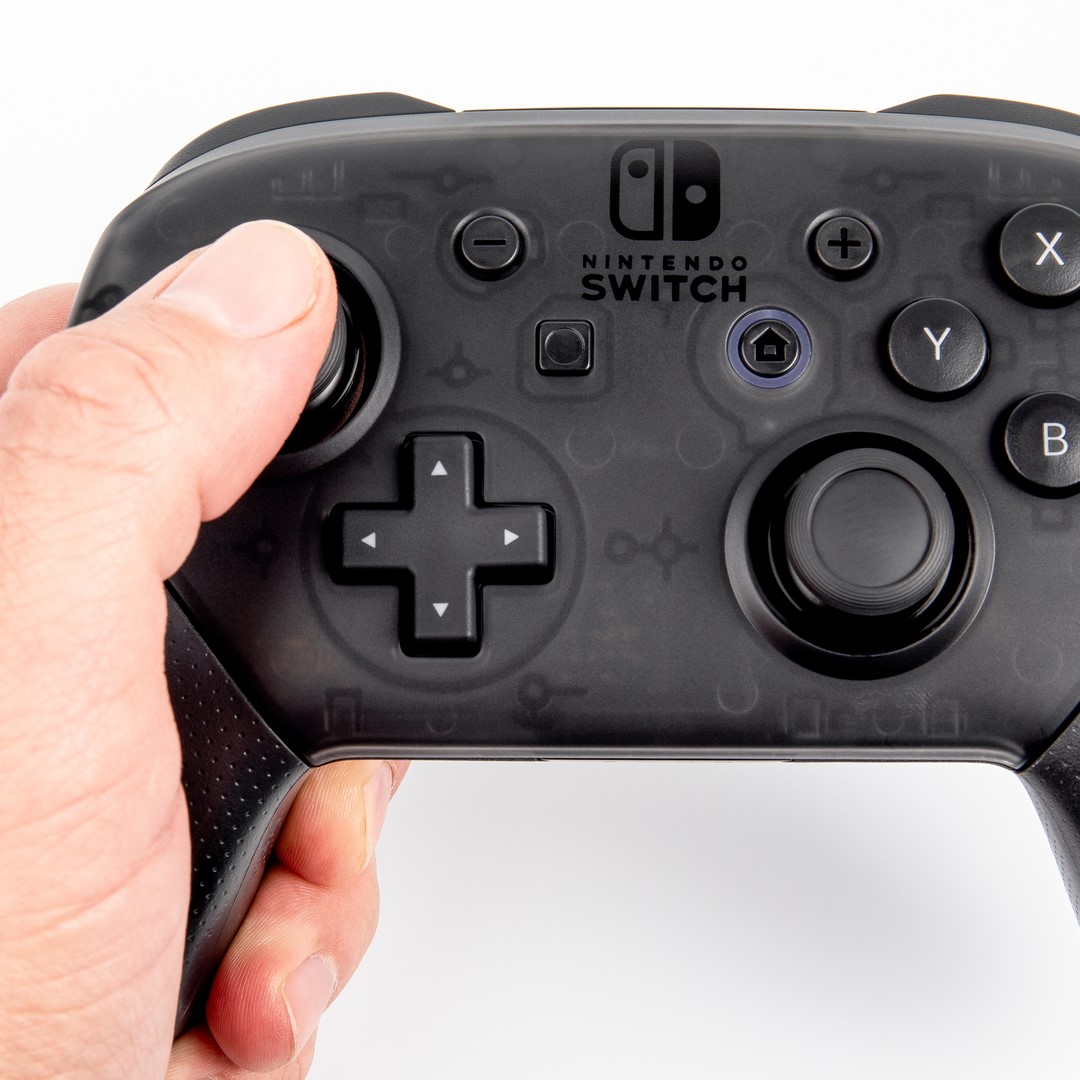
The Pro Controller offers a traditional gamepad feel. To pair it, turn on your Switch and go to the home screen.
Open System Settings. Scroll down to “Controllers and Sensors.” Select “Change Button Configuration” or “Disconnect Controllers.”
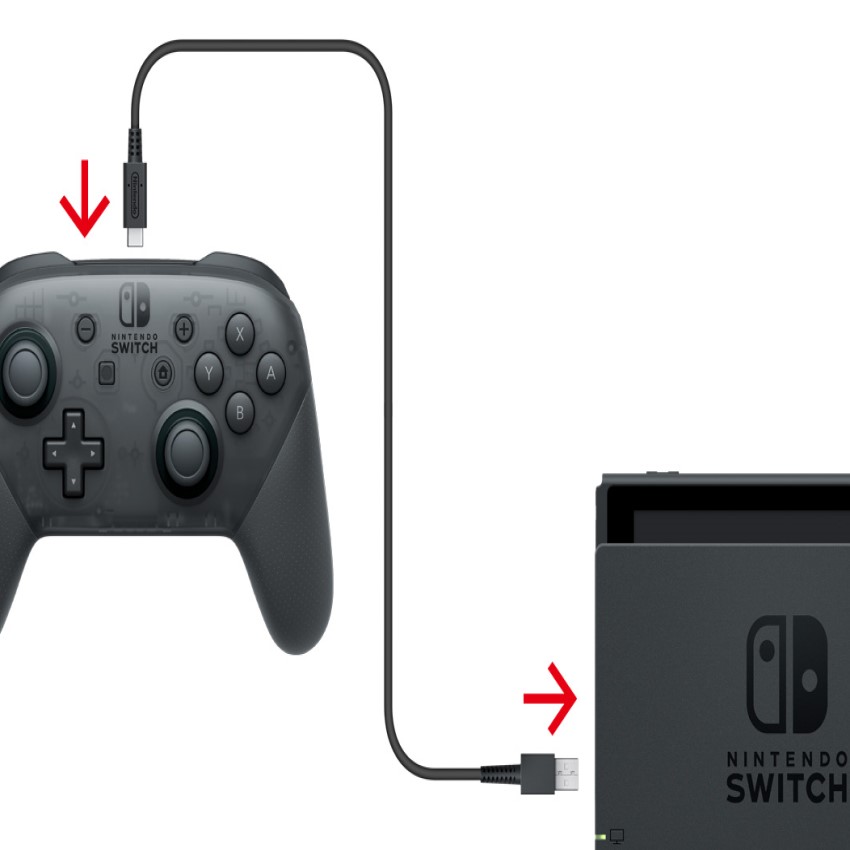
Then choose “Pro Controller Wired Communication.” This activates pairing mode.
Now, press and hold the SYNC button on the back of the Pro Controller. It’s near the USB-C port. Hold it until the lights flash.
The top-left icon on your screen will light up. This means the Pro Controller is connected.
Alternatively, charge it using a USB cable. Plug one end into the Switch dock and the other into the controller. Connection happens automatically.
For future wireless use, unplug after initial sync. The Switch remembers the device.
Battery life lasts about 40 hours. Charge it overnight when the icon blinks red.
Always disconnect unused controllers. This prevents accidental input and saves power.
This simple process makes how to connect Nintendo Switch controller easy for all users.
 Using Multiple Controllers for Multiplayer Games
Connecting multiple controllers lets you play with friends. First, ensure all controllers are charged. Low power prevents syncing.
Start by pairing one set. Use the “Controllers” menu as before. Follow prompts for each new device.
Joy-Cons can be used as individual units. One player holds the left and right together. Another uses separate ones clipped to a grip.
Up to eight controllers can pair at once. However, only four are usually needed for games like Super Smash Bros. or Overcooked.
After pairing, assign players in the game menu. The screen shows which color matches each user.
If a controller disconnects mid-game, re-sync it immediately. Press the SYNC button and wait for the light to match.
Avoid overcrowding near the console. Too many wireless signals can interfere. Space players out slightly.
Test all inputs before starting. Confirm that every player can move and jump.
With everyone connected, multiplayer becomes seamless and fun.
Troubleshooting Common Connection Issues
Sometimes controllers fail to connect. First, check the battery level. Dead batteries stop communication. Charge them briefly and retry.
If the console doesn’t detect a controller, reset it. Press the small reset button on the back with a paperclip.
Interference from Wi-Fi or other devices may block signals. Move closer to the Switch or reduce nearby electronics.
Restart the console. Turn it off completely. Wait 10 seconds. Power it back on and try again.
Clean the rail connectors if Joy-Cons won’t attach. Dust or debris can block charging and syncing. Use a dry cloth.
Update your system software. Older versions may have bugs. Go to Settings > System > System Update.
Delete paired controllers if too many are saved. Go to Controllers > Disconnect Controllers. Start fresh.
Try a different USB cable for the Pro Controller. Faulty cables prevent wired connections.
If problems persist, contact Nintendo Support. They offer live help and repair options.
These fixes solve most issues related to how to connect Nintendo Switch controller.
 Connecting Controllers to a PC or Smartphone
You can use Switch controllers on other devices. First, turn on Bluetooth on your PC or phone.
On Windows, go to Settings > Devices > Bluetooth & other devices. Click “Add Bluetooth or other device.”
Press and hold the SYNC button on the Joy-Con or Pro Controller. Wait for it to appear in the list.
Select it to pair. For Pro Controllers, download HID-Nintendo driver if needed. This enables full button support.
On Android, open Bluetooth settings. Search for new devices. Choose the controller when it shows up.
iOS requires apps like iControlPad or Game Room. Pair through Bluetooth after launching the app.
Once connected, test in a game or emulator. Some apps map buttons automatically. Others need manual setup.
Not all functions work perfectly. Motion controls and HD rumble may not transfer.
Still, this expands how you use your gear beyond the Switch.
Maintaining Your Controllers After Connection
After learning how to connect Nintendo Switch controller, maintenance matters. Always wipe them after use. Sweat damages buttons over time.
Store Joy-Cons in a case or on the charging grip. Avoid leaving them loose in bags. Scratches and drops happen easily.
Check thumbsticks monthly. Clean around the base with a cotton swab. Dirt causes drift issues.
Replace worn wrist straps. They prevent slips during intense play. Use official or durable third-party bands.
Charge controllers regularly. Don’t let them die completely. Lithium batteries last longer with partial discharges.
Keep firmware updated. The Switch checks for updates when connected. This improves stability.
Avoid extreme temperatures. Heat warps plastic. Cold drains batteries fast.
Inspect cables for fraying. Replace damaged USB cords promptly.
Good care keeps your controllers responsive and long-lasting.
 Where to Buy Replacement Controllers
Buy replacement controllers from trusted sources. Nintendo’s official website sells genuine Joy-Cons and Pro Controllers.
Amazon offers fast shipping and customer reviews. Look for “Ships from Amazon” for reliability.
Retailers like Best Buy, Target, and GameStop carry them in-store. Staff can help verify compatibility.
Refurbished models are cheaper. Nintendo-certified ones come with warranties.
Avoid counterfeit products. Fake controllers often fail to sync. They lack motion controls and break quickly.
Third-party brands like PowerA make affordable options. Many are licensed by Nintendo.
Check return policies before buying. Test connectivity right away.
Sales happen during holidays. Black Friday and Prime Day bring discounts.
Investing in quality replacements ensures smooth future connections.
Frequently Asked Questions About Connecting Nintendo Switch Controllers
Can I use non-Nintendo controllers?
Only licensed ones work. Unofficial Bluetooth controllers may not sync properly.
Why won’t my Joy-Con reconnect?
Reset it first. Then re-pair through the Controllers menu.
Do I need internet to connect controllers?
No. Bluetooth pairing works offline. Internet is only for updates.
Can I play with one Joy-Con?
Yes. Some games support single Joy-Con mode.
How far can controllers be from the Switch?
Up to 30 feet in open space. Walls or interference reduce range.
What does a flashing light mean?
It means syncing or low battery. Solid light means connected.
Can I use the Pro Controller on handheld mode?
Yes. It connects via Bluetooth. Great for tabletop play.
Does connecting drain battery fast?
Idle connection uses little power. Active play reduces charge over hours.
 Final Thoughts: Mastering How to Connect Nintendo Switch Controller
Knowing how to connect Nintendo Switch controller devices unlocks full gaming potential. It allows solo play, group sessions, and even cross-device use.
From Joy-Cons to Pro Controllers, each option brings unique benefits. Proper setup ensures reliable performance.
Whether you’re troubleshooting or adding extras, the steps are clear and simple. With practice, pairing becomes second nature.
So, take time to learn these methods. Keep your gear charged and clean. Enjoy seamless play every time.
Because once you master the connection, nothing stands between you and your next adventure.