Introduction to Replacing Switch Joysticks
For gamers who rely on their Nintendo Switch consoles, a dysfunctional joystick can be one of the most frustrating issues. Whether it’s drifting, sticking, or simply not responding, joystick problems can significantly diminish your gaming experience. If you’ve found yourself searching for “how to replace switch joystick,” this guide is tailored for you. Here, we’ll delve into the necessary tools, step-by-step instructions, and helpful tips that will have your console back to its peak performance in no time.
Understanding how to effectively replace the joystick is essential for maintaining optimal gameplay. While many players may consider sending their console for repair, performing the replacement yourself can save both time and money if you feel confident. This article is your comprehensive guide to navigating the replacement process successfully.
Understanding the Components of a Switch Joystick
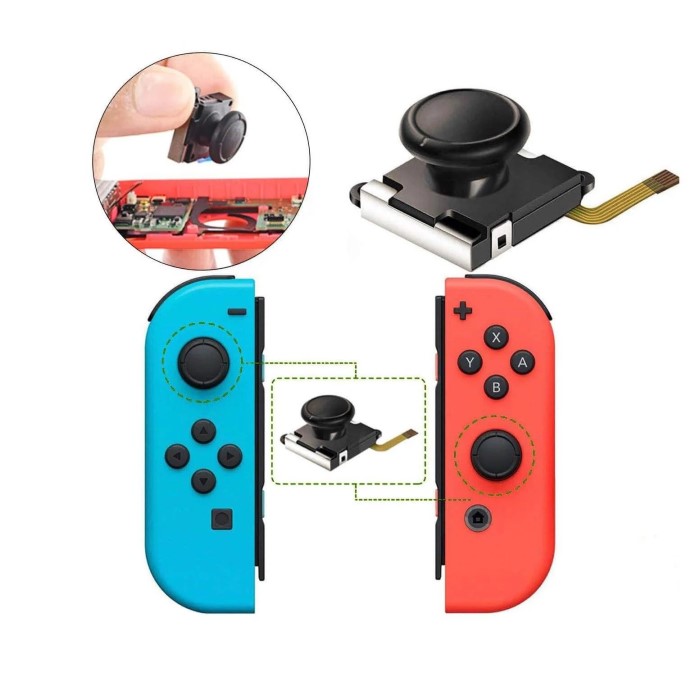
Before diving into the replacement process, it’s crucial to understand what makes up the joystick assembly. The joystick on a Nintendo Switch is composed of several key components that work together to convey your input:
- Joystick Module:
This is the main component that translates your directional movements into commands. If this parts wears out or malfunctions, you’ll experience issues like drifting or unresponsiveness. - Housing:
The joystick housing encases the module, providing stability and protection. Damage or cracks can lead to joystick failure. - Flex Cable:
This wire connects the joystick to the main circuit board of the Joy-Con controller. If it gets ripped or damaged, it can disrupt communication between the joystick and your console. - Buttons:
Additional buttons may also be linked to the joystick module, providing extra functions or controls. These must be reattached correctly during replacement.
Having knowledge of these components ensures you understand what parts to address during replacement. It’s also beneficial if you ever need to conduct further repairs in the future.
Tools Needed for the Replacement
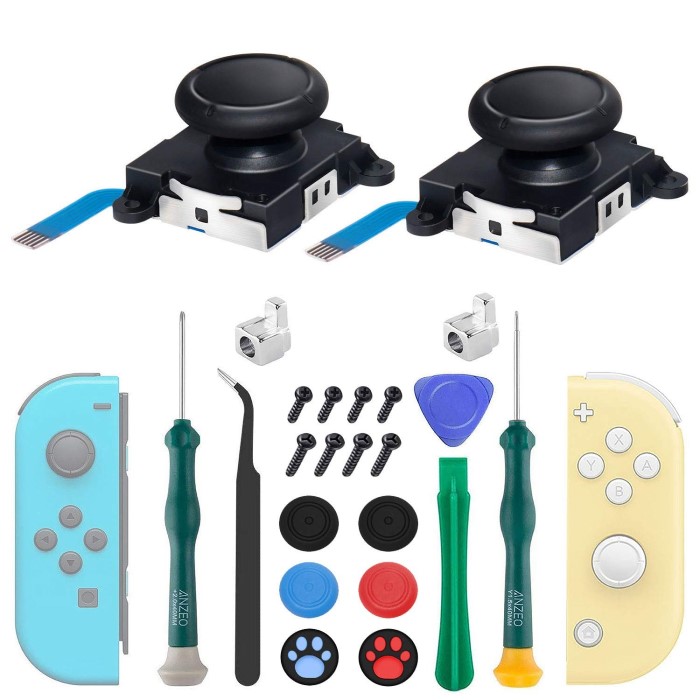
How to replace switch joystick? Now that you’re familiar with the joystick components, let’s gather the necessary tools for the job. Make sure to have the following items ready:
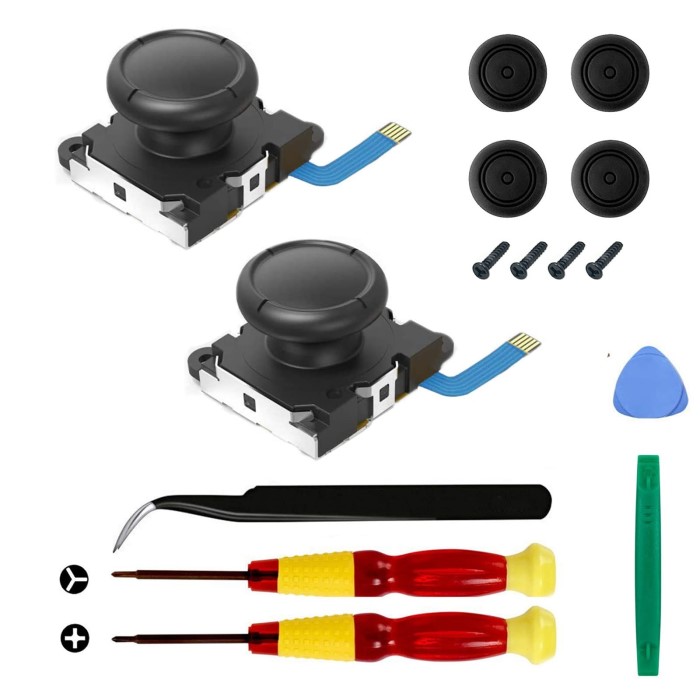
- Tri-wing Screwdriver:
This is essential for opening the Joy-Con casing. Most Nintendo devices feature tri-wing screws, making this screwdriver a must-have. - Phillips Screwdriver:
You will also need a standard Phillips screwdriver for additional screws that may be inside the Joy-Con. - Plastic Pry Tool:
This tool helps separate the delicate plastic parts without causing damage. It’s crucial for safely accessing internal components. - Tweezers:
Useful for maneuvering small parts, especially the flex cables, which can be tricky. - Replacement Joystick Module:
Ensure you have a high-quality replacement joystick module ready for installation. Buying from a reputable source helps avoid future issues. - Anti-static Wrist Strap (optional):
This is an optional tool but highly recommended to prevent static electricity from damaging sensitive components inside the Joy-Con.
With these tools at hand, you’ll be well-prepared to tackle the joystick replacement process effectively.
Step-by-Step Guide to Replacing the Switch Joystick
How to replace switch joystick? Now that you have your tools ready, let’s walk through the steps of replacing the Switch joystick. Please follow these steps carefully to ensure a successful replacement:
Step 1: Preparing Your Workspace
Before you start, ensure that you work in a clean, well-lit environment. Lay down a soft cloth or anti-static mat to protect your console and avoid losing screws or small parts. Gather all your tools and the new joystick module, placing them within easy reach.
Step 2: Removing the Joy-Con from the Switch
Carefully detach the Joy-Con you are working on from your Nintendo Switch. This step is crucial as it allows you to isolate the controller for the replacement process. Just slide it off the side of the console; it should come off easily.
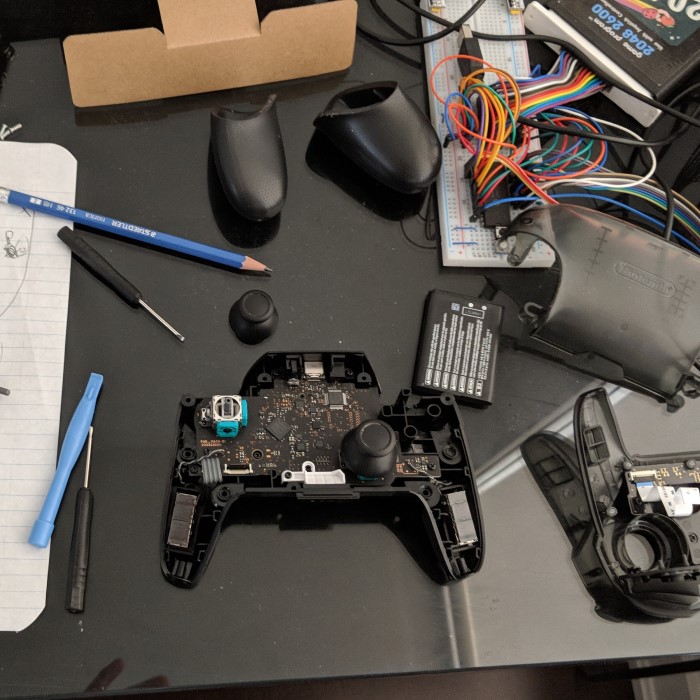
Step 3: Unscrewing the Joy-Con Casing
Using your tri-wing screwdriver, begin removing the screws from the Joy-Con casing. Take note of the screws’ locations, as they can differ in length. Organize screws to avoid confusion. After removing the screws, gently use the plastic pry tool to detach the casing, avoiding excessive force to prevent damage.
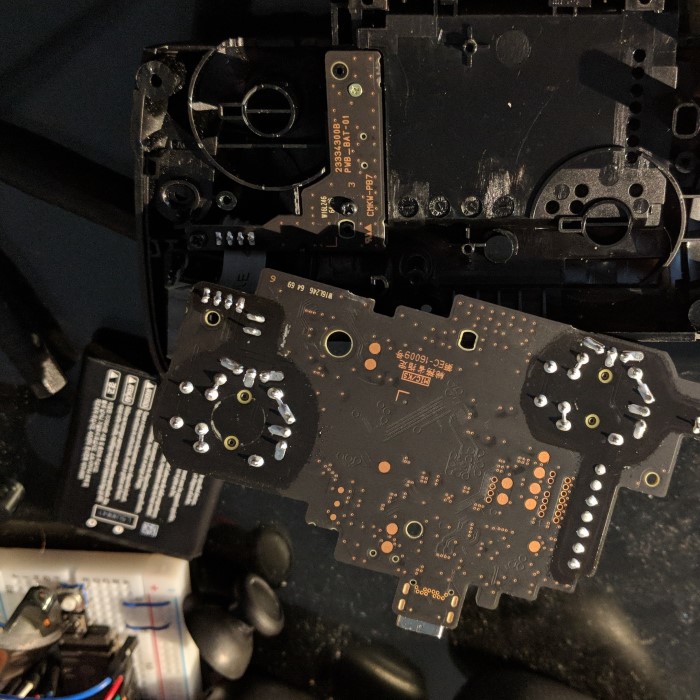
Step 4: Disconnecting the Joystick Module
Once the casing is off, locate the joystick module inside. Carefully detach the flex cable connecting the joystick to the circuit board. Use your plastic pry tool or tweezers to help remove this connection if necessary. Take your time during this step; damaging the flex cable could further complicate the process.
Step 5: Removing the Old Joystick
After disconnecting the flex cable, remove the old joystick module from its housing. Depending on how it has been installed, you may need to gently apply pressure to pull it out. Avoid using sharp objects that could scratch or damage the housing.
Step 6: Installing the New Joystick
With the old joystick removed, it’s time to install the new one. Insert it into the designated slot with care, ensuring it aligns properly. Then reconnect the flex cable securely to maintain communication between the joystick and the Joy-Con’s mainboard.
Step 7: Reassembling the Joy-Con
Once everything is securely connected, it’s time to reassemble the Joy-Con. Line up the casing and screws, ensuring the joystick is assembled correctly without any loose parts. Use the Phillips screwdriver to replace the screws you removed earlier, tightening them snugly.
Step 8: Testing the New Joystick
Before you complete the process, test the joystick to ensure it’s functioning correctly. Attach the Joy-Con back to your Nintendo Switch and navigate through the menus. Check for smooth movements and responsiveness. If everything works well, you’re ready!
Troubleshooting Common Issues
After replacing the joystick, you might encounter a few issues along the way. Here are some tips to troubleshoot:
Drifting Joystick
If you find that your joystick continues to drift even after replacement, it’s essential to take action to correct this issue. Here are the steps you can follow:
- Understanding Joystick Drift:
Joystick drift occurs when the on-screen cursor moves without any input from the user. This can be caused by a variety of factors, including dirt, wear, or insufficient calibration. - Calibration Process:
To resolve drifting issues, calibration is often needed. Here’s how to proceed:- Access System Settings: Start by navigating to the home screen of your Nintendo Switch and selecting the ‘System Settings’ icon.
- Go to Controllers and Sensors: Scroll down the menu on the left and select the option labeled ‘Controllers and Sensors.’
- Calibration Option: Within this menu, locate and select the ‘Calibrate Control Sticks’ option.
- Follow On-Screen Instructions: The system will guide you through the calibration process. This typically involves moving the joystick in circles and allowing the console to recognize the full range of motion.
- Test Your Joystick: After calibration, return to a game or the home screen to test the joystick for any remaining drift.
- Frequency of Calibration:
It may be advisable to recalibrate your joystick periodically, especially after extended use or if you notice gradual drift reappearing. Routine calibration helps maintain optimal performance.
Unresponsive Joystick
An unresponsive joystick can be particularly frustrating, hindering your gaming experience. Here are steps you can take to ensure it functions properly:
- Check Flex Cable Connection:
The flex cable connects the joystick to the main circuit board. If it becomes loose or improperly seated during installation, the joystick may not respond at all. Here’s what to do:- Disassemble the Joy-Con: If the joystick isn’t working, carefully open the Joy-Con again using your tools.
- Locate the Flex Cable: Identify the flex cable that connects the joystick module to the circuit board.
- Inspect the Connection: Check to see if it’s securely attached and properly aligned. If it’s loose, push it back into place gently without applying excessive force.
- Look for Cable Damage:
Sometimes, the cable itself may be damaged from wear and tear or improper removal:- Physical Inspection: Look for any signs of fraying or breaks in the cable. If any damage is detected, you will need to replace the flex cable before the joystick will work correctly.
- Reassembly Check:
If the cable seems fine but the joystick is still unresponsive:- Ensure Proper Reassembly: Ensure that all components are placed correctly without any misplaced parts. Incorrect assembly can block connections and lead to unresponsiveness.
- Tighten Screws: Double-check that all screws have been tightened adequately during the reassembly to ensure everything is held in place.
Physical Damage
Physical damage to the joystick module or the housing can significantly impact functionality. Here’s how to inspect for damage effectively:
- Visual Inspection:
After disassembling the Joy-Con, visually inspect both the joystick module and its housing for signs of wear. Look for:- Cracks or Breaks: Check for any visible cracks or breaks in the plastic housing.
- Distortion: Ensure that the joystick module itself shows no signs of being chipped or distorted in shape.
- Testing for Damage Impact:
Even if no visible damage is apparent, you can perform a quick functionality test:- Shake Test: Gently shake the joystick module. If you hear any rattling noises, this could indicate internal components are loose or broken.
- Press Test: Press down on the joystick to test its movement. If it feels loose or wobbly, this suggests that the internal components might be compromised.
- Replacement Decision:
If you discover any damage:- Replacement Requirement: You may need to replace the damaged joystick module and, in some cases, the housing. Door replacements can often restore functionality and performance.
- Source Quality Components: Ensure you obtain quality replacement parts from reputable sources to avoid further issues down the road.
FAQs
Can you replace the joystick on a Nintendo Switch?
Yes, you can replace the joystick on a Nintendo Switch. It involves disassembling the Joy-Con controller and replacing the joystick module.
Can Nintendo Switch Joy-Cons be replaced?
Yes, the entire Joy-Con can be replaced, but replacing just the joystick module is often more cost-effective and simpler.
How to remove the joystick from Switch?
To remove the joystick, disassemble the Joy-Con, disconnect the flex cable, and remove the joystick module from its housing.
How to replace Joy-Con stick right?
Follow the same steps outlined for replacing the joystick, ensuring you are working on the right Joy-Con and following proper disassembly and reassembly techniques.
Conclusion
In summary, knowing how to replace switch joystick can greatly extend the life of your gaming gear and improve your overall gaming experience. With the guidance provided in this article, you should feel confident taking on this repair task. Each component serves a critical role in maintaining performance, and performing the replacement not only saves money but can also be a rewarding DIY project.
Armed with the right tools, a clear step-by-step guide, and some troubleshooting tips, you can tackle joystick issues effectively and enhance your Nintendo Switch experience. Whether you game casually or competitively, maintaining your hardware is essential for optimal performance. So, get started on your joystick replacement journey today!