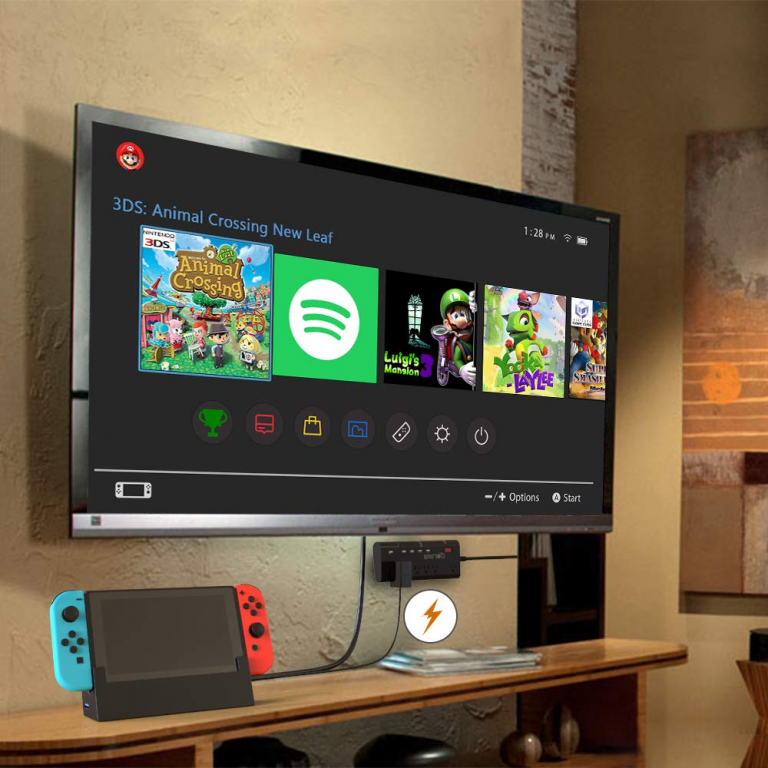
Learning how to connect Nintendo Switch to TV is essential for unlocking the full potential of your gaming console. While the Switch works perfectly as a handheld device, connecting it to your television transforms gameplay into a big-screen experience. Whether you’re playing with friends, enjoying family game nights, or simply want a larger view, linking your console to a TV enhances immersion and comfort. The process is straightforward and only takes a few minutes. You’ll need the Nintendo Switch dock, an HDMI cable, and access to a power source.
Once set up, your games will display in crisp HD quality, making titles like The Legend of Zelda or Mario Kart even more engaging. In this detailed guide, we’ll walk you through every step of how to connect Nintendo Switch to TV, troubleshoot common issues, and offer tips to get the best visual and audio performance. By the end, you’ll feel confident setting up your system at home or even when visiting others.
 What You Need Before Connecting Your Nintendo Switch to a TV
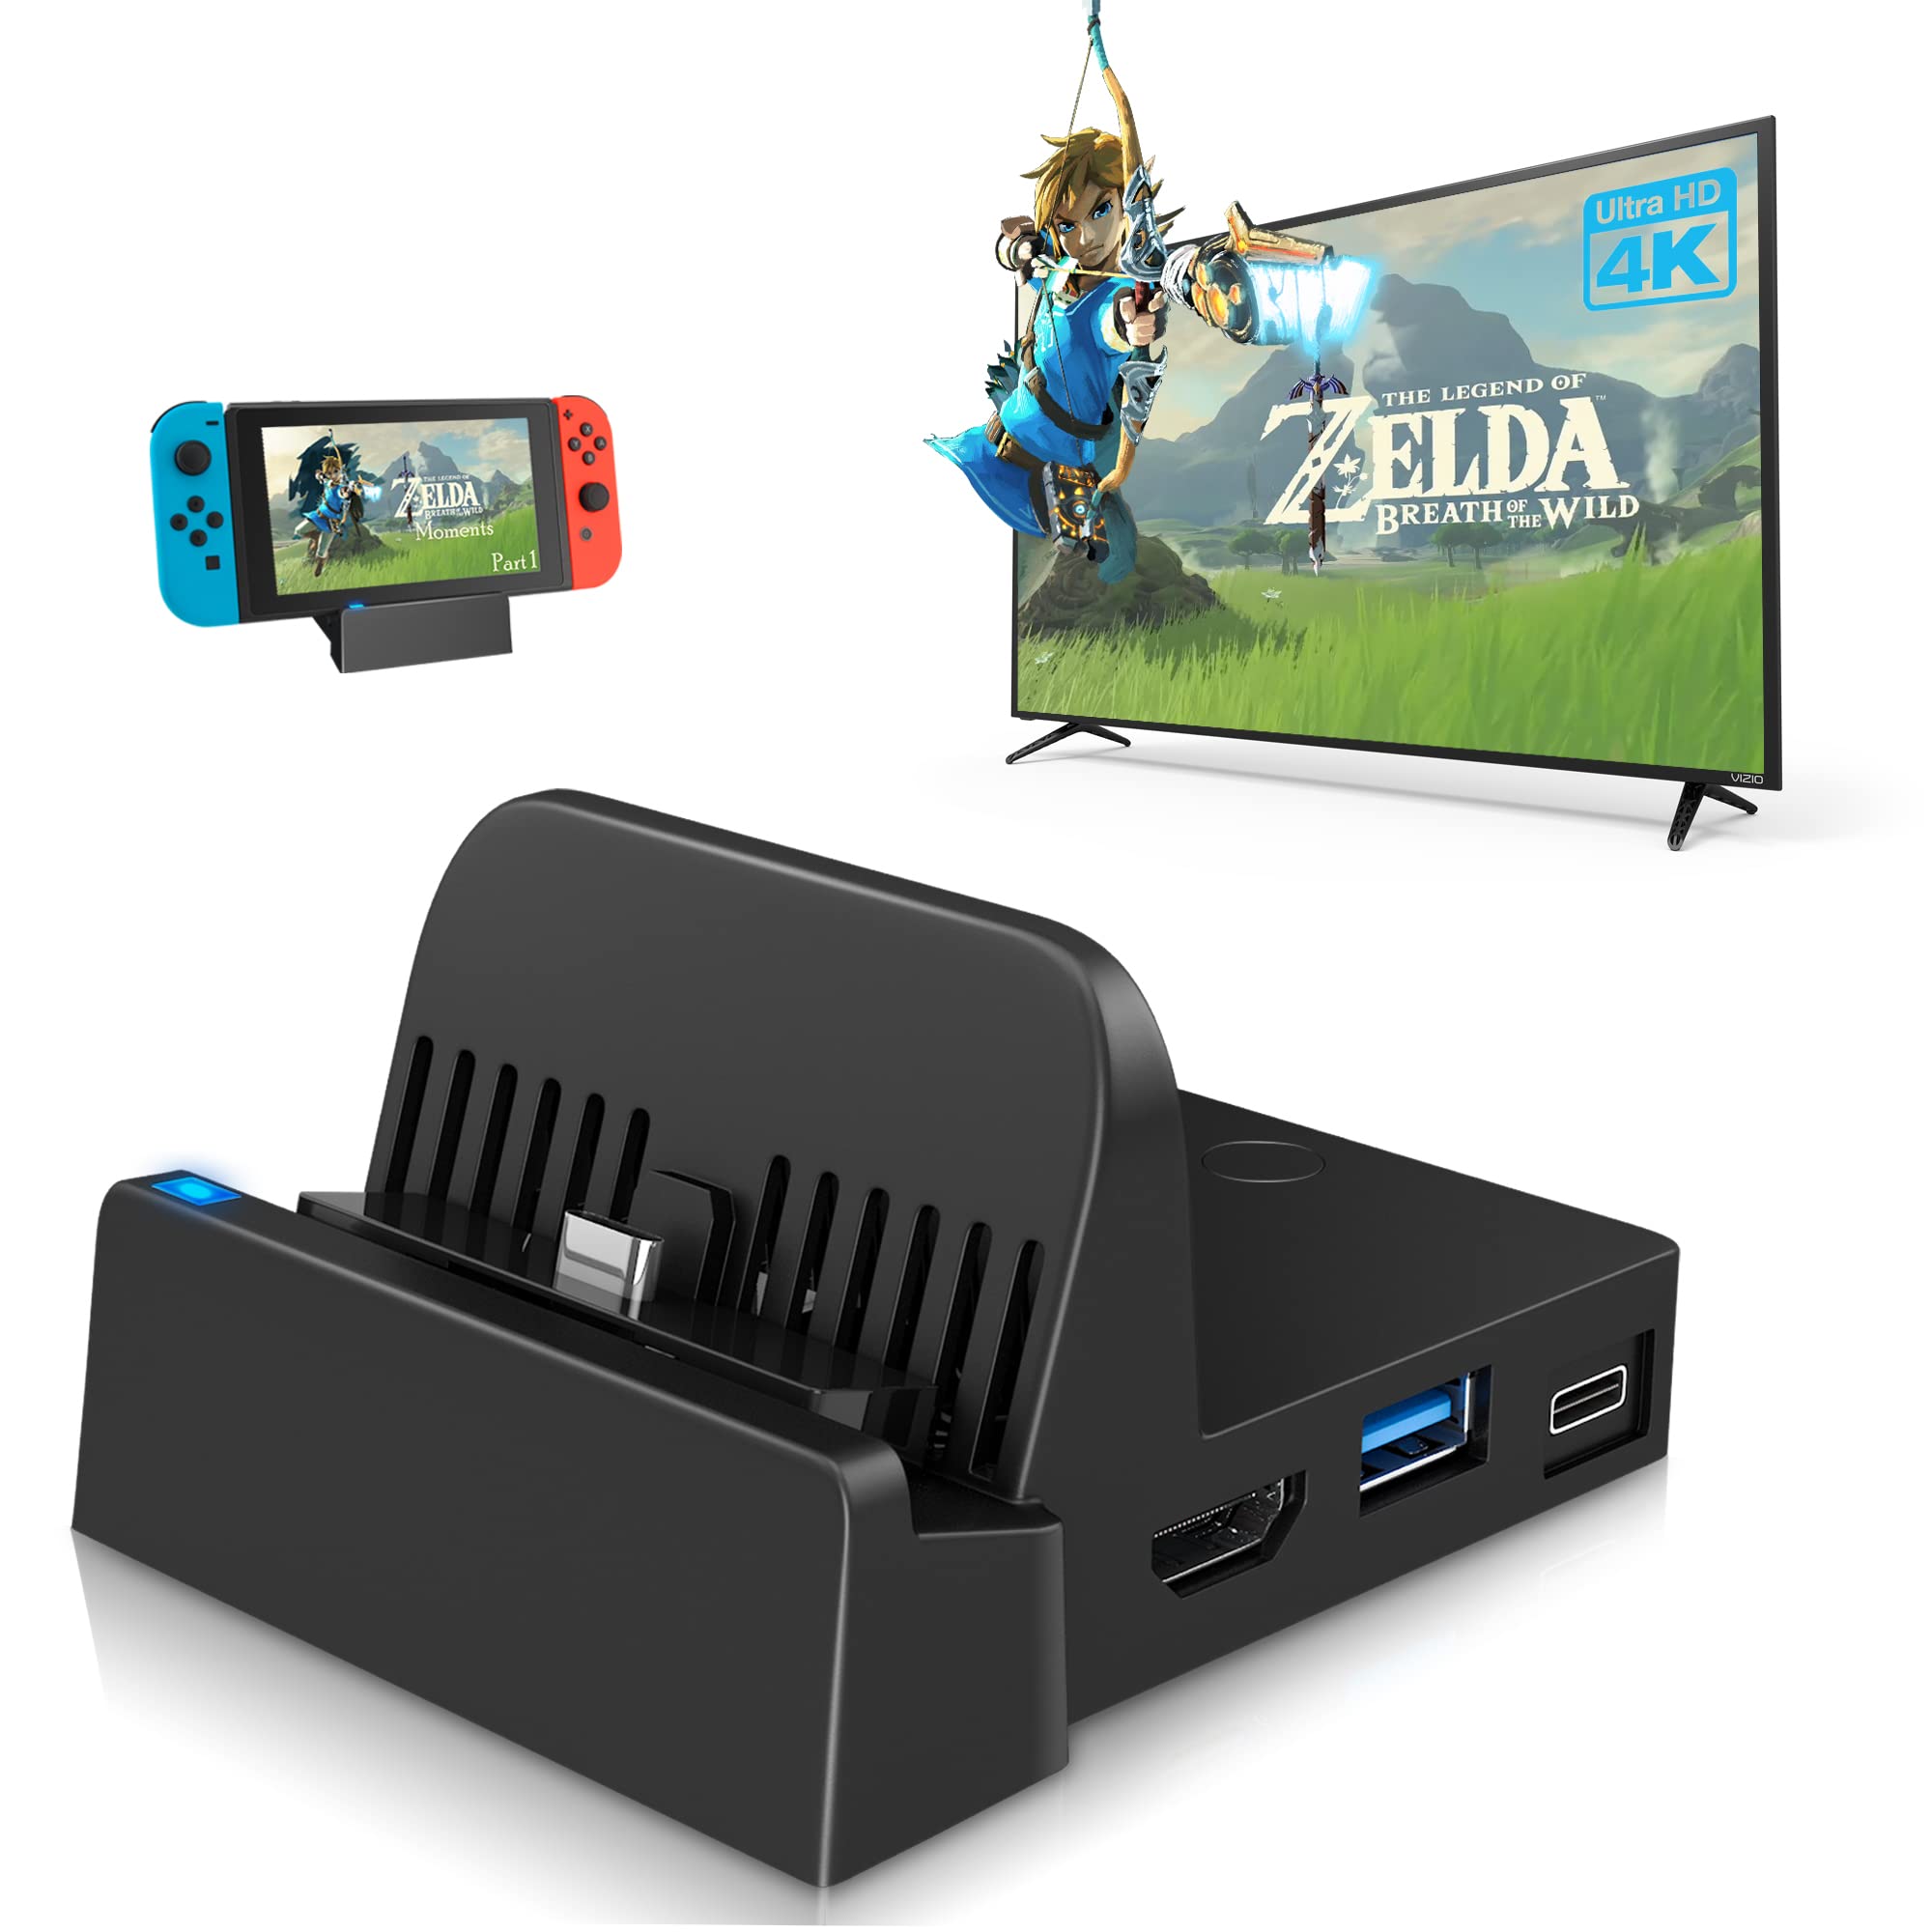
Before starting, gather all necessary components. First, ensure you have the official Nintendo Switch dock. This gray station holds the console and routes video and audio signals to your TV. It connects via HDMI and requires power to operate.
Second, locate the HDMI cable. Most setups include a standard HDMI 2.0 cable. Make sure it’s long enough to reach from your TV to the outlet and dock location. If not, purchase a longer one separately.
Third, plug in the Nintendo AC adapter. This black power unit connects to the back of the dock. Without it, the dock won’t charge your Switch or send signal to the TV.
Fourth, confirm your TV has an available HDMI port. Most modern TVs have multiple ports labeled HDMI 1, HDMI 2, etc. Choose one that’s not in use by another device like a soundbar or streaming box.
Fifth, find a stable surface near the TV. The dock should sit flat and ventilated. Avoid enclosing it in a cabinet, as heat buildup can affect performance.
Sixth, clean the console’s rail contacts. Use a dry microfiber cloth to wipe the bottom edges where the Switch slides into the dock. Dust or debris may block connection.
Seventh, turn off your TV before making connections. This prevents electrical surges and helps the TV detect the new input smoothly.
Lastly, keep the Joy-Con controllers nearby. You’ll need them to navigate settings once the system powers on.
With these items ready, you’re prepared for a seamless setup.
Step-by-Step Instructions for How to Connect Nintendo Switch to TV
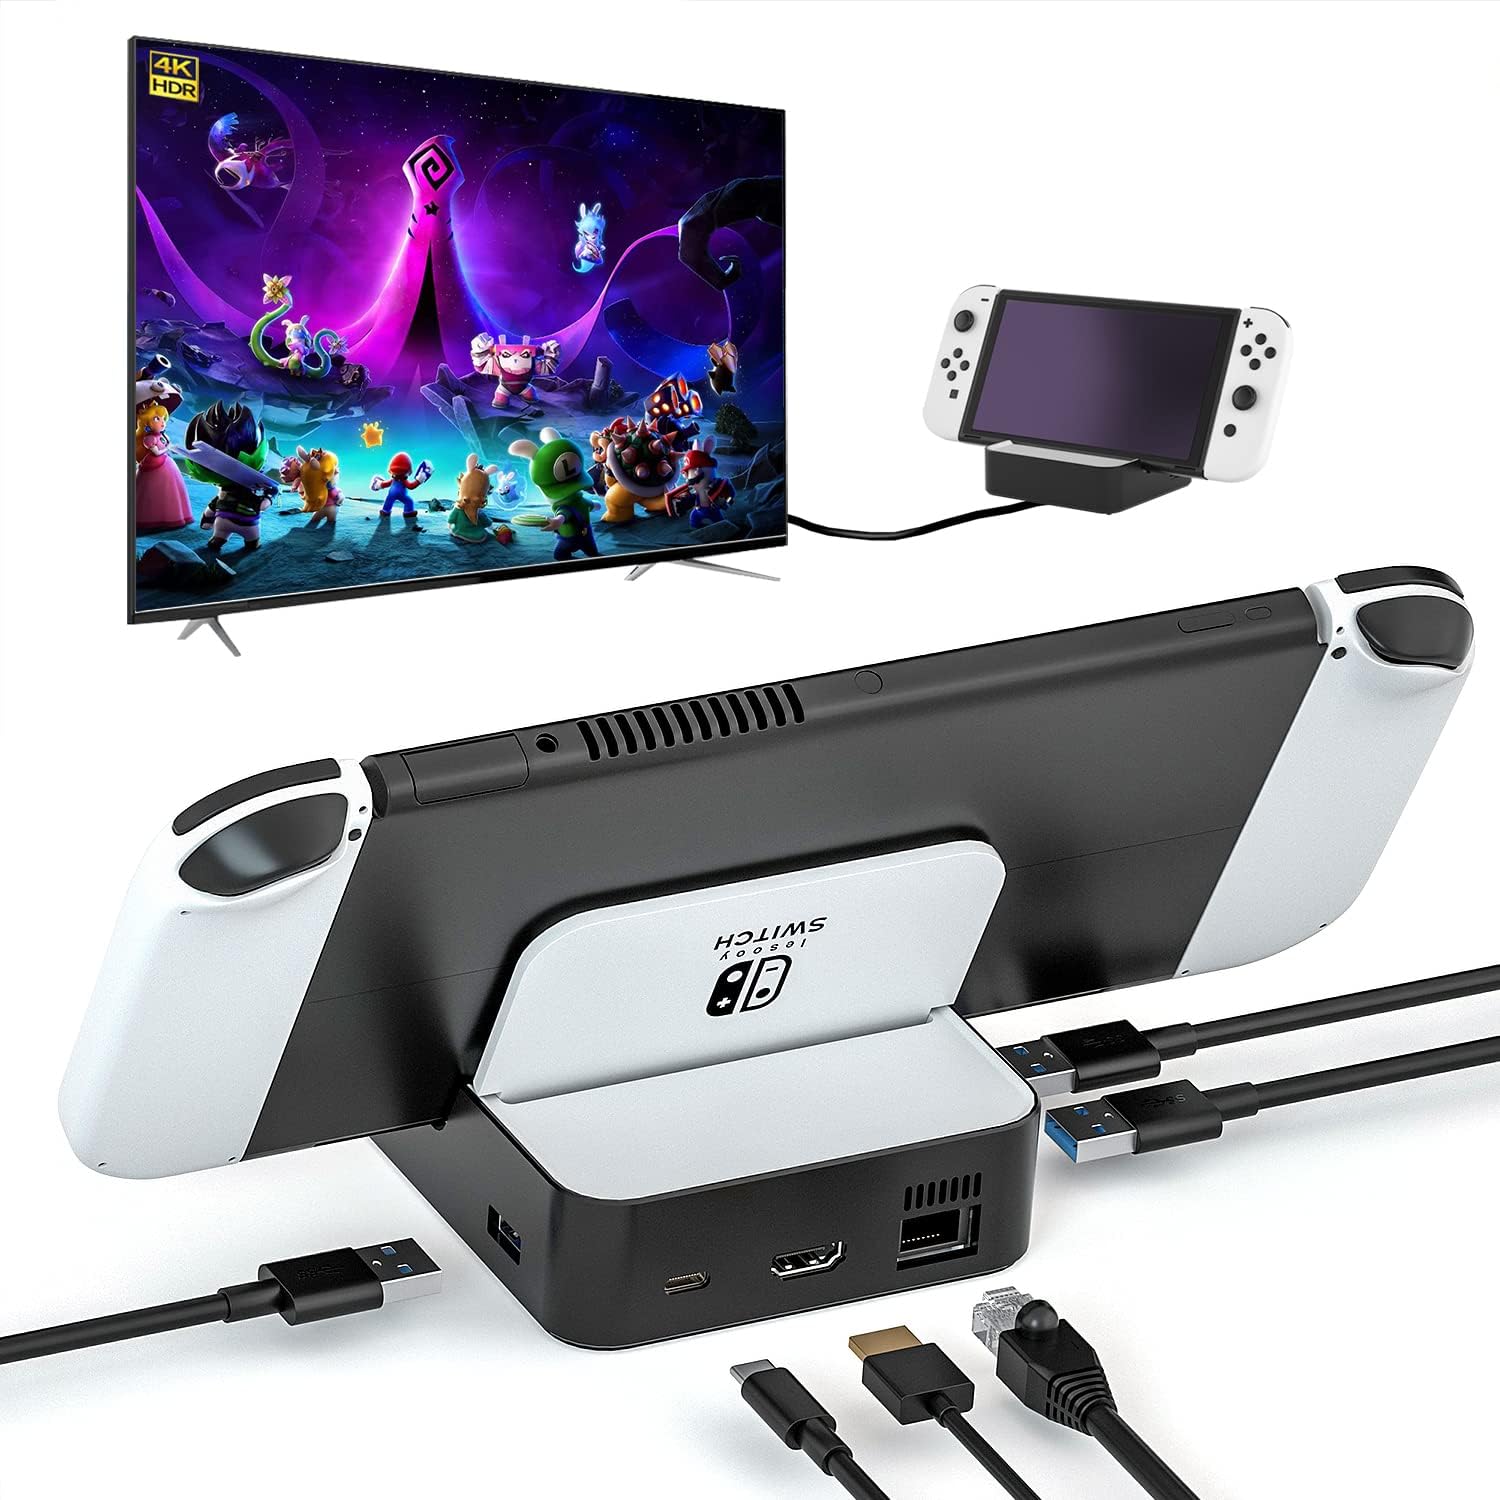
Now that everything is in place, begin the physical connection. First, slide the Nintendo Switch console into the dock. Align the rails on the sides with the grooves inside the dock. Push gently until it clicks into place.
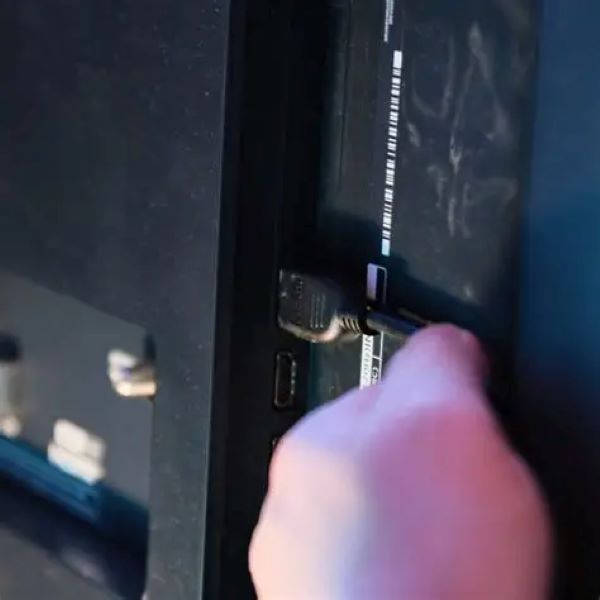
Second, connect one end of the HDMI cable to the port on the back of the dock. Insert it firmly until it locks. Do not force it—HDMI connectors fit only one way.
Third, plug the other end of the HDMI cable into your TV’s HDMI input. Choose a port number and remember it, such as HDMI 2 or HDMI 3.
Fourth, attach the AC adapter to the dock’s power port. Then, plug the adapter into a wall outlet. The dock’s front LED will glow red when charging and green when fully powered.
Fifth, turn on your TV. Use the remote to switch to the correct HDMI source. Press the “Input,” “Source,” or “Menu” button and select the HDMI port you used.
Sixth, wait a few seconds. The Nintendo logo should appear on the screen. If not, check all connections and ensure the console is seated properly.
Seventh, remove the Joy-Con controllers. Slide them off the sides of the console. Sync them by pressing the sync button on each controller and on the dock if needed.
Eighth, follow on-screen prompts. The system may update or ask you to adjust display settings. Confirm the resolution matches your TV’s capabilities.
Ninth, test gameplay. Launch any game to verify video and audio are working. Sound should come through the TV speakers or connected sound system.
By following these steps, you’ve successfully learned how to connect Nintendo Switch to TV and can now enjoy games on a larger screen.
 Troubleshooting Common Connection Problems
Even with careful setup, issues can arise. First, if the screen stays black, check the HDMI connection. Unplug and reseat both ends of the cable. Ensure the TV is on the right input channel.
Second, if the dock isn’t charging, inspect the power adapter. Confirm it’s plugged in securely. Try a different outlet to rule out power issues.
Third, if the console doesn’t fit into the dock, examine the rail slots. Debris or bent pins can block insertion. Clean gently with compressed air or a soft brush.
Fourth, flickering or distorted video may indicate a faulty HDMI cable. Replace it with a known-working one. Cheap or damaged cables often cause signal loss.
Fifth, audio not coming through? Verify your TV’s sound settings. Some TVs default to external audio devices. Disable ARC or eARC temporarily to test.
Sixth, if the system overheats in the dock, improve airflow. Move the dock away from walls or enclosed spaces. Dust vents regularly with a dry cloth.
Seventh, no signal message? Restart the console. Remove it from the dock, hold the power button for 15 seconds, then reconnect.
Eighth, firmware updates may fix compatibility problems. Ensure your Switch is up to date via System Settings > System > System Update.
Finally, try a factory reset only as a last resort. Back up data first, then go to System Settings > System > Initialize Console.
These solutions resolve most common hurdles during setup.
 Enhancing Video and Audio Quality After Connection
Once connected, optimize your viewing experience. First, adjust display settings on the Switch. Go to System Settings > TV Output > TV Resolution. Choose 1080p if your TV supports it.
Second, enable HDR if available. In the same menu, toggle HDR on. This improves color depth and contrast for compatible games and screens.
Third, calibrate your TV’s picture mode. Select “Game” or “PC” mode to reduce input lag. This makes controls feel more responsive during fast-paced play.
Fourth, use high-speed HDMI cables. They support higher bandwidth for smoother visuals. Look for labels like “HDMI High Speed” or “Premium Certified.”
Fifth, consider a soundbar or surround system. TV speakers often lack depth. Connecting external audio via HDMI ARC or optical cable boosts immersion.
Sixth, manage cable clutter. Use zip ties or a cable management box to keep cords neat and prevent tripping hazards.
Seventh, position the dock for easy access. Keep it near the TV but within reach for docking and undocking the console.
Eighth, update your TV’s firmware. Manufacturers release updates that improve HDMI compatibility and performance.
Ninth, disable motion smoothing. Also called “soap opera effect,” this feature blurs fast action. Turn it off in your TV’s picture settings.
With these tweaks, your gaming experience becomes sharper, faster, and more enjoyable.
 Frequently Asked Questions About How to Connect Nintendo Switch to TV
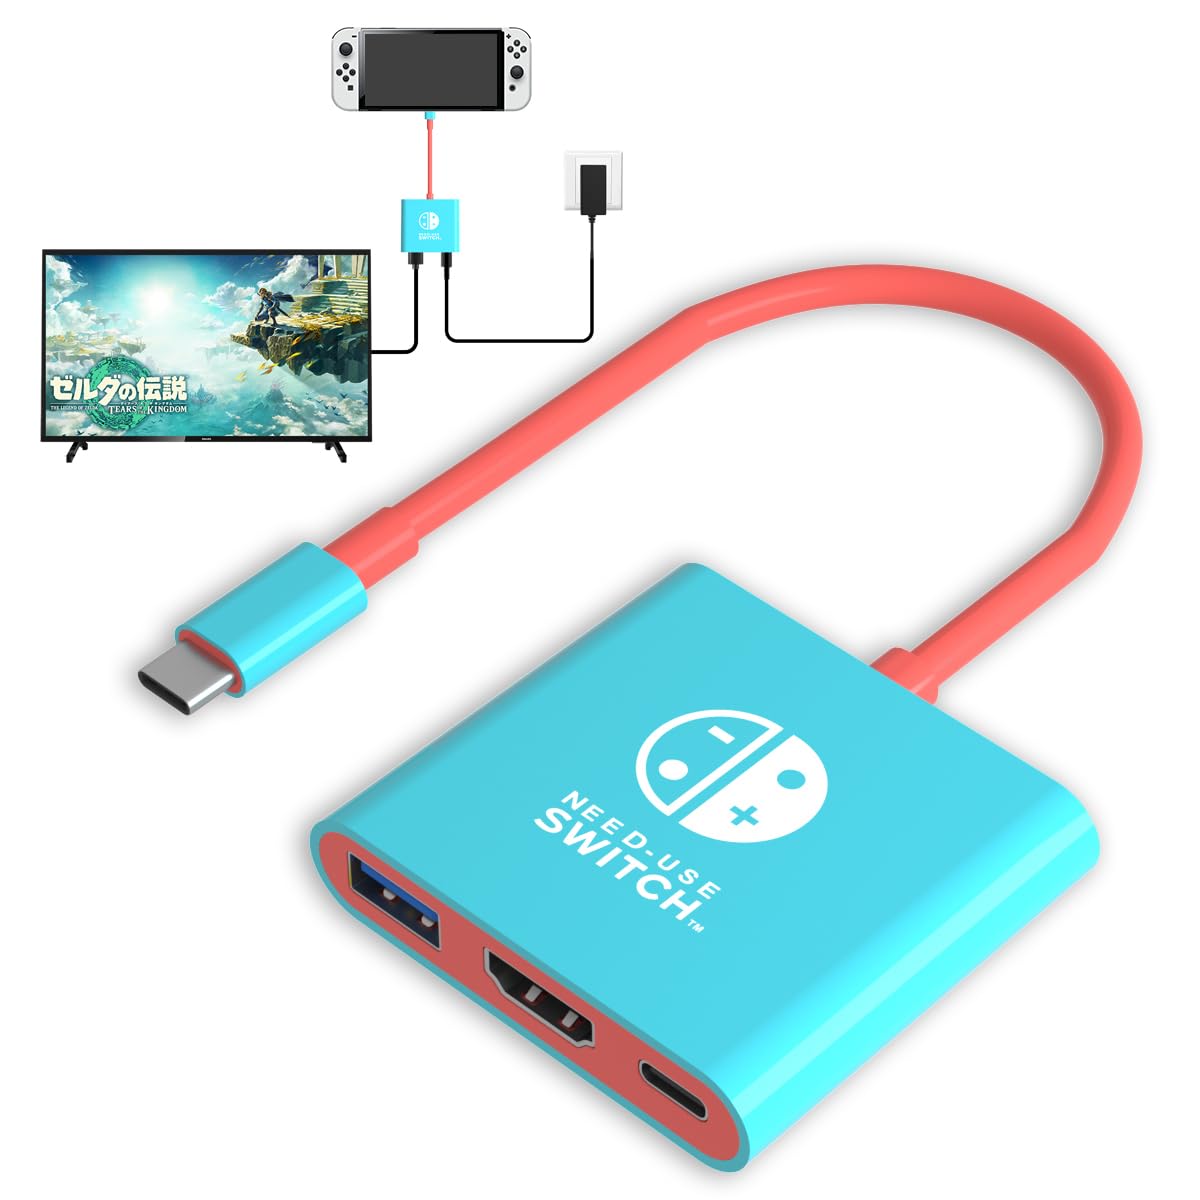
Can I use any HDMI cable? Yes, but use a certified high-speed version for best results. Cheap cables may cause lag or dropouts.
Do I need the official dock? For TV mode, yes. Third-party docks exist but may not charge reliably or support video output.
What if my TV doesn’t have HDMI? Older models may require an HDMI-to-RCA converter. However, quality will be poor. Consider upgrading your TV.
Can I play while charging? Absolutely. The dock charges the console continuously during TV mode.
Why does my Switch overheat in the dock? Poor ventilation causes heat buildup. Place the dock upright and avoid stacking devices around it.
Can I connect to a monitor instead of a TV? Yes. Any display with HDMI input works. Adjust resolution in settings for clarity.
Will connecting damage my console? No. The dock is designed for repeated use. Just handle the rails carefully.
These answers help users avoid common concerns and setup errors.
Tips for Using Your Nintendo Switch in Different Rooms
You don’t have to limit your setup to one room. First, bring the dock and cables when traveling. Pack them in a padded case to prevent damage.
Second, use a portable HDMI splitter. It lets you switch between multiple TVs without unplugging cables.
Third, label your HDMI ports. Use small stickers to mark which one is for the Switch. This saves time when switching inputs.
Fourth, invest in a secondary dock at a friend’s house or office. Set it up permanently for quick access.
Fifth, carry a surge protector. Plug the dock, TV, and accessories into it to prevent power spikes.
Sixth, clean the dock regularly. Wipe dust from the interior with a dry cotton swab every few weeks.
Seventh, use screen protectors on the TV. Especially important with kids or active gameplay.
Eighth, store Joy-Con controllers in a charging grip when docked. This keeps them powered and ready.
Ninth, disconnect safely. Always remove the console after closing the game. Never yank it out mid-play.
Portability is one of the Switch’s biggest strengths—take full advantage of it.
 Final Thoughts: Mastering How to Connect Nintendo Switch to TV Opens Up Big-Screen Fun
Understanding how to connect Nintendo Switch to TV unlocks a richer, more social gaming experience. With simple tools and clear steps, you can enjoy your favorite titles on a large screen with family and friends. From proper setup to troubleshooting and optimization, each stage ensures smooth performance. Whether you’re a casual player or a dedicated gamer, this knowledge empowers you to get the most out of your console. So grab your dock, plug in the cables, and start playing in high definition today.