Introduction: Understanding Microphone Issues
Microphones are essential tools for recording, streaming, and communication. However, they can sometimes malfunction, leading to frustrating experiences during calls or recordings. Whether you’re using a microphone for gaming, podcasting, or professional purposes, knowing how to fix a broken microphone can save you time and stress.
This article aims to provide a thorough understanding of common microphone problems, troubleshooting steps, and effective solutions to help you get your device back in working order. By identifying issues early, you can maintain excellent audio quality and ensure that your mic performs as expected.
Common Microphone Problems
How to fix a broken microphone? Before diving into solutions, it’s important to understand the various issues that can affect a microphone’s performance. Here are some common problems users may encounter:
1. No Sound or Low Volume
- Symptoms: You may notice that your microphone is not picking up any sound, or the audio levels are extremely low. This issue can arise unexpectedly and may hinder communication during calls.
- Causes: The primary reasons include a faulty cable connection, incorrect audio settings, or muted devices.
2. Distorted Audio
- Symptoms: If your microphone delivers noise, pops, or crackles in the audio output, it can result in poor recording quality. This distortion may be particularly noticeable during voice recordings or live streams.
- Causes: Distortion often arises from damaged components within the microphone or interference from other electronic devices.
3. Connectivity Issues
- Symptoms: Sometimes, a mic may not connect properly to your device. You may find that the microphone does not appear in audio settings or fails to transmit sound.
- Causes: This issue can originate from loose connections, a malfunctioning USB or audio port, or incompatible software drivers.
4. Overlapping Frequencies
- Symptoms: This problem manifests during recording sessions with multiple audio sources, where one audio source may overpower another.
- Causes: The “3 to 1 rule” for microphones may not be applied correctly, leading to interference among audio signals.
Step-by-Step Troubleshooting Process
Now that you are aware of common microphone problems, here’s a step-by-step approach for identifying and fixing these issues.
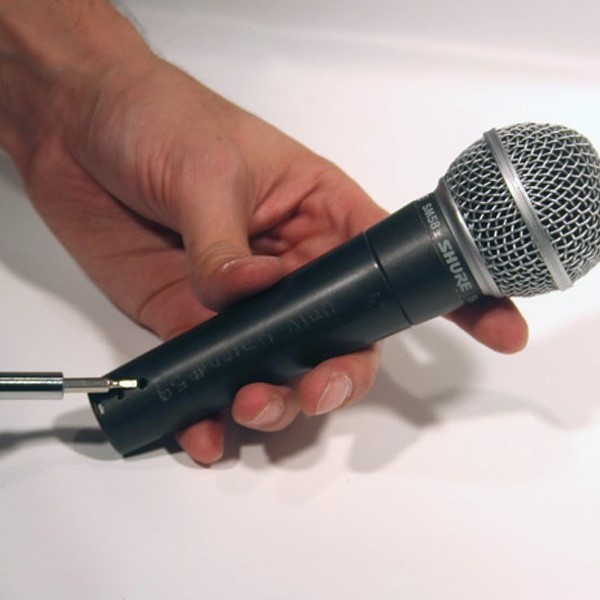
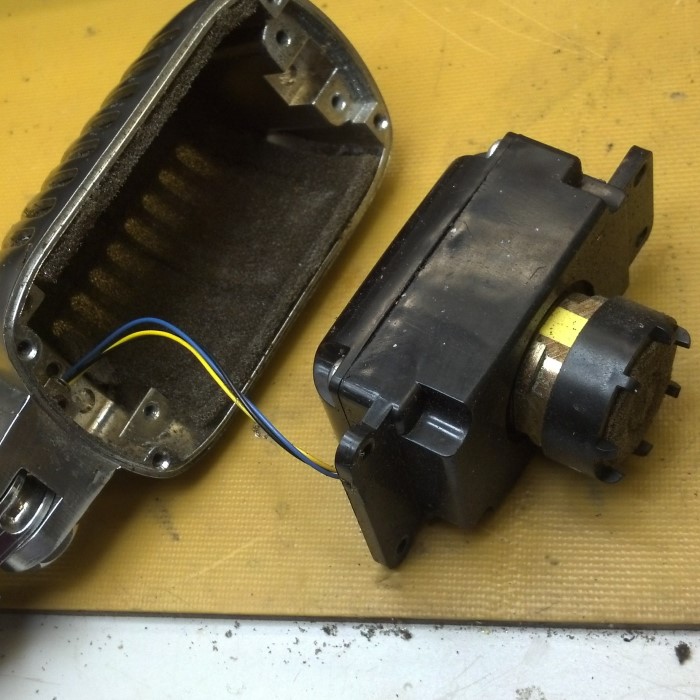
1. Check Physical Connections
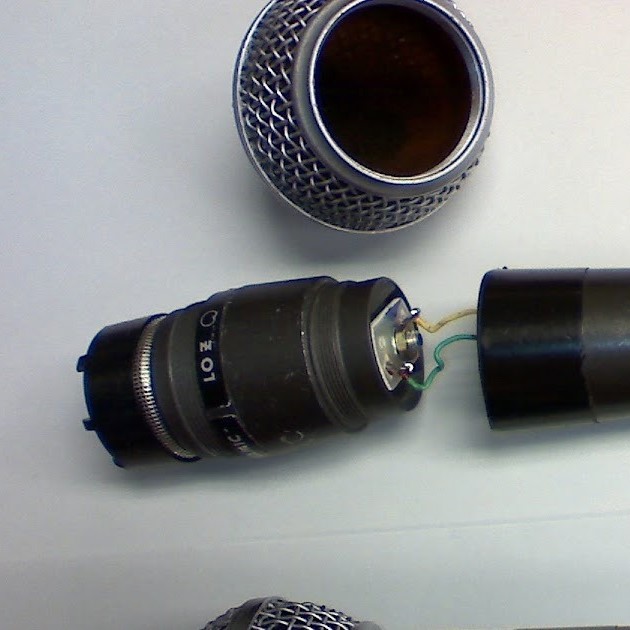
- Inspect Cables and Connectors: Start by examining the microphone cable and the connectors. Look for any signs of wear, frays, or damage. If there are any visible issues, it may be best to replace the cable.
- Reconnect: Disconnect and then reconnect the microphone. Sometimes, a loose connection can cause sound issues. Ensure that the microphone is securely plugged into the appropriate port.
2. Adjust Computer Settings
- Access Sound Settings: On Windows, right-click the speaker icon in the taskbar. Select “Sounds” and navigate to the “Recording” tab.
- For macOS users, go to “System Preferences” and then “Sound” to access similar controls.
- Select the Microphone: Ensure the correct microphone is chosen as the default recording device. If necessary, select it and click “Set Default.”
- Check Volume Levels: Adjust the input volume level to ensure it’s not set too low. Test the microphone again to see if it resolves the issue.
3. Update Drivers
- Importance of Drivers: Outdated or corrupted audio drivers can cause various microphone issues. Keeping your drivers updated is crucial for optimal performance.
- How to Update:
- On Windows, go to Device Manager by right-clicking on the Start menu, then select “Device Manager.” Locate the sound devices under “Audio inputs and outputs,” right-click your microphone, and select “Update Driver.”
- On macOS, system updates generally cover driver updates. Check for the latest macOS updates to ensure compatibility.
4. Test with Another Device
- Testing for Functionality: To determine if the problem lies with the microphone or the original device, test the microphone on another computer or audio system.
- Results: If the mic works well on an alternate device, the original device may have an underlying issue. However, if it still doesn’t function, the microphone may require repair or replacement.
Solutions for Specific Microphone Problems
1. Fixing No Sound Issues
- Mute Button: Check if the microphone has a built-in mute button. Many mics have this feature, and it might be accidentally activated.
- Software Settings: Ensure that the software or application you are using recognizes the microphone. Check the audio settings within the application specifically.
2. Addressing Distorted Audio
- Change Position: Sometimes, the position of the microphone can impact audio quality. Try moving it closer to your mouth or farther away to see if that alleviates distortion.
- Firmware Updates: For USB microphones, check the manufacturer’s website for firmware updates that may improve audio quality.
3. Resolving Connectivity Issues
- Test Different Ports: If using a USB microphone, try connecting it to different USB ports on your computer. This can resolve issues related to specific ports malfunctioning.
- Wireless Microphones: For wireless microphones, ensure the batteries are charged and that any necessary receivers are correctly set up.
4. Managing Overlapping Frequencies
Applying the 3 to 1 Rule
- Understanding the Rule: The 3 to 1 Rule is a fundamental guideline in audio recording that helps to reduce interference and minimize phase problems between multiple microphones. This principle suggests that if two or more microphones are used, they should be positioned in such a way that the distance between them is at least three times greater than the distance from each microphone to the sound source.
- Importance of Spacing: Proper spacing between microphones ensures that each mic captures the sound source distinctly, reducing the possibility of overlapping audio signals. This helps maintain clarity in sound recording, especially when dealing with multiple instruments or vocalists in a studio environment.
- Practical Placement Advice: When setting up microphones for recording:
- Distance Measurement: For example, if the sound source (like a singer or an instrument) is 1 foot away from a microphone, the other microphone should be positioned at least 3 feet away from that microphone. This distance helps prevent audio interference and phase cancellation.
- Example Scenario: If you have a vocal mic and an instrumental mic set up in the same recording space, ensure they are at least three times the distance apart compared to their distance from the vocalist or instrument.
- Adjusting Placement Accordingly: To effectively apply the 3 to 1 Rule:
- Evaluate the Setup: Review your microphone arrangement before starting a recording session. Ensure that all microphones are placed strategically to follow the rule.
- Make Necessary Adjustments: If you find that your microphone placements do not comply with the 3 to 1 Rule, adjust their positions accordingly to optimize sound quality.
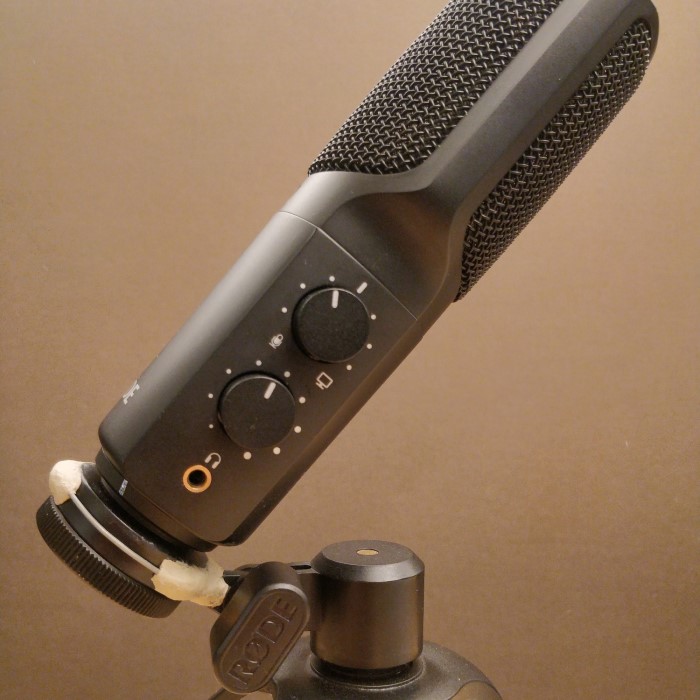
Use Isolation Shields
- Purpose of Isolation Shields: Microphone isolation shields are devices used to prevent unwanted external noises from being captured during recordings. They act as barriers that help to isolate the microphone from ambient sounds and reflections from nearby surfaces.
- Benefits for Recordings: By using isolation shields, you can achieve cleaner audio captures, minimizing the impact of background noise, room reflections, and other sound sources that could interfere with the audio quality of the primary signal.
- Types of Isolation Shields:
- Portable and Fixed Shields: There are different types of isolation shields, including portable shields that can be easily moved and fixed installations that are set up in studio environments.
- Design and Materials: These shields often feature acoustic foam or sponge materials designed to absorb sound and reduce reflections, enhancing overall sound quality.
- Considerations for Use: When incorporating isolation shields into your recording setup:
- Placement: Position the isolation shield behind and around the microphone to effectively block incoming sound. Ensure that the sound source remains within the optimal range of the microphone.
- Combining with Other Techniques: Isolation shields can be used in conjunction with the 3 to 1 Rule to further enhance audio clarity. Place the shields while maintaining proper distances between microphones.
- Final Recommendations:
- Test and Evaluate: After setting up microphones with isolation shields, run tests to evaluate the improvement in audio quality. Listen for clarity and determine if adjustments are needed.
- Optimize Recording Environment: Beyond using isolation shields, consider improving your recording space. Implement acoustic treatments, if possible, to further reduce unwanted noise and reflections for the best results.
FAQs
Can a microphone be repaired?
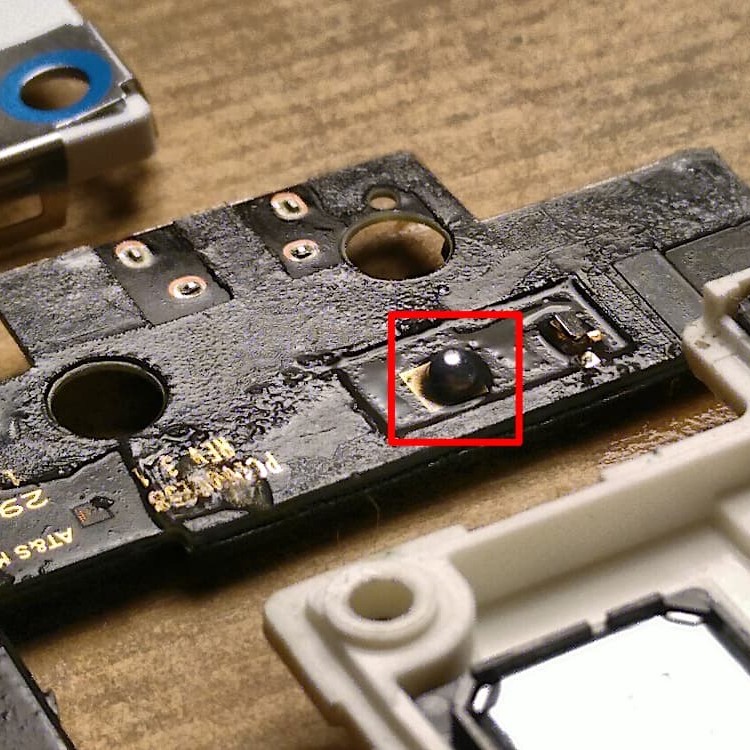
Yes, many microphones can be repaired, especially if the issue is related to a faulty cable or connector. However, if there is severe internal damage, replacing the microphone may be the best option.
How to fix a broken mic on a computer?
To fix a broken mic on a computer, check physical connections, adjust audio settings, update drivers, and test the mic on another device.
What is the 3 to 1 rule for microphones?
The 3 to 1 rule is a guideline that states microphones should be placed three times further away from each other than they are from the sound source to prevent interference and overlapping audio.
How do I fix my mic if it’s not working?
Fix a non-working mic by checking connections, adjusting settings, testing it with another device, and ensuring drivers are updated.
Conclusion: Achieving Clear Audio Performance
In conclusion, knowing how to fix a broken microphone is essential for both casual users and professionals who rely on clear audio communication. By identifying potential problems and following the troubleshooting steps in this guide, you can resolve most common microphone issues effectively.
Whether you encounter sound distortion or connectivity problems, taking proactive steps can ensure your microphone performs optimally. Remember to keep your software updated and monitor the physical condition of your microphone. By doing so, you can enjoy a seamless audio experience in all your recordings and communications.