Identifying the Type of Your Samsung Remote
To get started with charging your Samsung remote, you first need to identify its type. Samsung remotes come in two main categories: traditional IR remotes and rechargeable Samsung Smart remotes.
Traditional IR Remotes with AAA or AA Batteries
Most traditional IR (infrared) remotes require AAA or AA batteries to operate. When power runs low, you simply replace the old batteries with new ones. To do this, open the battery compartment, usually located on the back or inside the remote, and insert the new batteries, ensuring the positive and negative ends match the remote’s battery configuration.
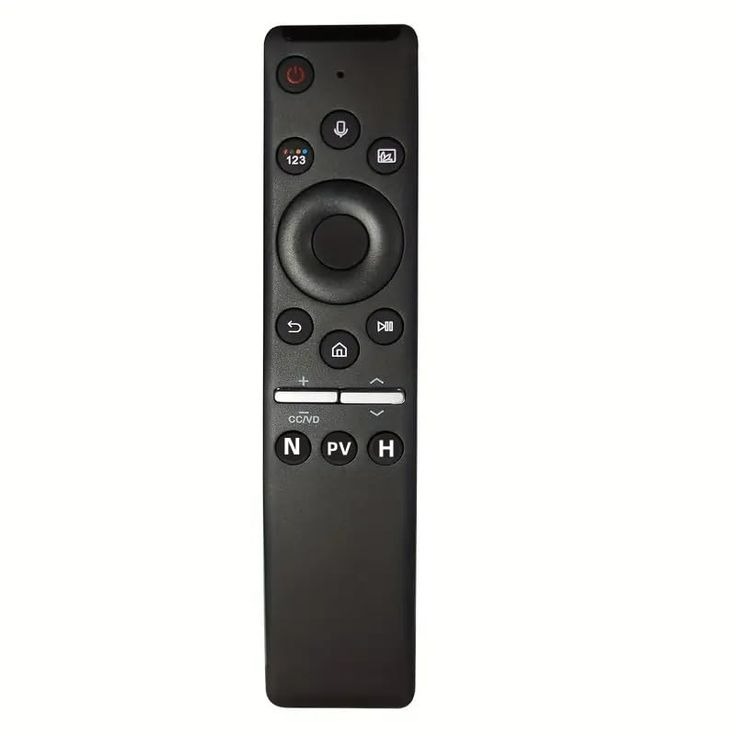
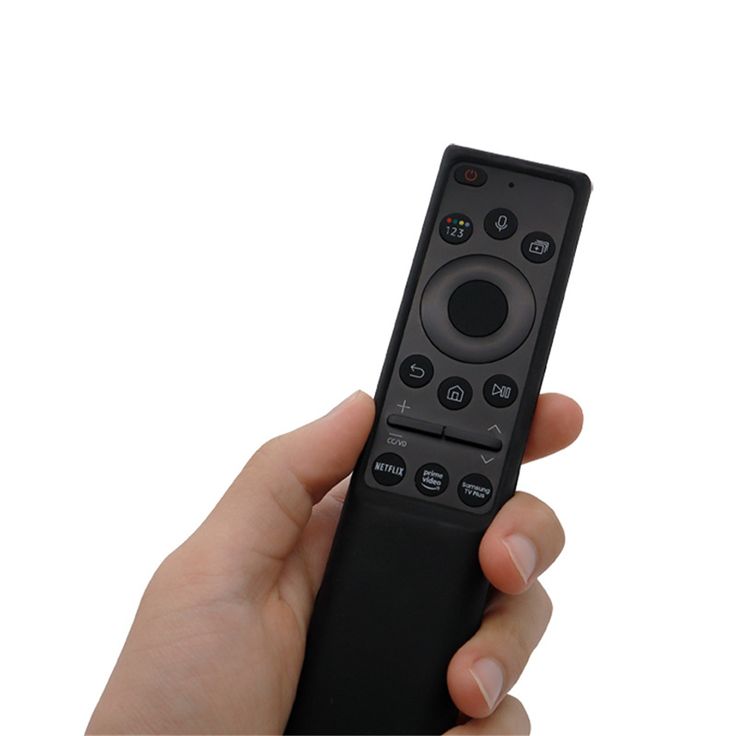
Rechargeable Samsung Smart Remotes
Rechargeable Samsung Smart remotes, on the other hand, have built-in batteries and a charging port. You can charge these remotes by connecting them to a power source via a USB cable. These smart remotes are typically sleeker and do not have a typical battery compartment. To ensure seamless charging, always use a compatible charger and follow the recommended charging practices for your Samsung Smart remote.
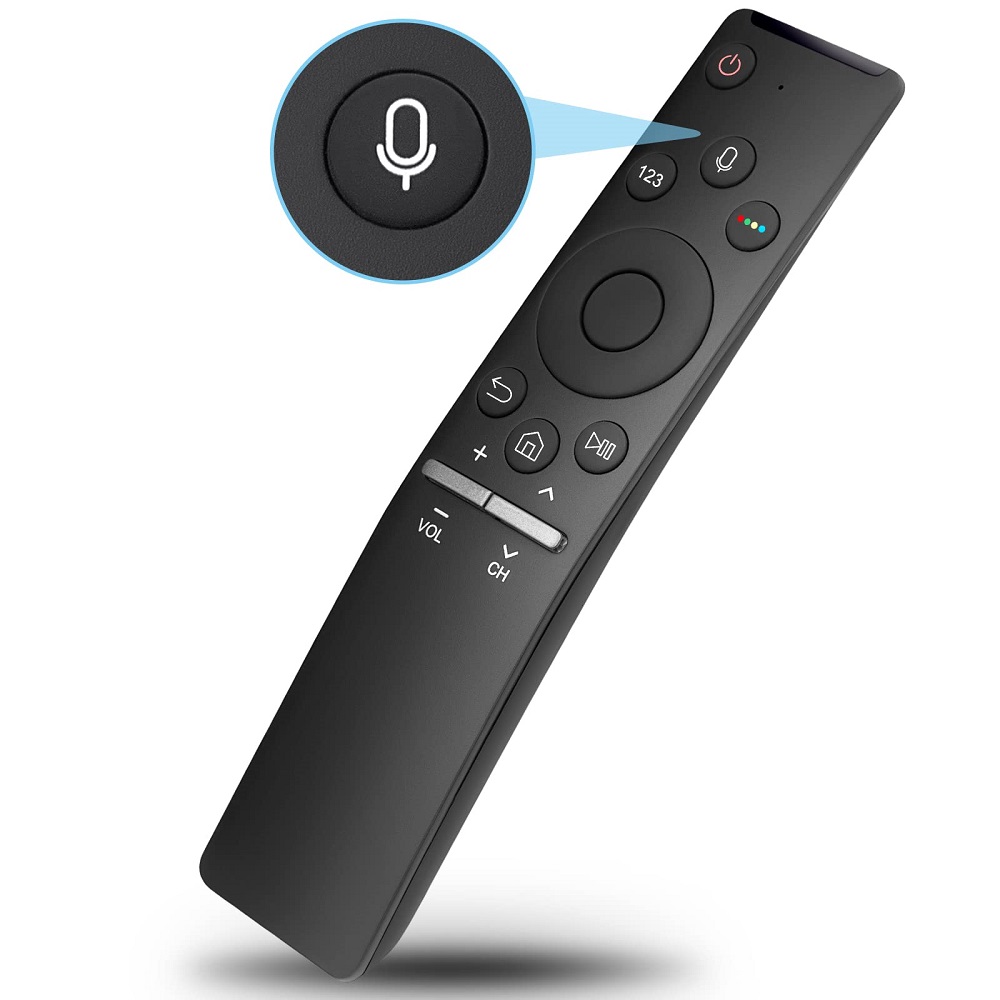
Locating the Charging Port on Your Samsung Smart Remote
To charge your Samsung Smart remote, you first need to locate its charging port. This port is usually found on the bottom edge of the remote. Look for a small, micro-USB or USB-C port — this is where you’ll plug in the charging cable. Make sure the remote is turned off before you plug it in to ensure a safe charging process.
Understanding Inductive Charging and How it Works
Some Samsung Smart remotes support inductive charging. Inductive charging uses an electromagnetic field to transfer energy between two objects: the charging dock and the remote. To use this feature, place the remote on the charging dock. Make sure the remote’s charging area aligns with the dock. You’ll know it’s charging when you see the LED indicator light up. Remember, always use the designated Samsung charging dock for optimal performance.
Finding the Right Charger for Your Samsung Remote
Once you know how to charge your Samsung remote, the next step is to find the right charger. Using the correct charger ensures that your remote charges efficiently and safely.
Using the Original Samsung Charging Cable and Adapter
Ideally, you should use the charging cable and adapter that came with your Samsung Smart remote. These accessories are designed to match the power requirements of your remote, ensuring a perfect fit and charge. If you use the original Samsung cable and adapter, you minimize the risk of damaging your remote. Always check your remote’s user manual for specific instructions on charging and compatible cable types. ‘How do I charge my Samsung remote’ is a question best answered with ‘Use the original charger whenever possible.’
Compatible Third-Party Chargers
If you’ve lost or damaged the original charger, you can opt for a third-party charger. However, make sure that it’s compatible with your Samsung remote. Look for chargers that are certified or recommended for use with your particular Samsung model. Keep an eye out for chargers with similar output specifications to the original charger. Using an incompatible charger could lead to longer charging times or, worse, harm your remote. When shopping, check product descriptions and reviews to find a reliable third-party charger suitable for your Samsung remote.
Step-by-Step Guide to Charging Your Samsung Smart Remote
Now that you have identified your Samsung remote type and found the right charger, let’s proceed to the actual charging process. Following this step-by-step guide will ensure your Samsung Smart Remote is charged correctly and ready to use.
How to Properly Connect the Charger
First, ensure your Smart Remote is turned off. Locate the charging port usually at the bottom of the remote. Take the original Samsung charging cable, or a compatible third-party cable, and gently insert it into the port. Connect the other end of the cable to the charger and plug it into an electrical outlet. It’s important to connect it firmly but without forcing it, as this might damage the remote or the cable.
Checking the Charging Status
Once connected, check the charging status. For remotes with LED indicators, a light should turn on to signify charging is underway. If your remote does not have an indicator, charge it for the recommended amount of time as stated in the user’s manual. Generally, you should see sufficient battery power for use after a two-hour charge. Avoid leaving it plugged in for extended periods to maintain battery health.
By using the correct charging practices, such as the original Samsung cable and monitoring the charging status, you’ll ensure the remote charges properly. This process helps prevent damage and preserves the lifespan of your remote.

Tips for Prolonging Your Samsung Remote’s Battery Life
Getting the most out of your remote’s battery not only provides a better experience but also saves you the hassle of frequent charging or battery replacement. Here are some tips to help extend the life of your Samsung remote’s battery.
Best Practices for Charging
It’s crucial to follow some best practices when charging your Samsung remote to ensure its longevity. Start charging before the battery is fully drained; this helps prevent battery wear and tear. Disconnect the remote once it’s fully charged to avoid overcharging. For inductive charging models, position the remote correctly to avoid misaligned charging which can be inefficient.
Preserving Battery Health
To keep your remote’s battery healthy, avoid exposing it to extreme temperatures as heat or cold can reduce battery life. Store your remote in a cool, dry place when not in use. If you plan to not use the remote for an extended period, remove the batteries to prevent leaks, which can damage the remote.
By following these simple but effective tips, you can ensure that your Samsung remote stays charged and ready for your next movie night or gaming session. Remember, proper care of your device plays a significant part in prolonging its lifespan.
Troubleshooting Common Charging Issues
Sometimes, even when you follow all the steps correctly, your Samsung remote may not charge. It’s essential to troubleshoot common issues that may arise.
What to Do If Your Remote Won’t Charge
If your Samsung remote doesn’t charge, try these steps:
- Check the power source to ensure it’s working properly.
- Inspect the charging cable and port for any signs of damage.
- Ensure the cable connection is secure both at the remote and power source.
- If using inductive charging, align the remote correctly on the charging dock.
- Reset the remote by removing any batteries for a minute, then reinsert them.
- Try charging the remote for a longer period, sometimes it might take extra time.
If none of these steps resolve the issue, the battery or remote may be faulty.
When to Contact Samsung Support
If troubleshooting doesn’t help, it’s time to contact Samsung support. Reach out if:
- The remote still won’t charge after trying the above fixes.
- You suspect the remote or battery is damaged.
- The remote is within the warranty period, which may offer a replacement.
- You need professional advice specific to your Samsung remote model.
Samsung support can provide guidance or service options, ensuring your remote is up and running again. Do not attempt to open or repair the remote yourself, as this might void the warranty.
FAQ: Addressing Common Questions About Charging Samsung Remotes
Many people have questions about charging their Samsung remotes. Below are answers to some common inquiries.
Can I Use Wireless Charging?
For some Samsung Smart remotes, yes, wireless charging is possible. These remotes support inductive charging. Place the remote on the Samsung charging dock for this to work. Ensure alignment is correct for efficient charging.
How Long Does the Remote Take to Charge?
Charging time varies by model. Typically, it takes about 2 to 3 hours to fully charge. Check your remote’s manual for exact times. A quick two-hour charge usually offers ample power.
What Are the Indicators of a Fully Charged Remote?
Look for an LED indicator, which will light up when the remote is charging. Once fully charged, the light may turn off or change color. Refer to your user manual for specific indicators for your remote model.