Introduction to Samsung TV Remote Charging
Charging your Samsung TV remote should be simple and hassle-free. Start by identifying your remote model. This step is crucial. Each model may have its own charging port and method. Samsung uses both replaceable batteries and built-in rechargeable batteries in their remotes. Knowing which you have guides the charging process. Next, find the charging port on your remote. It’s usually on the back or side. For the built-in battery type, use a micro-USB or USB-C cable. Plug the cable into the remote and a power source.
Charging typically takes a few hours. You will see an indicator light when it starts charging. If the remote uses replaceable batteries, simply swap them for new ones. Remember to check that the new batteries are the right type. For detailed steps on charging, see the sections that follow. And if you run into problems, we have troubleshooting tips too.
Finally, learn how to extend your remote’s battery life. Follow these practices to avoid frequent charging. Stay tuned for FAQs at the end to cover common questions. Keep these points in mind for effective charging of your Samsung TV remote.
Identifying Your Samsung TV Remote Model
Before you start charging your Samsung TV remote, identifying the right model is critical. Samsung has various remotes with different charging requirements. Here’s how to determine your model.
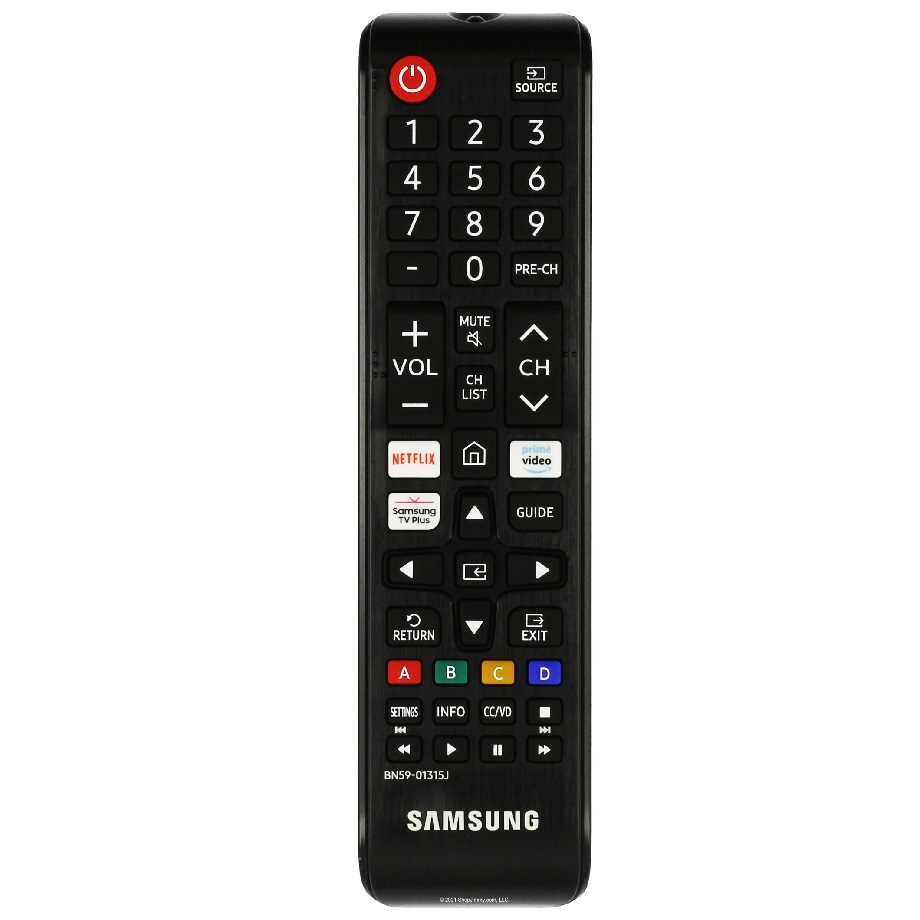
First, turn your remote over and look for any model numbers or names. You can typically find this information on a sticker or engraved into the plastic. If you’re not sure, consult your TV’s user manual. It should list the compatible remote models. You can also check Samsung’s official website for model information.
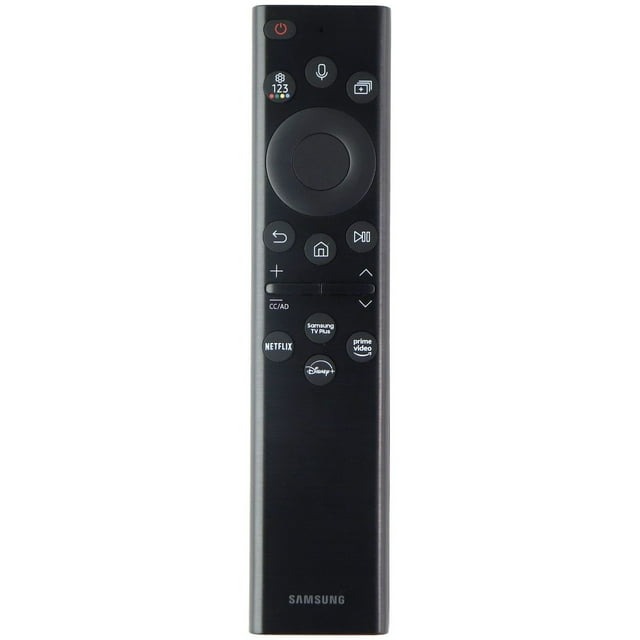
Different models may have distinct battery types. Some remotes use standard AAA or AA batteries. Others have a built-in rechargeable battery. Knowing your model will tell you which type you have. This affects how you charge your remote.
Once you have identified the model, make a note of it. Keep it handy for future reference. Knowing your Samsung TV remote’s model will ease the charging process and troubleshooting, should you need it.
Locating the Charging Port on Your Samsung Remote
To charge your Samsung TV remote correctly, finding the charging port is essential. Depending on your remote model, the port might be in different places. It is typically located either on the back or the side of the remote.
Here are steps to locate the charging port:
- Turn the remote over, and thoroughly check the back panel.
- Inspect the sides if it’s not on the back.
- Look for a small, indented port that matches the shape of a micro-USB or USB-C connector.
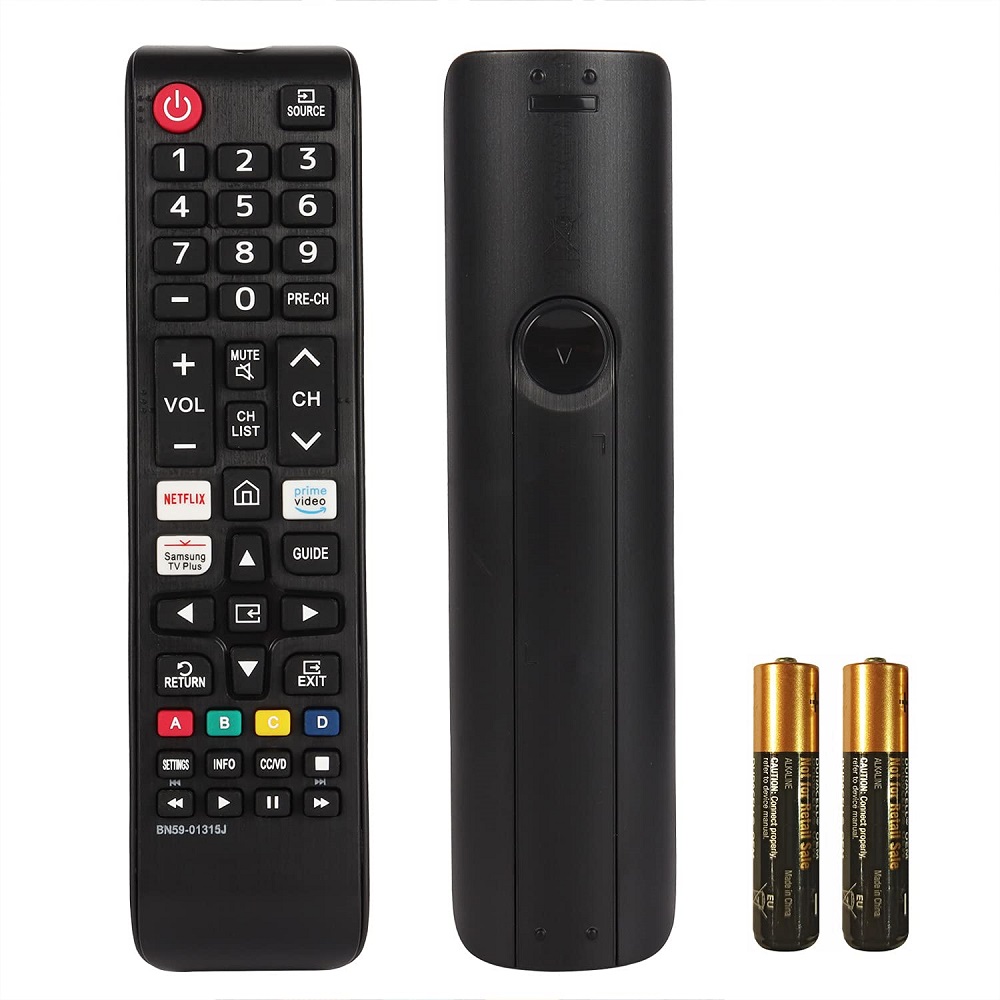
- If you’re using a model with replaceable batteries, there won’t be a charging port. Instead, you’ll find a battery compartment. This is usually secured with a small screw or clip.
Be gentle when you search to avoid damaging your remote. Do not force anything open. If you’re struggling to find the charging port, refer back to your user manual or the Samsung website. These sources offer valuable visual aids and model-specific information.
After locating the port, proceed with the right cable. For built-in battery models, this will be a micro-USB or USB-C cable. Ensure it is compatible and not damaged.
For remotes with replaceable batteries, prepare the appropriate type, whether they are AAA or AA. Having the correct batteries or cable ready will streamline the charging process, making it easy and efficient.
Different Charging Methods for Samsung TV Remotes
Samsung TV remotes may have different charging procedures based on their design. Here’s how to handle both the main types.
For remotes with built-in rechargeable batteries:
- Use the provided micro-USB or USB-C cable. Connect one end to the remote and the other to a power source. This could be a USB port on your TV, a computer, or a standard wall charger.
- Wait until the charging indicator light turns on. This confirms that charging has started.
- Fully charge the remote for a few hours. It varies by model, but a full charge is usually indicated by the light turning off or changing color.
For remotes with replaceable batteries:
- Open the battery compartment. This might require sliding off the cover or undoing a small screw.
- Remove the old batteries. Be sure to note which way the batteries need to be inserted.
- Insert new AAA or AA batteries as required by your remote. Match the positive and negative ends with the markings in the compartment.
- Close the compartment securely.
Remember that different Samsung remotes may have variations in these methods. Refer to your remote’s manual for model-specific instructions. Charging your Samsung TV remote correctly will ensure it is ready to use when you need it. For other issues or more complicated procedures, keep reading for troubleshooting tips and additional advice.
Step-by-Step Instructions for Charging Your Remote
Charging your Samsung TV remote can be done in a few simple steps, whether you’re using a model with built-in batteries or one with replaceable batteries. Here’s a straightforward guide to follow.
For remotes with built-in rechargeable batteries:
- Grab the correct cable, either micro-USB or USB-C, provided with your remote.
- Connect one end to the remote and the other end to a power source.
- Look for the charging indicator light which signals the charging in process.
- Leave the remote to charge for a few hours until the light goes off or changes color.
For remotes with replaceable batteries:
- Open the battery compartment, using a clip or screwdriver if necessary.
- Take out the old batteries and dispose of them properly.
- Insert new AAA or AA batteries, aligning with the correct polarity.
- Close the compartment ensuring it snaps or screws shut securely.
Make sure to follow these steps carefully to charge your Samsung TV remote correctly and safely. Regular charging will keep your remote ready for everyday use.
Troubleshooting Common Charging Issues
If you’re encountering problems while charging your Samsung TV remote, don’t worry. Here are some common issues and how to fix them.
- Charging indicator light not turning on:
- Check if the power source is working by plugging in another device.
- Ensure the cable is properly connected to both the remote and the power source.
- Try using a different micro-USB or USB-C cable.
- Remote not charging even with the indicator light on:
- Disconnect and reconnect the cable to reset the connection.
- Confirm if the remote temperature is too hot or cold, which can affect charging.
- Consider resetting your remote by removing the batteries for a minute.
- Batteries draining quickly after charging:
- Use only high-quality, brand-name batteries for better performance.
- Check for any features activated on the remote that may consume more power.
- Remote still unresponsive after charging:
- Verify that the batteries are inserted with the correct polarity.
- If rechargeable, ensure the remote has been charged for enough time.
- Perform a remote control reset as described in the user manual.
By following these solutions, most charging issues with your Samsung TV remote can be resolved. Remember, regular maintenance and proper charging practices will minimize these issues. Continue to the next sections for tips on extending battery life and FAQs for additional help.
Tips for Extending Your Samsung Remote’s Battery Life
To get the most out of your Samsung TV remote’s batteries, follow these simple tips:
- Turn off the remote when not in use. If your remote has an ‘off’ button, use it.
- Avoid extreme temperatures. Keep your remote in a cool, dry place.
- Use power-saving modes. If available, enable any power-saving settings.
- Reduce the display brightness. Lower your TV’s brightness setting to decrease remote usage.
- Check for stuck buttons. Ensure no buttons are pressed down when not in use.
- Use high-quality batteries. In replaceable models, opt for reputable battery brands.
- Limit use of voice commands. Voice controls can drain the battery faster.
- Keep the firmware updated. Regular updates might improve battery management.
By implementing these practices, your Samsung TV remote’s battery life can last longer. This means less charging and changing batteries, saving you time and effort.
FAQs: Common Questions About Charging Samsung TV Remotes
Encountering issues or simply seeking clarification about charging your Samsung TV remote can be common. Below are frequently asked questions with straightforward answers to assist you.
1. Can I use any USB cable to charge my remote?
It’s best to use the micro-USB or USB-C cable provided by Samsung. Not all cables have the same power output.
2. How long does it take to fully charge the remote?
Most models require a few hours to charge completely. Check the indicator light for status.
3. What should I do if my remote won’t charge?
Try different power sources and cables first. If issues persist, consult the troubleshooting section above.
4. Is it harmful to leave the remote plugged in overnight?
For built-in battery models, it’s generally safe. However, avoid overcharging by unplugging once charged.
5. How often do I need to replace the batteries?
This varies based on use. High-quality batteries last longer, and adhering to the tips above helps extend life.
6. Can heat or cold affect my remote’s charging capability?
Yes, extreme temperatures can impact charging. Store and charge your remote in a moderate environment.
7. Are there indicators for a low battery?
Some remotes may display a light or a message on the TV screen. Check your user manual for specific signs.
8. Will my remote settings be lost if I change the batteries?
No, changing batteries should not affect your settings. They are stored on your TV, not the remote.
Remember, for any complex issues or if you haven’t found the answer you need, referring to your remote’s user manual or consulting Samsung support is a reliable next step.