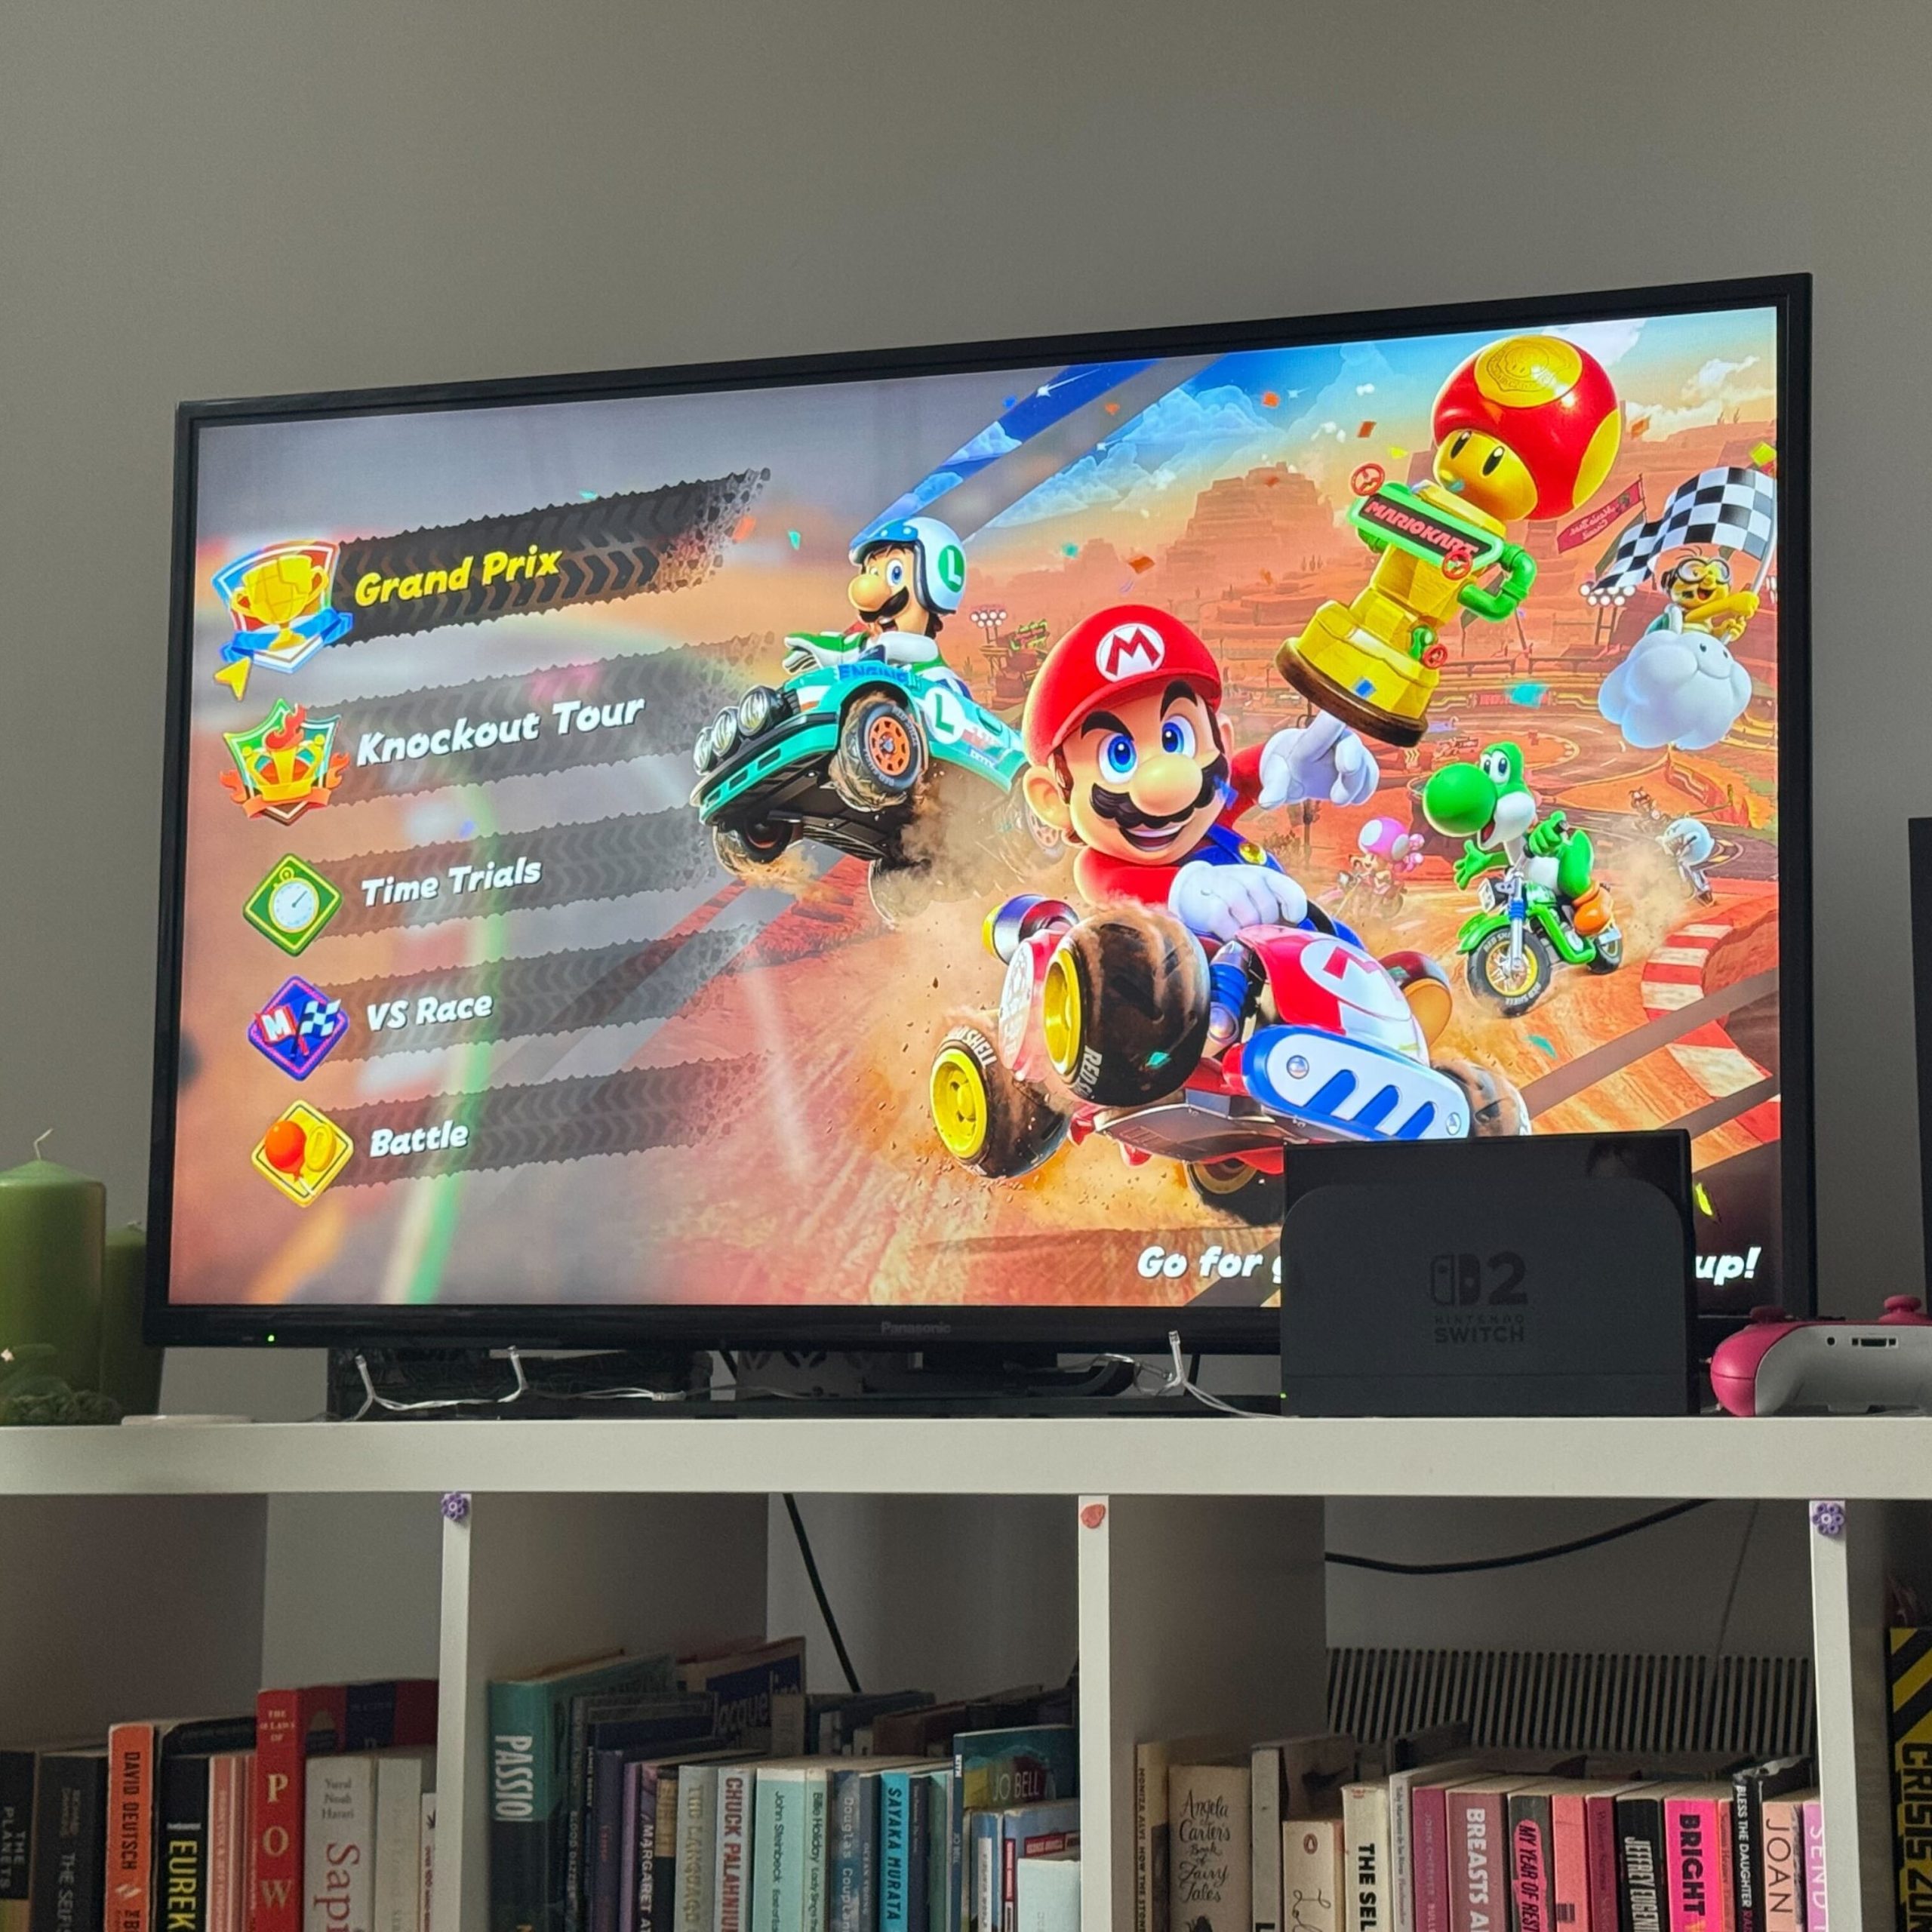
Learning how to connect a switch to a tv opens up a whole new level of gaming enjoyment. The Nintendo Switch performs well in handheld mode. However, its full potential shines when linked to a larger screen. Connecting it to a TV allows you to play games with better visibility and comfort. Families gather around the living room. Friends join in multiplayer matches. The shared experience feels more engaging. This setup also reduces eye strain during long sessions. Moreover, many games are designed with home consoles in mind. Playing them on a big screen simply feels right.
In addition, connecting your device supports HD resolution. The Switch outputs up to 1080p when docked. This clarity enhances graphics in titles like The Legend of Zelda or Mario Kart. You notice details that are hard to see on the smaller screen. Audio quality improves too when routed through a soundbar or TV speakers. Therefore, knowing how to connect a switch to a tv is essential for any owner. It transforms a portable system into a full entertainment hub. With simple tools and clear steps, anyone can do it successfully. Follow this guide to get started quickly and avoid common mistakes.
 What You Need Before Starting the Connection Process
Before you begin learning how to connect a switch to a tv, gather all required equipment. First, locate the Nintendo Switch Dock. This base station links your console to the TV. Make sure it has power and is working properly. Next, find an HDMI cable. Most docks come with one, but replacements work if needed. Check that the cable is in good condition. Frayed wires or bent pins cause connection issues. Then, ensure you have access to a wall outlet. The dock requires power to function.
Also, confirm your TV has an available HDMI port. Most modern TVs include multiple ports labeled HDMI 1, HDMI 2, etc. Pick one that’s not currently in use. If all are taken, unplug a less-used device temporarily. Keep the Switch console and Joy-Con controllers charged. Attach them before docking or charge separately. Finally, grab the AC adapter. Plug it into the dock to supply power. Once everything is ready, proceed step by step. Having all parts at hand prevents interruptions. Preparation saves time and frustration later.
Checking Your TV and Dock Compatibility
Compatibility ensures a smooth connection. Most HDTVs made after 2010 support the Switch. Look for HDMI ports on the back or side panel. Any standard HDMI input works. The Switch does not require special HDMI versions. It functions with HDMI 1.4, 2.0, or higher. Resolution adjusts automatically. Some older models may only display 720p. Newer ones deliver full 1080p in docked mode. Always test with your specific setup.
Next, inspect the dock. Original and revised docks both work the same way. The OLED model includes a wider stand and LAN port. However, the core function remains unchanged. If using a third-party dock, verify it supports video output. Cheap alternatives sometimes lack proper certification. They might charge the console but not send signal to the TV. Avoid these unless reviews confirm performance. Also, ensure the dock firmware is updated. Nintendo occasionally releases patches. These fix bugs related to audio or display. A compatible system removes guesswork from how to connect a switch to a tv.
 Step-by-Step Instructions for a Successful Setup
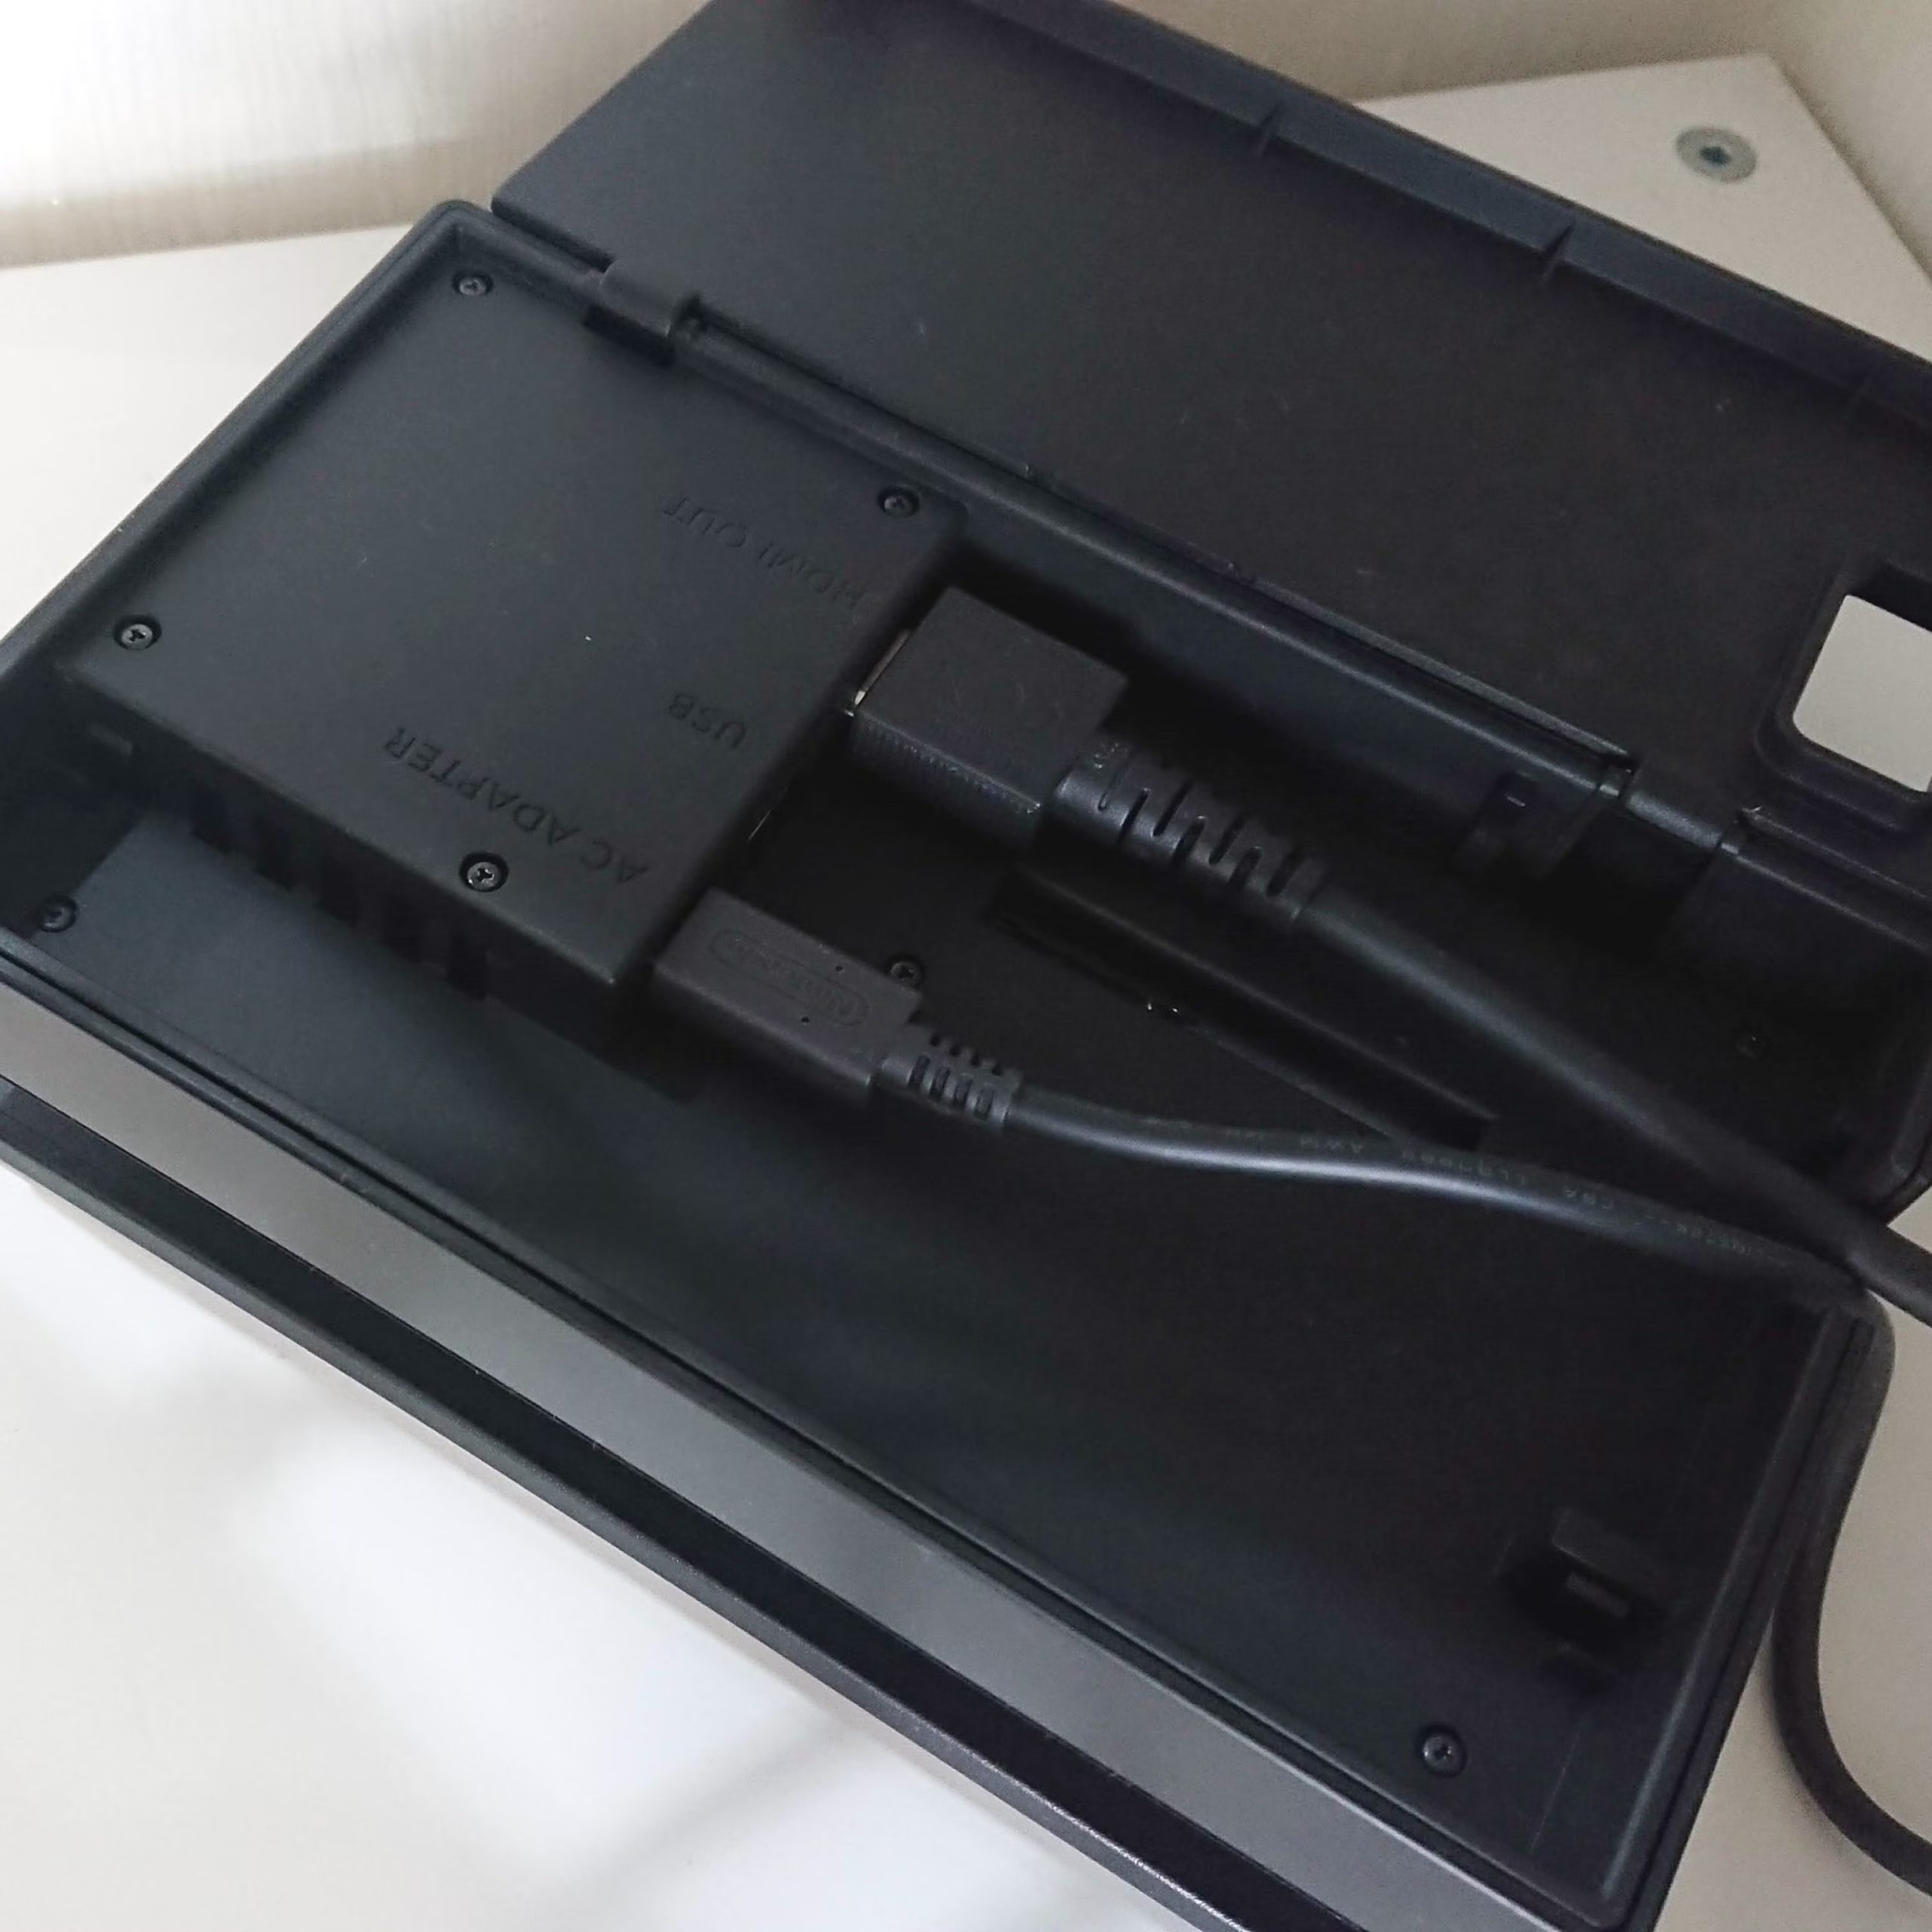
Now that you have all items ready, follow these steps to learn how to connect a switch to a tv. First, plug the AC adapter into the wall outlet. Then connect the other end to the dock. Power lights should turn on. Next, insert the HDMI cable into the port on the back of the dock. Match the shape and push gently until it clicks. Route the cable neatly to avoid tripping hazards. Connect the opposite end to an HDMI input on your TV.
After that, place the Switch console into the dock. Align the USB-C port with the connector inside. Slide it down smoothly until it locks in place. Do not force it. If resistance occurs, reposition slightly. Once seated, the screen should go dark. That means it switched from handheld to TV mode. Now turn on your TV. Use the remote to select the correct HDMI source. Press “Input,” “Source,” or “AV” as needed. Look for labels like “HDMI 1” or “HDMI 2.” When the Nintendo logo appears, the process succeeded.
Finally, sync your Joy-Con controllers. Press the pairing button on top of each controller. Wait for them to appear on screen. Adjust volume and display settings if needed. Test gameplay with a saved title. This confirms full functionality. You’ve now completed how to connect a switch to a tv correctly.
Troubleshooting Common Connection Problems
Even with careful setup, issues may arise. One frequent problem is no picture on the TV. First, check if the dock light is on. If not, verify the power connection. Try a different outlet. Then ensure the HDMI cable is fully inserted at both ends. Unplug and reconnect it firmly. Switch to another HDMI port on the TV. Change the input source accordingly.
Another issue is black or flickering screens. This often results from outdated dock firmware. Connect the Switch to Wi-Fi. Go to System Settings > System > Update Dock. Install any pending updates. If the screen stays blank, remove the console and restart it. Re-dock once it powers back on. Sometimes, resetting the TV helps. Unplug it for 60 seconds and restart. This clears temporary glitches. For audio problems, adjust TV sound settings. Disable formats like Dolby Digital if unsupported. Stick to PCM stereo for reliability.
If the console won’t stay in the dock, inspect the internal connector. Dust or debris may block contact. Use compressed air to clean gently. Never insert sharp objects. Persistent failures may indicate hardware faults. Contact Nintendo Support if needed. Addressing these early keeps your setup running.
 Optimizing Picture and Sound Quality After Connection
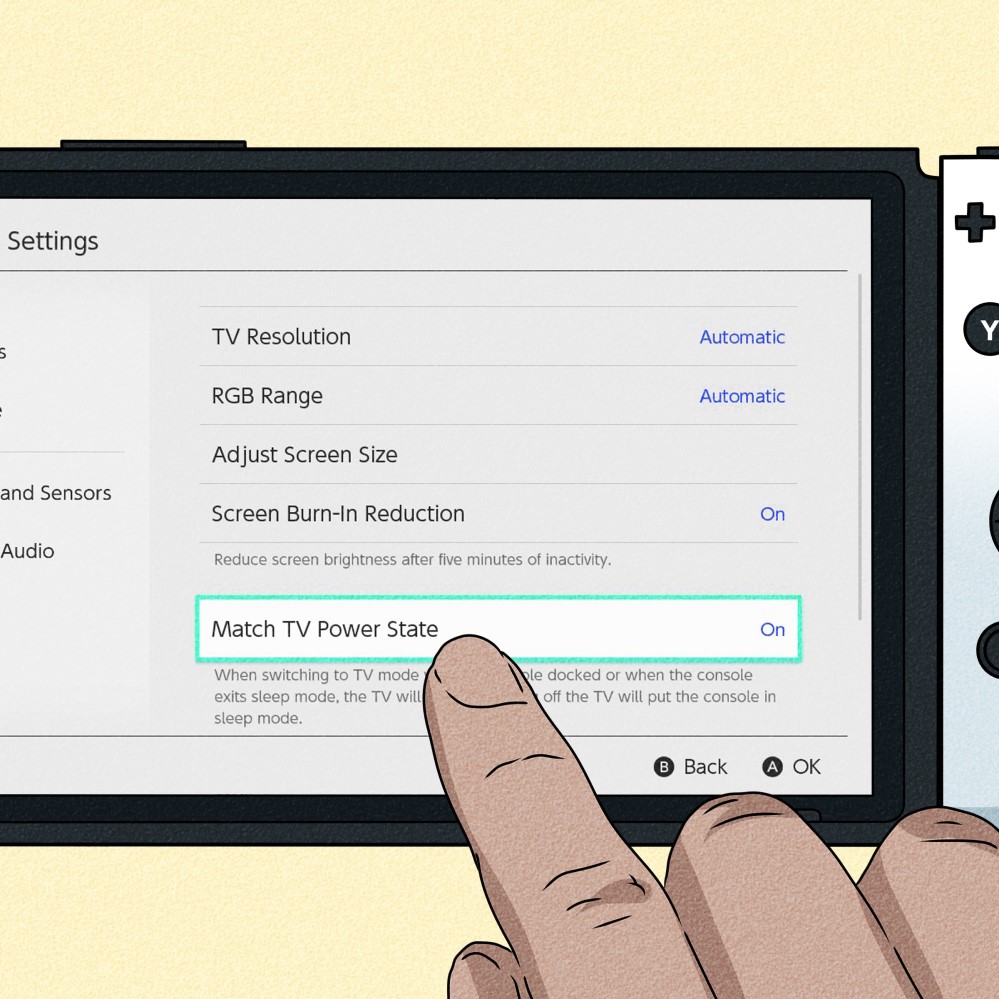
Once connected, fine-tune your experience. Start with display settings. On the Switch, go to System Settings > TV Output. Select “Set Screen Size.” Use the slider to fit your screen perfectly. Eliminate overscan or black borders. Choose “Enable 24Hz” for smoother motion in supported games. This setting reduces judder during cinematic scenes.
Next, adjust resolution preferences. While the Switch auto-detects, some TVs need manual tuning. Set the HDMI port to “Game Mode” in TV settings. This minimizes input lag. Turn off motion smoothing or “soap opera effect.” These distort fast-paced action. For sound, navigate to System Settings > Audio Output. Pick “TV Speakers” if using built-in audio. Lower the volume on the console if the TV sounds too loud.
Use external speakers when possible. Connect via optical cable or Bluetooth audio transmitter. Soundbars greatly improve immersion. For competitive gaming, use wired headphones through a USB adapter. Clear audio cues help react faster. Optimized settings make every session more enjoyable. Small tweaks lead to big improvements.
Using the Right Accessories for Better Performance
Accessories enhance your ability to connect a switch to a tv effectively. Invest in a high-speed HDMI cable. Even though the original works, premium versions reduce signal loss. Gold-plated connectors resist corrosion. Braided cables last longer under stress. Label your HDMI inputs with stickers. This avoids confusion when switching devices.
A surge protector safeguards your gear. Power spikes can damage the dock or TV. Choose one with enough outlets for all components. Ventilation matters too. Place the dock in an open area. Avoid enclosing it in cabinets. Overheating affects performance. Use a cooling fan attachment if needed. Cable clips keep cords organized. Mount the dock on a shelf near the TV. This reduces tension on connections.
For multiplayer, add extra Joy-Con or Pro Controllers. Store them in a charging dock. Use screen protectors on the TV to prevent scratches. A universal remote simplifies control. Pair it with voice assistants for hands-free input. The right tools make gaming seamless.
 Frequently Asked Questions About Connecting a Switch to a TV
Why won’t my TV detect the Switch? Check HDMI input selection. Ensure the dock has power and the console is properly seated.
Can I use a long HDMI cable? Yes. Cables up to 15 feet work without signal loss.
Do I need the official Nintendo dock? Not necessarily. Third-party docks work if certified and reviewed.
Can I play while the console charges? Yes. The dock charges the battery during TV mode.
What if my TV only has one HDMI port? Use an HDMI switcher. It lets you toggle between devices.
Does screen size affect gameplay? No. But viewing distance impacts comfort. Sit at least 6–8 feet away.
Can I use a projector instead of a TV? Yes. Any HDMI display works with the Switch.
Is internet required for TV mode? Only for updates or online features. Offline games run fine.
 Summary: Mastering How to Connect a Switch to a TV Made Simple
Understanding how to connect a switch to a tv is a basic yet vital skill for every Nintendo owner. The process is straightforward with the right tools and knowledge. From gathering equipment to troubleshooting issues, each step builds confidence. Once set up, the gaming experience becomes richer and more immersive. High-definition visuals, improved audio, and shared play elevate fun. Whether playing solo or with family, the big screen adds excitement. Regular maintenance ensures lasting performance. Clean connections, update systems, and organize cables. With this guide, you’ve learned every detail clearly. Now enjoy your favorite games the way they were meant to be played.