If you own a Nintendo Switch, learning how to connect a Nintendo Switch to a TV is one of the first steps to unlocking its full potential. The console shines in handheld mode, but playing on a big screen brings games to life. From Mario Kart races to epic Zelda adventures, the larger display enhances every detail. Connecting it properly ensures smooth gameplay and crisp visuals.
Moreover, setting up your console with a TV is simple when you follow the right steps. You’ll need just a few tools: the dock, power adapter, HDMI cable, and your Switch. Most issues arise from incorrect connections or outdated settings. Once everything links correctly, switching between portable and TV modes becomes effortless. Therefore, mastering how to connect a Nintendo Switch to a TV improves both fun and functionality.
 What You Need Before Starting the Setup
Gather All Required Equipment for a Smooth Connection
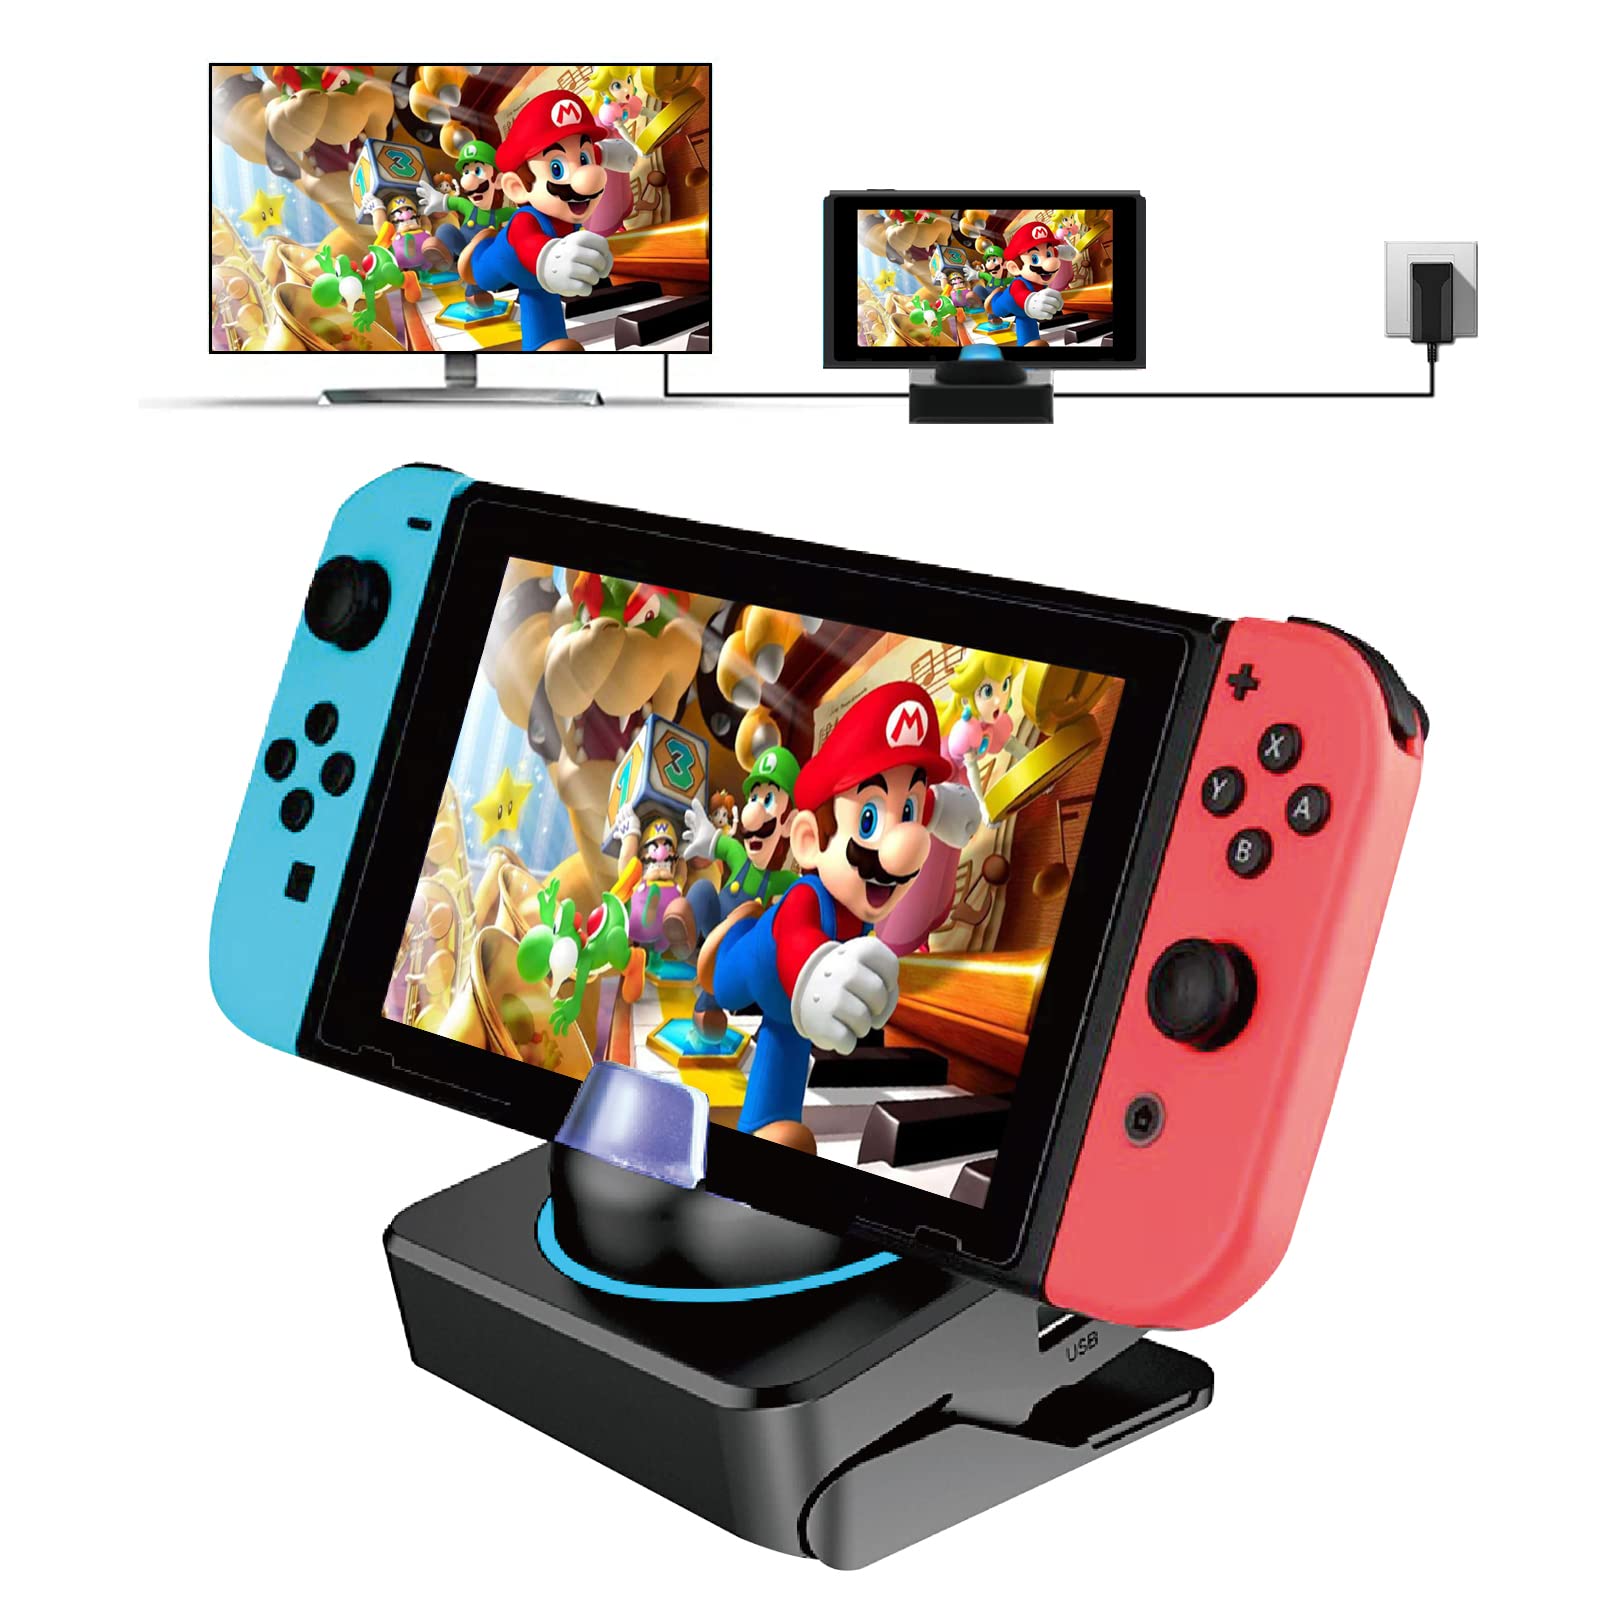
Before attempting how to connect a Nintendo Switch to a TV, make sure you have all necessary parts. First, locate the official Nintendo Switch dock. This base holds the console and sends video output to your TV. Next, grab the AC adapter. Plug this into the back of the dock to power the system.
Then, find an HDMI cable. Many users keep the one that came with their TV. However, use a high-speed HDMI cable if possible. It supports better resolution and reduces lag. Connect one end to the dock’s HDMI port. Attach the other end to any HDMI input on your television.
Ensure your Nintendo Switch console is charged. Slide it gently into the dock until it clicks. The front LED will glow green when connected correctly. If red appears, check the power connection.
Finally, turn on your TV. Use the remote to select the correct HDMI input channel. This step is often overlooked. Without selecting the right source, no image will appear. Hence, preparing all items in advance speeds up setup.
Step-by-Step Instructions for Connecting Your Console
Follow Each Action Carefully for Success
Now that you have everything ready, let’s focus on how to connect a Nintendo Switch to a TV step by step. Start by placing the dock near your TV and within reach of a power outlet. Insert the small end of the AC adapter into the dock. Then plug the large end into the wall.
Next, take the HDMI cable and insert it into the port on the back of the dock. Route the cable neatly to avoid tripping hazards. Connect the opposite end to an available HDMI slot on your TV. Note which number—HDMI 1, 2, or 3—you used.
Slide your Nintendo Switch into the dock. Align the rail edges smoothly. Push down gently until it locks into place. The green light indicates proper contact.
Turn on your TV using the power button. Press the “Input,” “Source,” or “Menu” button on your remote. Scroll through options until you see the Nintendo logo or home screen.
Wait a moment for the system to detect the display. Once active, the screen will mirror exactly what’s on your handheld device. Thus, following these clear actions ensures a successful link.
 Troubleshooting Common Connection Issues
Fix Problems Like No Signal or Flashing Lights
Even after learning how to connect a Nintendo Switch to a TV, problems can occur. One common issue is “No Signal” on the TV screen. First, confirm the correct HDMI input is selected. Try switching manually using your remote.
If the screen stays black, check the dock’s LED. A red light means insufficient power. Ensure the AC adapter is securely plugged in. Also, verify you’re using the official Nintendo power supply. Third-party adapters may not deliver enough voltage.
Another problem is a flickering or unstable image. This often points to a poor HDMI connection. Unplug and reseat both ends of the cable. Dust or loose fit causes interference. Replace the cable if damaged.
Sometimes the Switch doesn’t click into the dock. Inspect the rails for debris. Clean gently with compressed air. Misalignment prevents charging and video output.
TV compatibility matters too. Older models may not support 720p or higher resolutions. Adjust display settings under System Settings > TV Output. Choose a lower resolution if needed.
By testing each component, you isolate the fault quickly. Hence, troubleshooting boosts confidence in your setup.
Optimizing Picture and Sound Quality
Improve Visuals and Audio for Better Gaming
After mastering how to connect a Nintendo Switch to a TV, enhance the experience further. Go to System Settings > TV Output > TV Resolution. Select the highest option your TV supports. Most modern TVs handle 1080p. This sharpens text and details.
For HDR content, enable High Dynamic Range if your TV allows it. Bright colors and deeper blacks improve immersion. Games like The Legend of Zelda: Breath of the Wild look stunning in HDR.
Sound quality also affects gameplay. By default, audio plays through your TV speakers. For personal listening, plug headphones into the controller or dock. Alternatively, connect Bluetooth audio devices via third-party transmitters.
Some users attach soundbars or home theater systems. Use the same HDMI setup. Set your audio output to match the external system. This creates cinematic effects during battles or exploration.
Reduce motion blur by turning off unnecessary TV features. Motion smoothing or “soap opera effect” distorts fast scenes. Disable it in your TV’s picture settings. Thus, fine-tuning boosts both sight and sound.
 Using Alternative Methods for Connection
Explore Options Beyond the Standard Dock
While most people learn how to connect a Nintendo Switch to a TV using the original dock, alternatives exist. The Nintendo Switch Lite cannot connect to TVs at all. But regular and OLED models offer flexibility.
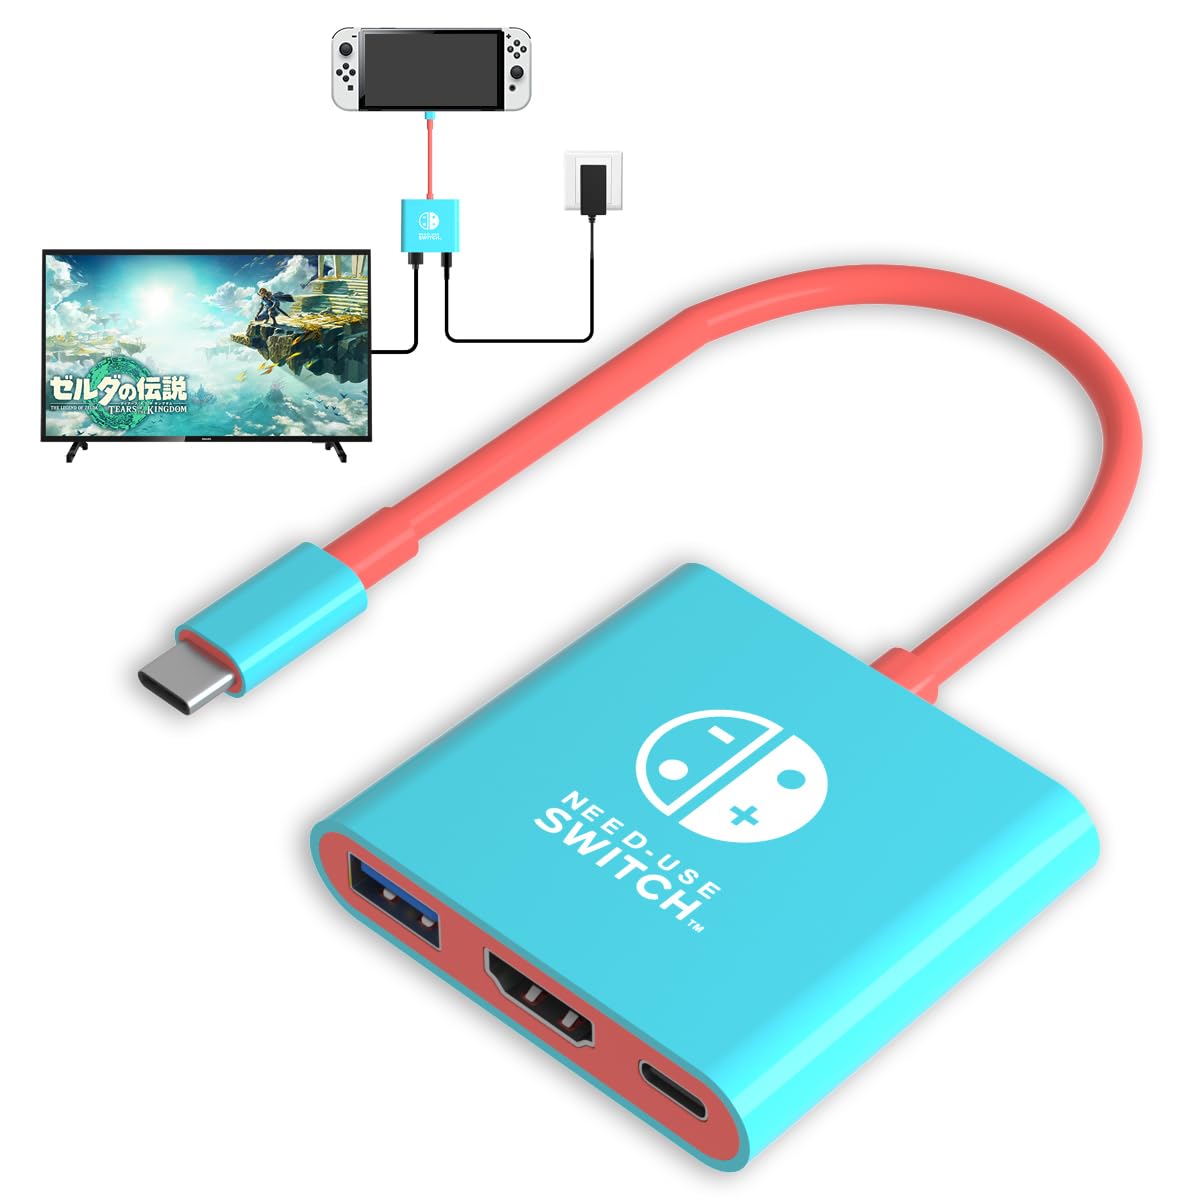
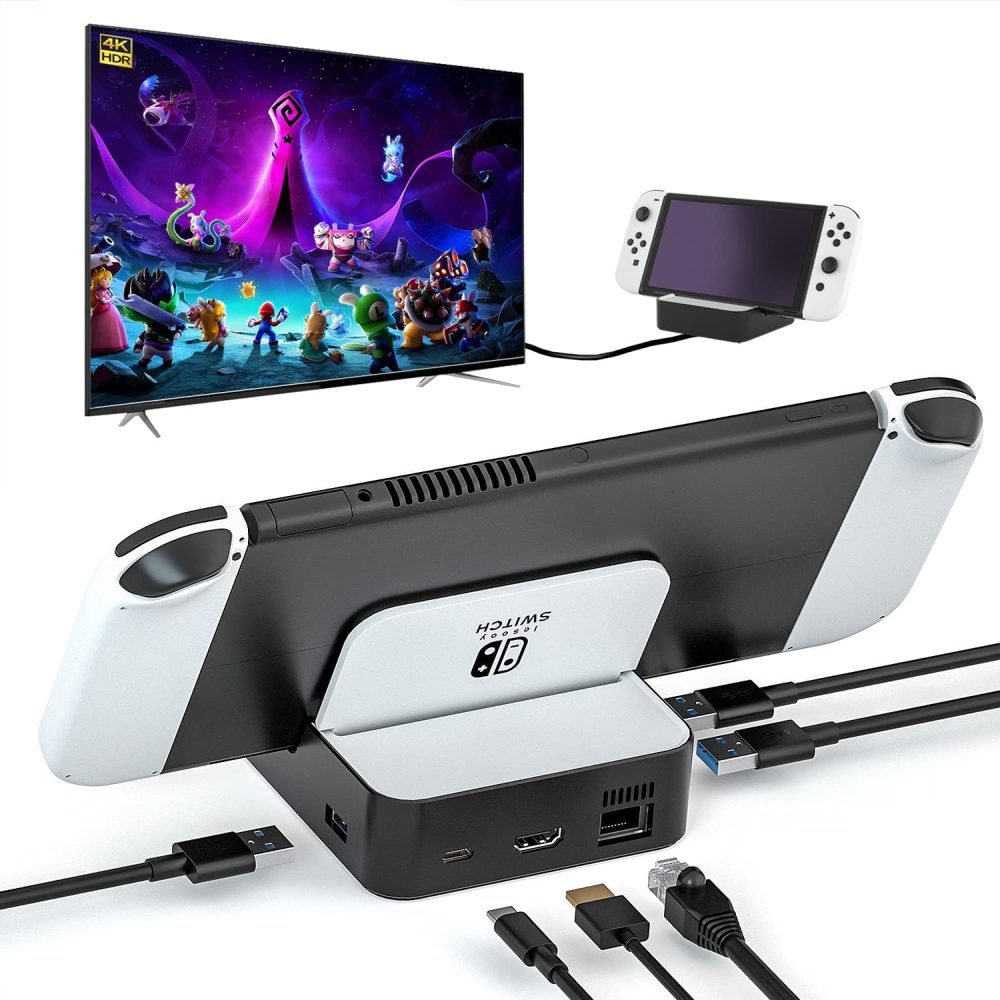
One popular choice is using a portable docking station. These compact docks work on trips. They fit in bags and support quick setups. Just plug in power, HDMI, and your console.
You can also connect via capture cards. Streamers use Elgato or AverMedia devices. These link the Switch to a PC, then output to a monitor or TV. Useful for recording gameplay or live streaming.
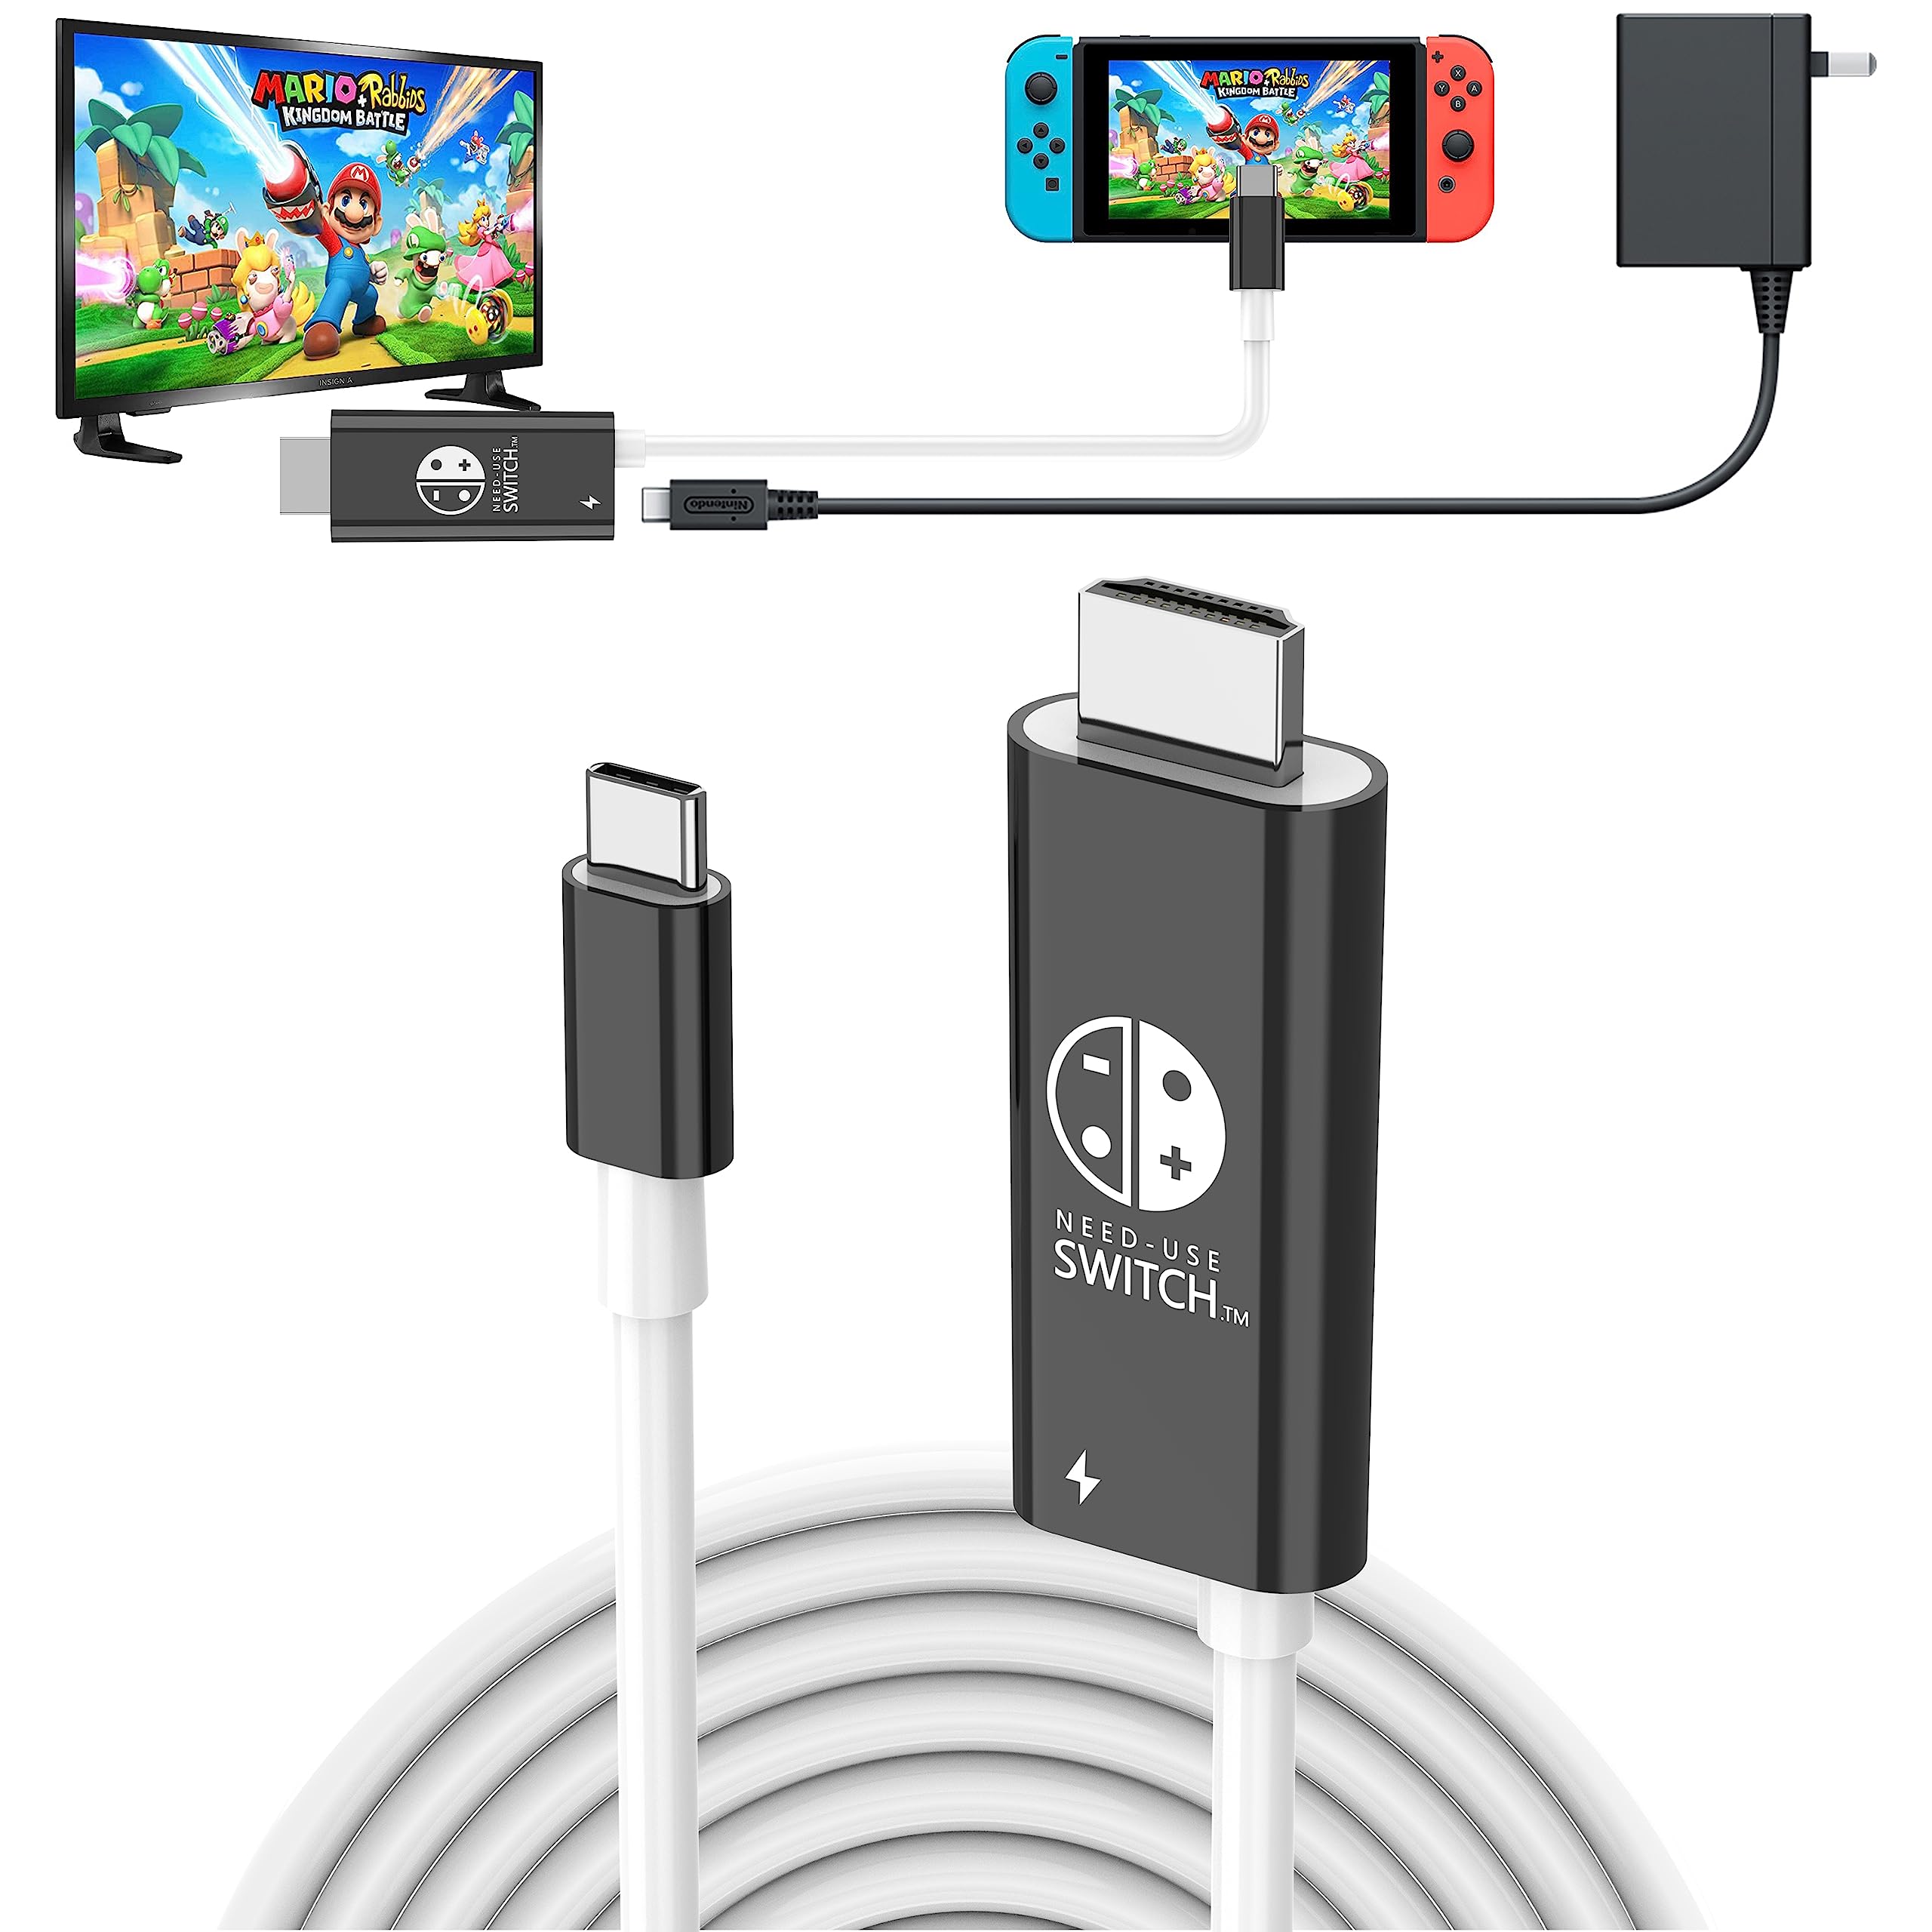
Some gamers use wireless HDMI transmitters. Place the sender near the dock. The receiver connects to a distant TV. This avoids running long cables across rooms.
Additionally, newer smart displays support direct casting. Though limited, some Android-based screens accept USB-C video output. Always verify compatibility before trying. Therefore, alternative methods expand how you play.
Tips for Families and Multiple Players
Once you know how to connect a Nintendo Switch to a TV, families can enjoy multiplayer fun. Games like Super Smash Bros. Ultimate or Mario Party are perfect for group play.
Keep extra Joy-Con controllers handy. Attach them to wrist straps for safety. Young children might drop them during excitement. Use rechargeable grips for longer sessions.
Position the TV at eye level. Avoid glare from windows or lights. Seating should allow everyone a clear view. Maintain a comfortable distance to protect eyesight.
Set time limits using Parental Controls. Link your phone to manage playtime remotely. Encourage breaks every hour. Hydration and stretching prevent fatigue.
Label controllers with names or colors. This reduces arguments over favorites. Store all gear in a dedicated bin after use. Teach kids to unplug safely by removing the console first. Thus, organized habits support family enjoyment.
 Frequently Asked Questions About How to Connect a Nintendo Switch to a TV
Can I Use Any HDMI Cable?
Yes, but use a high-speed version for best results. Cheap cables may cause signal drops. The official Nintendo cable works well. Replace it only if damaged.
Why Is My Screen Black After Connecting?
Check the HDMI input on your TV. Make sure the dock has power. Confirm the green light is on. Restart both the console and TV if needed.
Does the Switch Charge While in the Dock?
Absolutely. The system charges when slid in properly. Play games while it powers up. Full charge takes about 3 hours.
Can I Watch Netflix or YouTube on the Big Screen?
Yes, download apps from the Nintendo eShop. Some services require a subscription. Sign in with your account for access.
What If My TV Doesn’t Have HDMI Ports?
Use an HDMI-to-AV converter box. These change digital signals into analog. Image quality may be lower. Modern TVs almost always include HDMI.
 Final Thoughts on Mastering How to Connect a Nintendo Switch to a TV
Enjoy Seamless Gameplay Across Devices
Learning how to connect a Nintendo Switch to a TV opens up a world of entertainment. Whether solo or with friends, the big screen adds excitement. With the right tools and steps, setup takes minutes.
Regular checks ensure lasting performance. Dust ports occasionally. Keep cables untangled. Update system software for new features.
This skill benefits parents, students, and casual players alike. You gain flexibility between handheld and home gaming. Ultimately, knowing how to connect a Nintendo Switch to a TV makes your console more powerful and enjoyable.