Knowing how to charge Nintendo Switch controllers is essential for uninterrupted gameplay. Whether you’re using Joy-Con, Pro Controllers, or third-party options, keeping them powered ensures smooth performance. Many players assume charging is simple and straightforward. Yet, issues like slow charging, connection errors, or battery drain still occur. Understanding the correct methods prevents frustration. Moreover, different controllers require specific steps. Some attach directly to the console. Others need separate docks or cables. This guide walks you through every way to power up your gear.
Additionally, we’ll cover troubleshooting tips, charging times, and best practices for battery care. You’ll learn about USB-C cables, wireless charging grips, and portable solutions. Each method has pros and cons. By the end, you’ll know exactly how to charge Nintendo Switch controllers efficiently. No more mid-game failures. With this knowledge, you can extend play sessions and protect your devices. Mastering how to charge Nintendo Switch controllers keeps you in control—literally.
 Understanding the Types of Nintendo Switch Controllers
Nintendo offers several controller types. First, Joy-Con controllers come with every Switch. They slide onto the console’s sides. These compact units support motion controls and HD rumble. Each Joy-Con charges separately.
Next, the Nintendo Switch Pro Controller is larger and resembles traditional gamepads. It connects via Bluetooth. Ideal for long gaming sessions. This model holds a longer charge than Joy-Con.
Third-party controllers also exist. Brands like PowerA and HORI offer licensed alternatives. Most use standard USB-C ports. Always verify compatibility before buying.
Joy-Con are unique because they split into two. Left and right each have their own battery. This means uneven usage affects charging needs. One may die faster than the other.
Pro Controllers provide about 40 hours of battery life. Joy-Con last around 20 hours. Actual time depends on brightness, vibration, and game type.
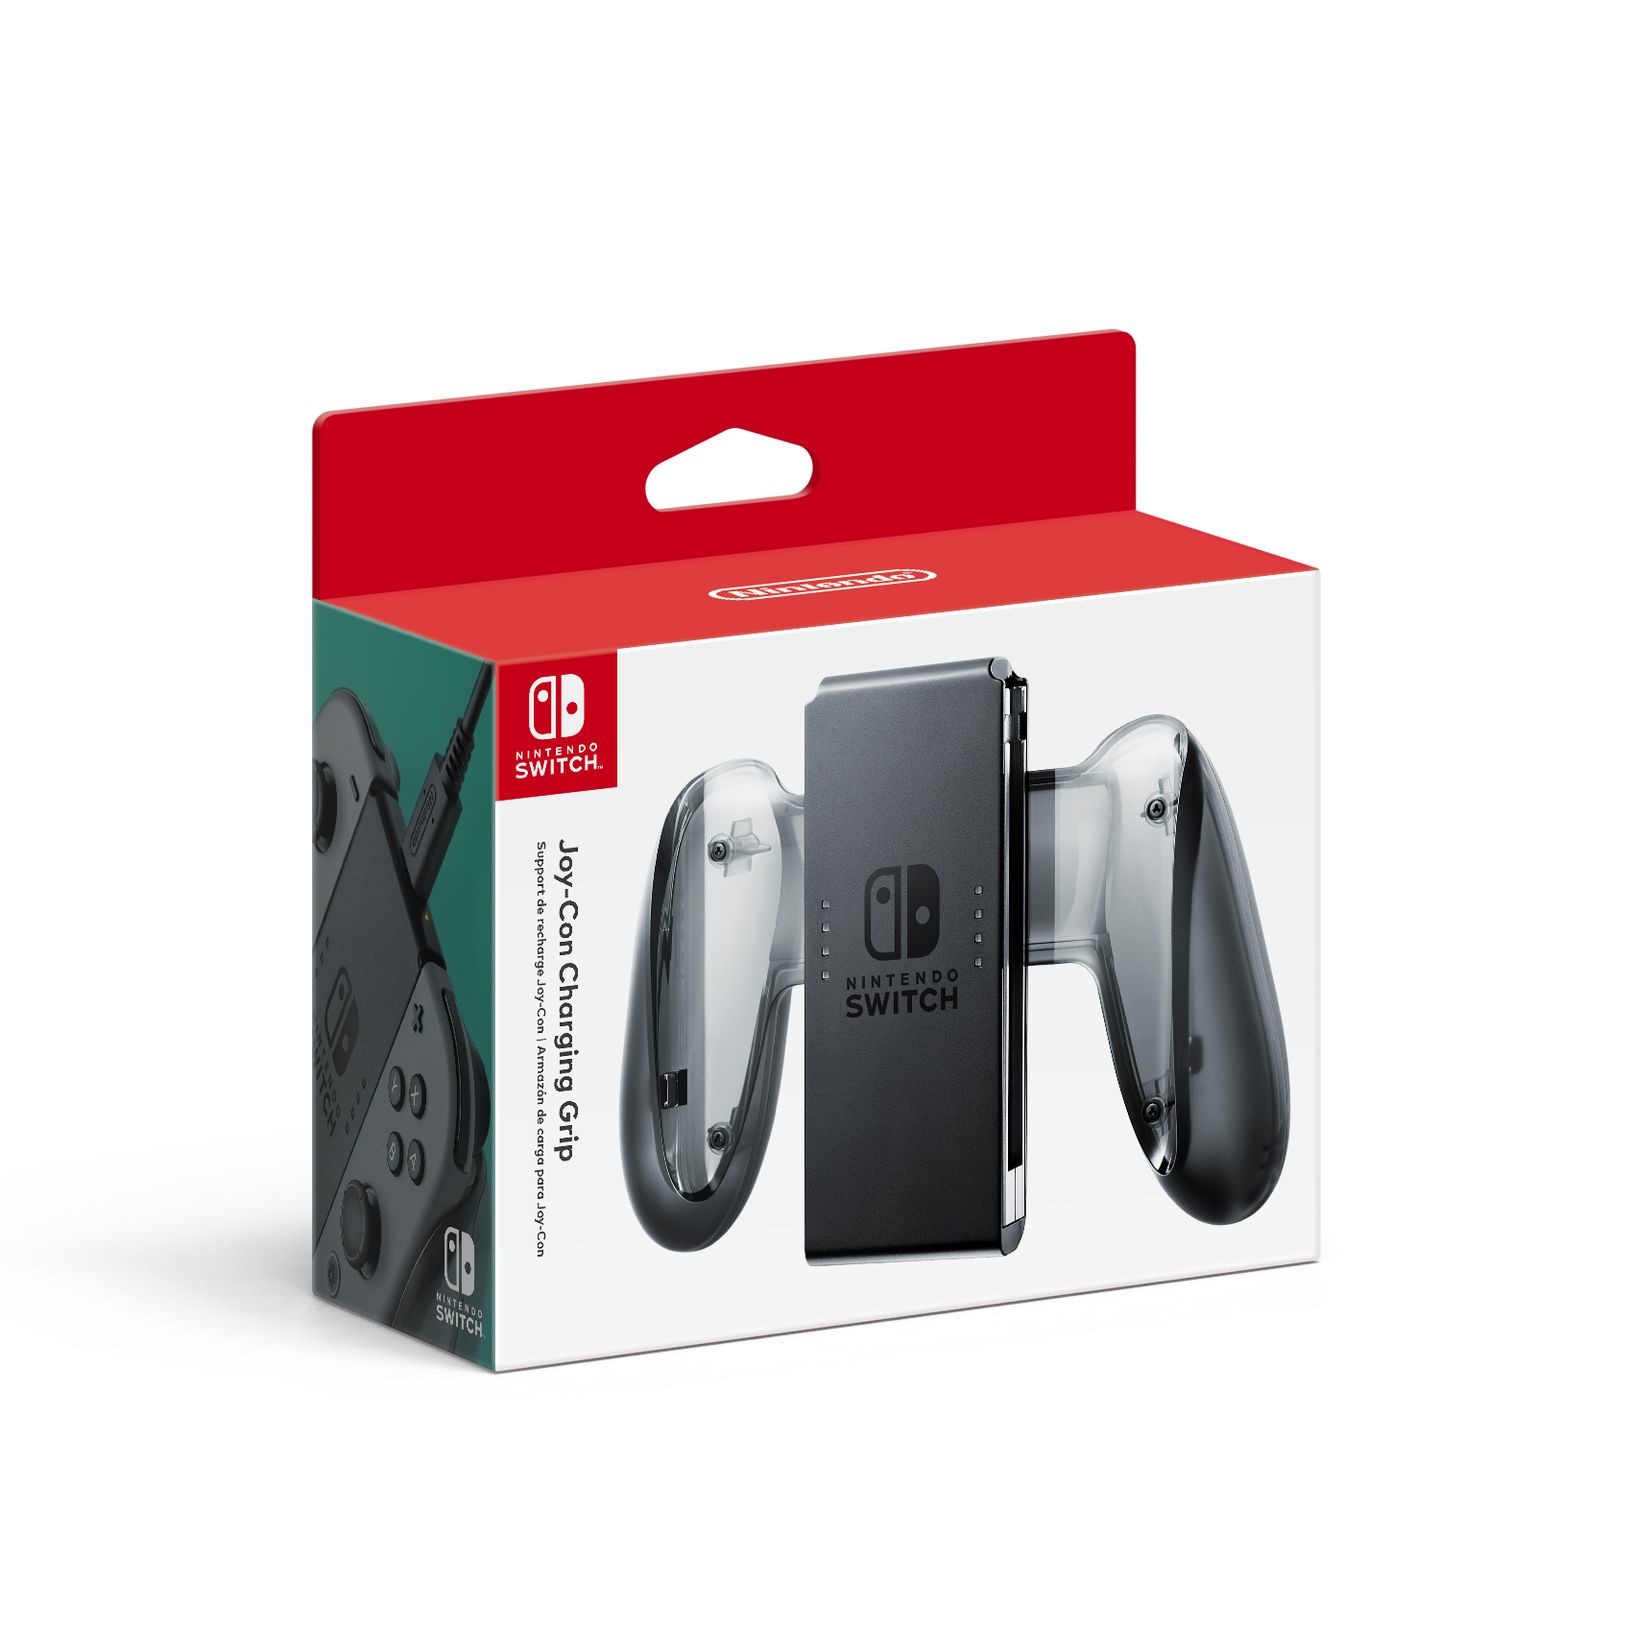
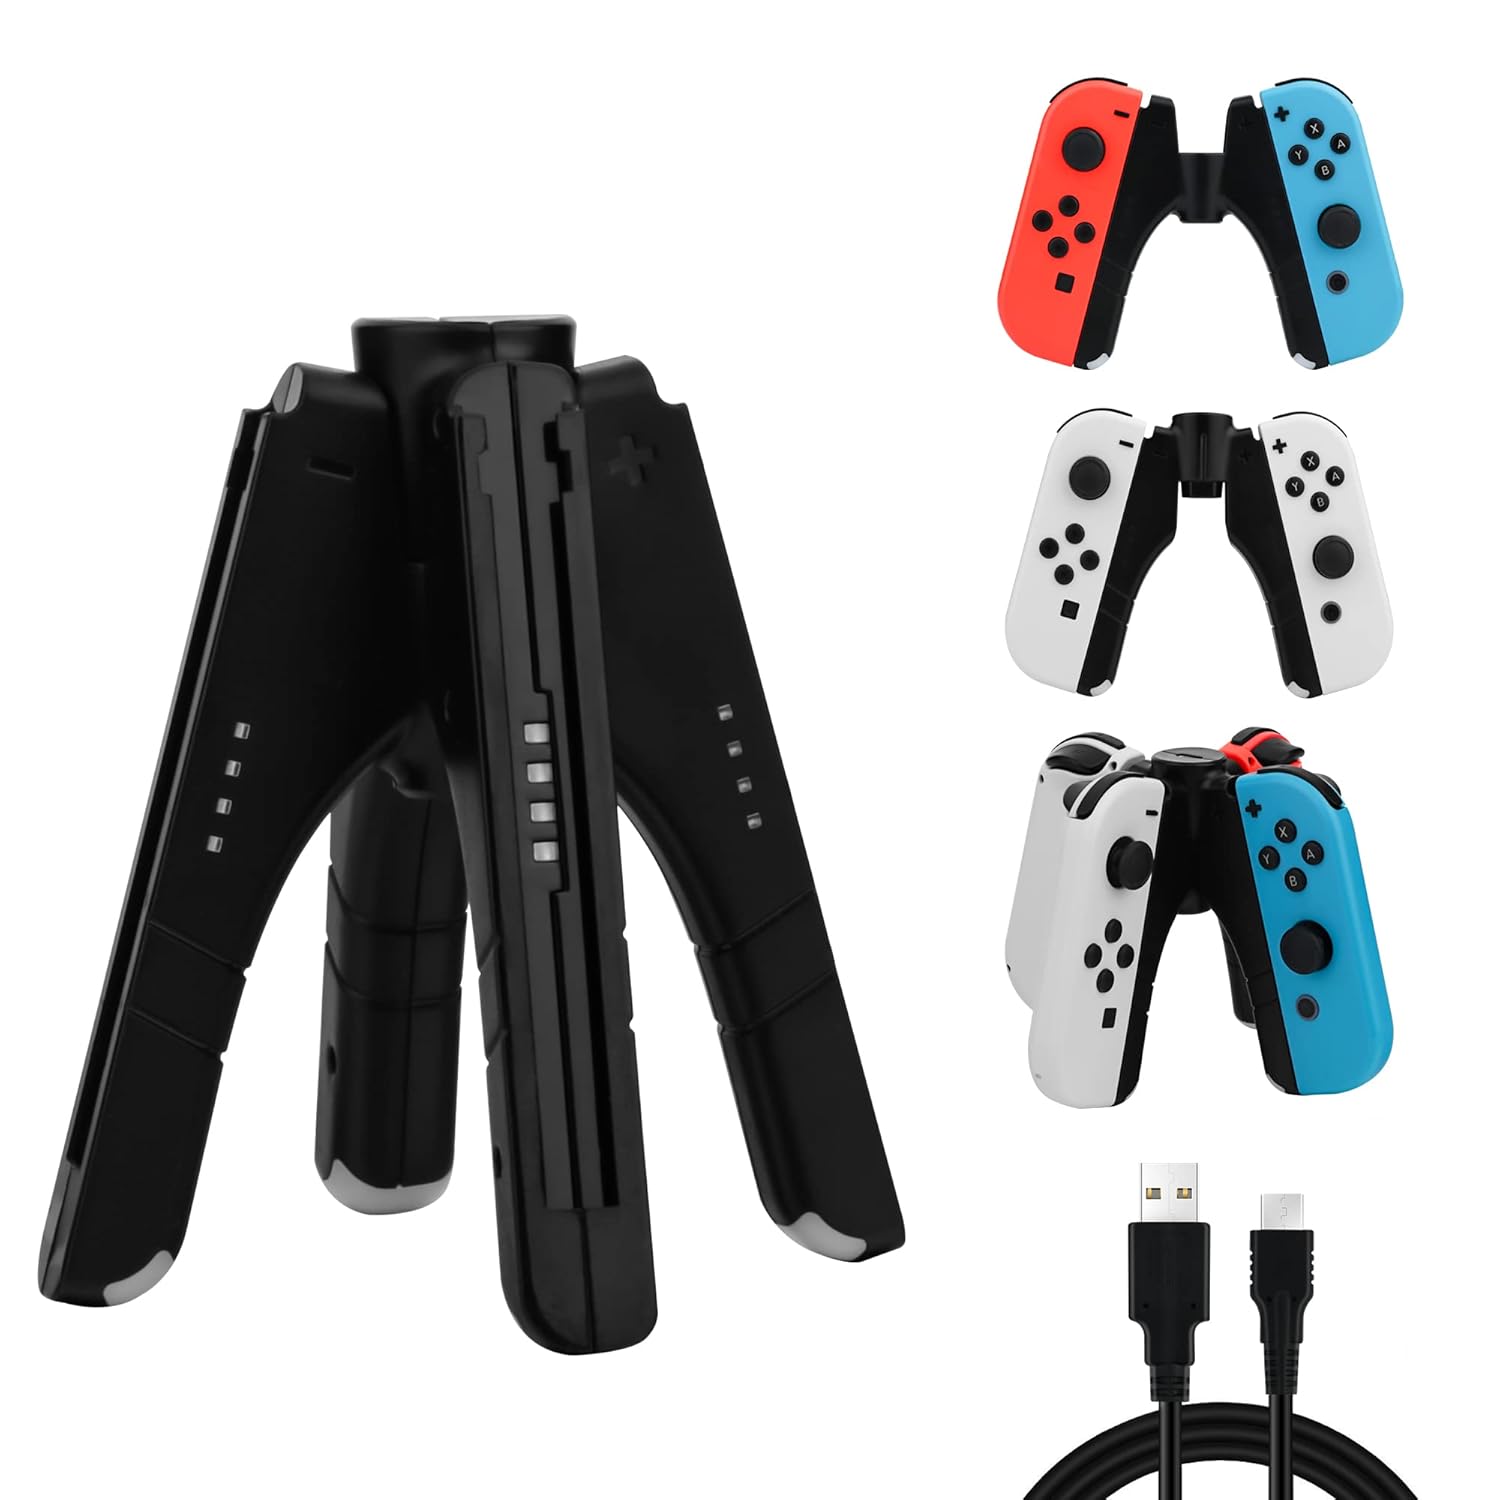
Some accessories enhance functionality. The Joy-Con Charging Grip holds both units. It allows play while charging. Other cases include built-in batteries.
Knowing which controller you use sets the foundation. Each one follows slightly different rules when learning how to charge Nintendo Switch controllers.
 Charging Joy-Con Directly on the Nintendo Switch
The easiest way to charge Joy-Con is attaching them to the Switch console. Slide each one into the rail until it clicks. Make sure the console is powered on or in sleep mode.
When connected, small LED lights appear near the triggers. A yellow light means charging. Green shows full charge. If no light appears, check alignment.
You can play while charging. However, intense games generate heat. This slows down the charging process. For best results, let them charge while idle.
Use the original dock whenever possible. Plug the AC adapter into the dock. Then connect the Switch. This powers both console and controllers.
Charging time takes about 3.5 hours from empty. It varies if the console runs games. Sleep mode speeds things up. Turn off the screen to reduce load.
Avoid third-party docks without proper voltage. Weak power output leads to incomplete charging. Stick to official or certified gear.
This method works well at home. It keeps everything organized. Learning how to charge Nintendo Switch controllers starts here for most users.
Using the Joy-Con Charging Grip
The Joy-Con Charging Grip offers a handheld option during charging. Attach both Joy-Con to the grip. Secure them with the locking switch. Now you can hold them like a single controller.
Connect the grip to any USB-C power source. Use the Switch dock, wall charger, or computer port. A red LED indicates active charging. It turns green when complete.
This setup lets you play while recharging. Great for multiplayer sessions. No need to stop just because batteries are low.
However, the grip does not include a battery. It only transfers power from the cable. You must stay plugged in throughout use.
It replaces the standard grip included with the console. Slightly heavier but balanced. Comfortable for extended play.
Only charge Joy-Con this way when fully attached. Loose connections interrupt power flow. Check the click sound before starting.
Keep the grip clean. Dust in the connectors causes poor contact. Wipe contacts gently with a dry cloth.
For frequent gamers, this is a reliable solution. It simplifies how to charge Nintendo Switch controllers without detaching them.
 Charging the Pro Controller with USB-C Cable
The Pro Controller uses a standard USB-C cable. Plug one end into the controller’s port. Connect the other to the Switch dock, wall adapter, or PC.
A white LED near the Start button shows charging status. Solid white means active charging. Off indicates full charge. Blinking suggests connection issues.
Charge time averages 3.5 hours. After that, expect up to 40 hours of gameplay. Heavy use of rumble and motion features reduces battery life.
Always use high-quality cables. Frayed or thin wires deliver inconsistent power. Official Nintendo cables work best. Third-party ones should be MFi-certified.
You cannot play while charging unless the cable is long enough. Otherwise, movement becomes restricted. Consider a 6-foot cable for flexibility.
Turn off the controller when not in use. Hold the Home button for three seconds. Select “Power Options” then “Turn Off.” This saves battery.
Store it with around 50% charge if unused for weeks. Full or empty batteries degrade faster over time.
Mastering how to charge Nintendo Switch controllers includes caring for the Pro Controller properly.
Wireless Charging Options for Controllers
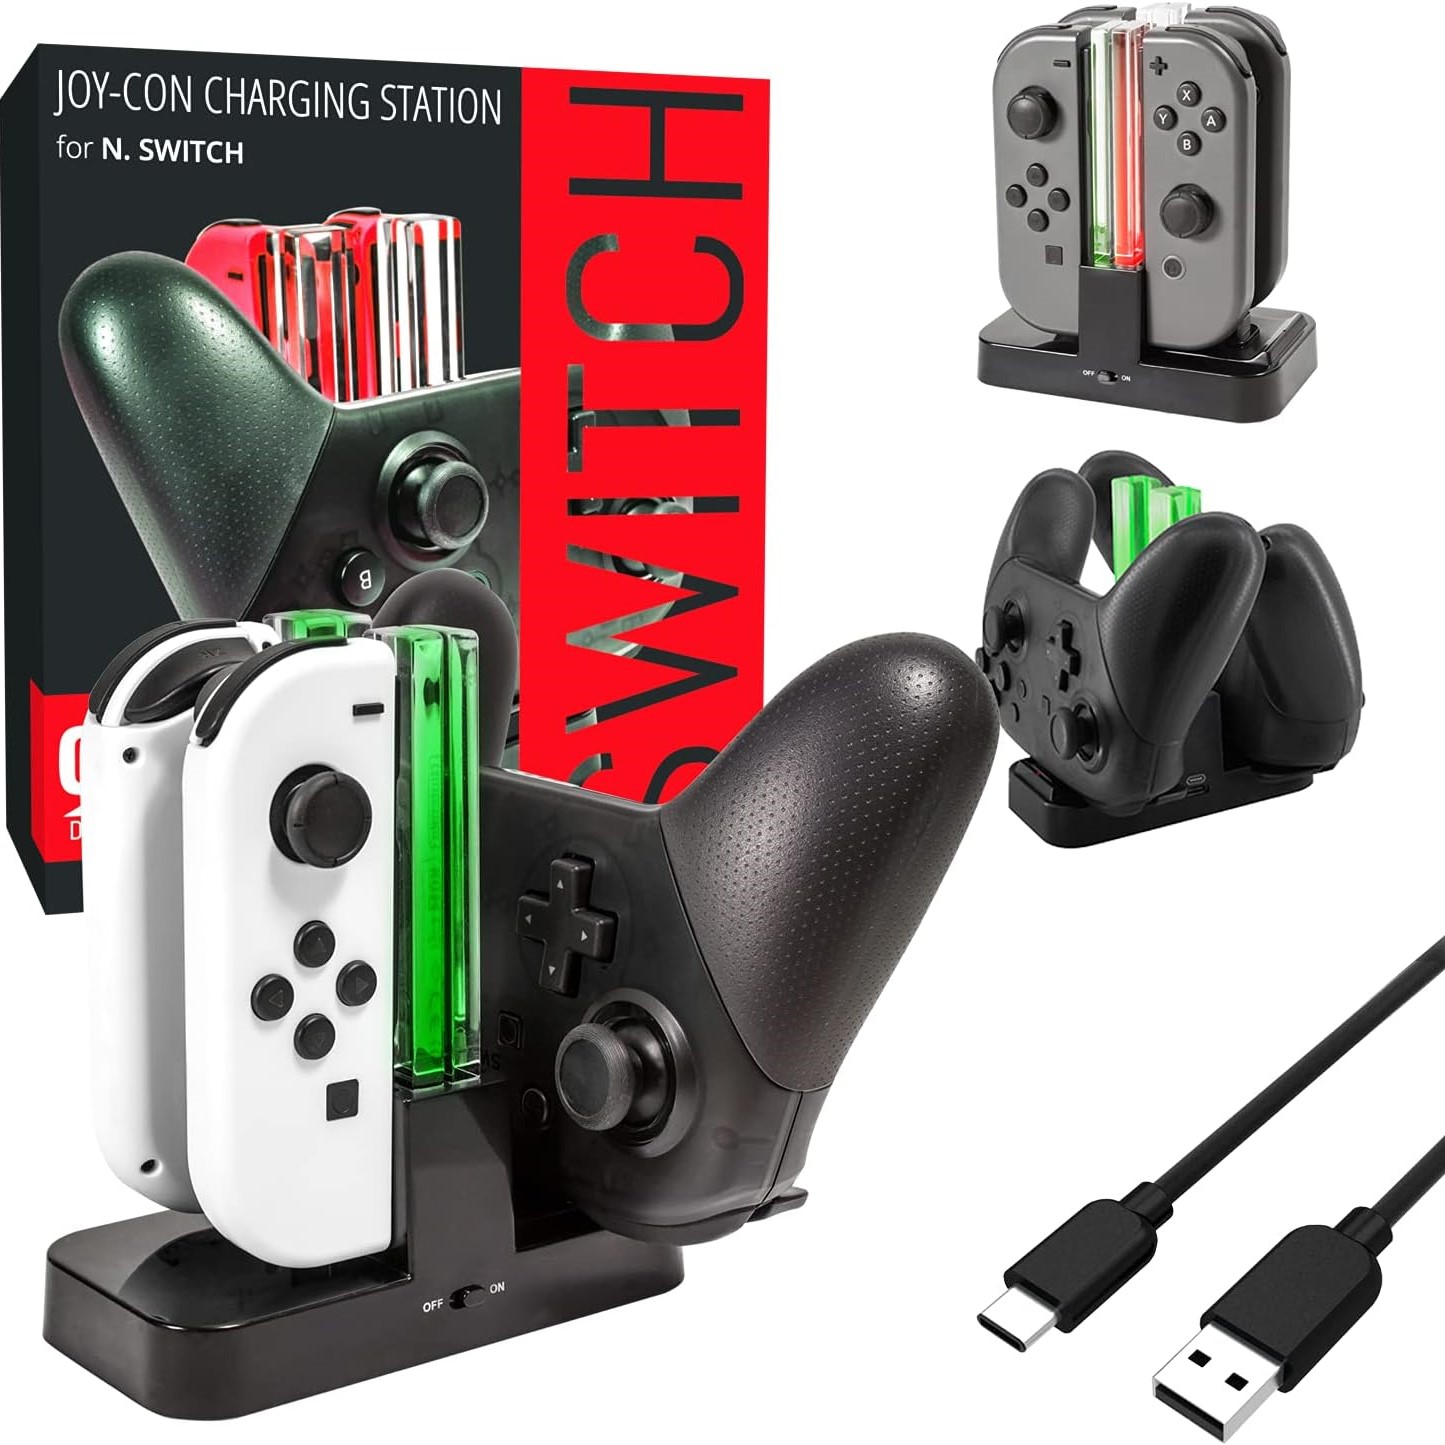
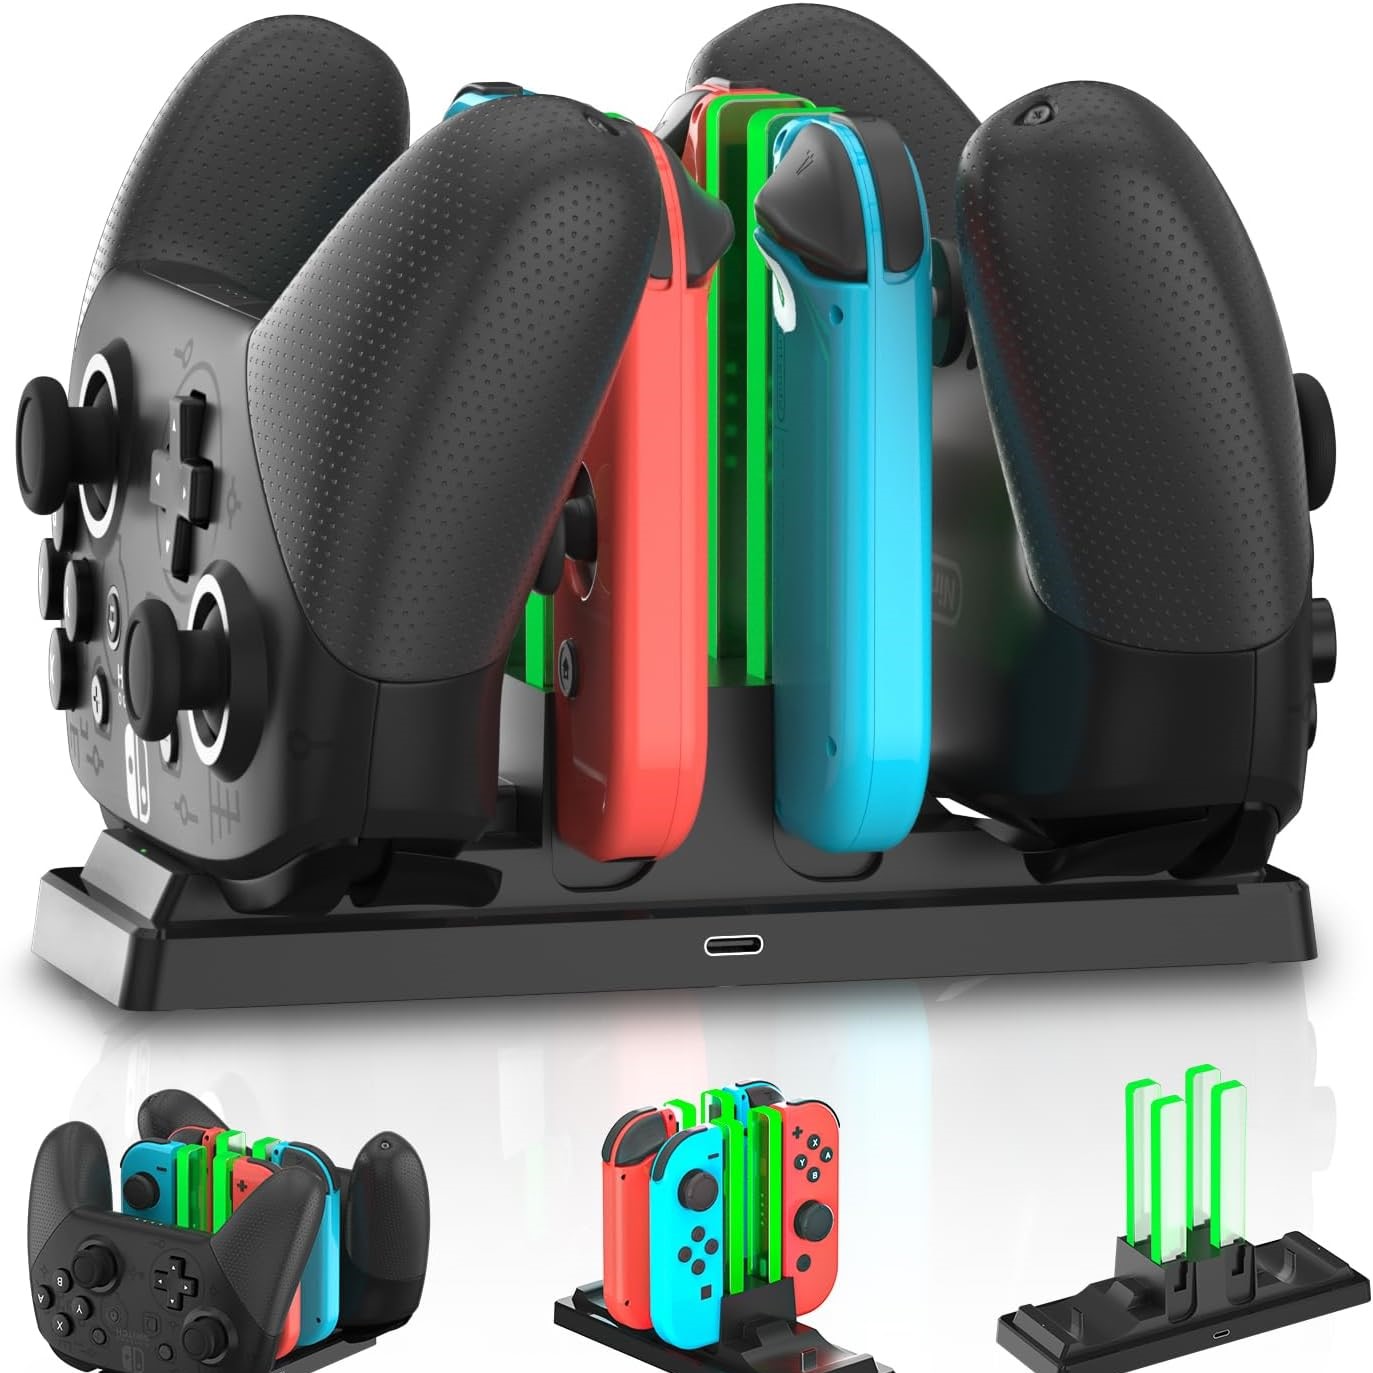
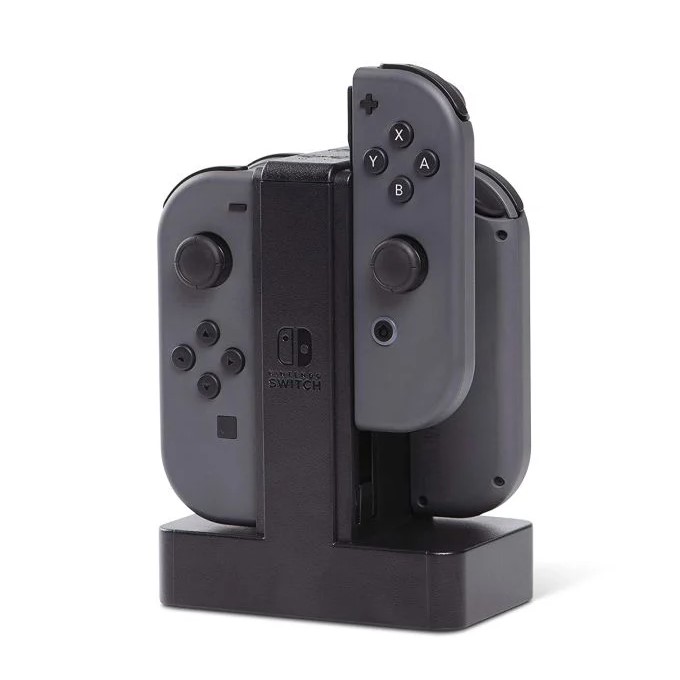
Wireless charging adds convenience. Official Nintendo offers a Joy-Con Charging Dock. Place each Joy-Con upright on the paddles. Magnets align them automatically.
Plug the dock into a power source via USB-C. Red lights show charging. Green means done. Holds two Joy-Con at once. Keeps them ready for action.
No cables touch the controllers. Less wear on ports. Also looks clean on display shelves.
Third-party brands make similar docks. Some include extra features. LED indicators, fan cooling, or multi-device support. Compare reviews before purchasing.
Pro Controllers do not support wireless charging natively. But some aftermarket cases add Qi compatibility. These add bulk but offer freedom.
Place the dock in an open area. Avoid covering it. Heat buildup slows charging speed.
Clean the metal contacts weekly. Dust blocks conductivity. Use a cotton swab lightly dampened with alcohol.
Wireless methods simplify how to charge Nintendo Switch controllers. They reduce clutter and improve longevity.
 Portable Charging Solutions for On-the-Go Gamers
Travelers need mobile ways to charge Nintendo Switch controllers. Power banks are ideal. Choose one with USB-A or USB-C output. At least 10,000mAh capacity lasts multiple charges.
Use the original USB-C cable. Connect it from the bank to the controller. Charge Joy-Con individually or via the grip. Pro Controller connects directly.
Some power banks include pass-through charging. You can recharge the bank while powering devices. Useful during long trips.
Car adapters work too. Plug into the vehicle’s USB port or cigarette lighter. Keep cables secured to avoid tripping.
Small solar chargers exist for outdoor adventures. Not fast, but functional in emergencies. Best paired with a battery pack.
Label your charging gear. Prevent mix-ups with phones or tablets. Different devices charge at different rates.
Always carry spare cables. Breakage happens. Tangle-free storage helps. Use Velcro ties or pouches.
Portable habits ensure you never run out of power. Knowing how to charge Nintendo Switch controllers away from home is crucial.
Common Charging Issues and How to Fix Them
Many users face problems when trying how to charge Nintendo Switch controllers. First, no light appears when plugged in. Check the cable. Try another one to rule out faults.
Second, slow charging occurs. Dirt in the port may block contact. Clean gently with a toothpick or compressed air. Avoid metal tools.
Third, the controller turns off during gameplay. Battery degradation might be the cause. After years of use, capacity drops. Consider replacement.
Loose connections happen often. Wiggle the cable to test stability. Replace frayed wires immediately.
Overheating stops charging. Let the device cool down. Remove it from direct sunlight. Restart the process later.
Firmware updates sometimes fix battery bugs. Go to System Settings > Controllers and Sensors > Update Controllers.
If nothing works, reset the controller. Press the small button on the back with a paperclip. Reconnect via Bluetooth.
Prevention beats repair. Handle gear with care. Regular maintenance avoids most issues.
Frequently Asked Questions About Charging Nintendo Switch Controllers
Can I charge Joy-Con while playing?
Yes. Use the Charging Grip or keep them on the docked console.
How long does it take to charge a Pro Controller?
About 3.5 hours from zero to full.
Do all USB-C cables work the same?
No. Cheap cables may not deliver enough power. Use tested ones.
Why won’t my Joy-Con charge on the dock?
Ensure they’re fully snapped in. Clean the rails. Test with another console if possible.
Is it safe to leave controllers charging overnight?
Yes. They stop drawing power when full. Still, unplug after completion when possible.
Can I use phone chargers to charge Switch controllers?
Yes. As long as the adapter outputs 5V/1.5A or higher.
What does a blinking light mean?
On the Pro Controller, it signals pairing mode or charging error. Reconnect or try new cable.
Should I turn off the controller while charging?
Not required. But turning it off speeds up the process.
These answers help users troubleshoot quickly. Knowledge improves experience.
 Conclusion
In conclusion, mastering how to charge Nintendo Switch controllers ensures seamless gameplay and extends device life. From using the console dock to wireless stations and portable power banks, multiple options exist. Each method suits different lifestyles and needs. Whether at home or traveling, preparation prevents interruptions. Additionally, understanding common issues helps solve problems fast. Proper care keeps your Joy-Con and Pro Controller running strong. And for every gamer who values reliability and performance, knowing how to charge Nintendo Switch controllers is not optional—it’s essential. With the right tools and habits, you’ll always stay powered up and ready to play.