Introduction: The Importance of Properly Mounting Your Nest Camera
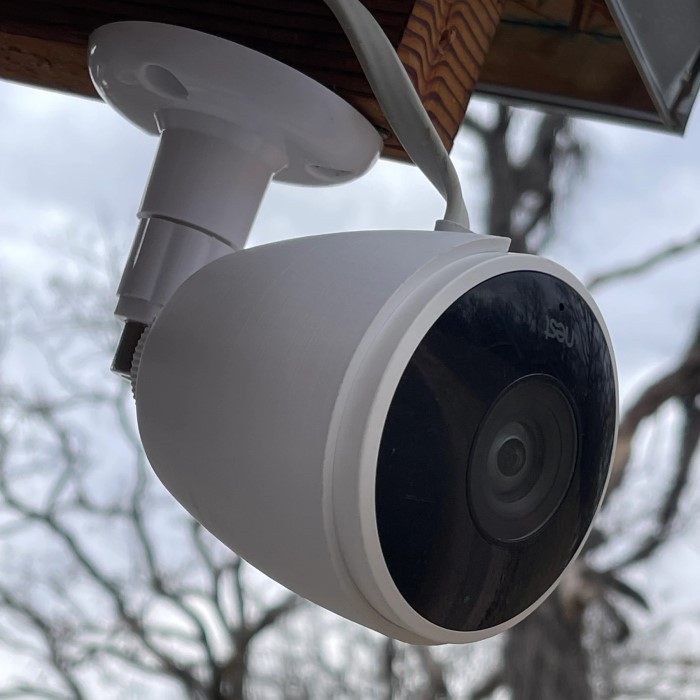
Mounting a Nest camera can significantly enhance your home security system. A well-placed camera provides better surveillance of your property and can help monitor both indoor and outdoor spaces. However, it’s not just about where to install the camera; what tools you use for mounting Nest camera also matters. In this article, we’ll discuss the essential tools needed for successful installation, best practices for camera placement, and step-by-step guidance to ensure your device operates optimally.
Essential Tools for Mounting Your Nest Camera
When it comes to mounting nest camera, having the right tools can make the process easier and more efficient. Here are some of the essential tools you should consider:
1. Drill and Drill Bits
- Cordless Drill: A cordless drill is essential for creating pilot holes and securing the mounting bracket. Make sure to choose a drill that has adjustable torque settings to avoid overdriving screws.
- Drill Bits: The size of the drill bit needed will depend on the mounting hardware included with your Nest camera. Typically, you will need a 3/16-inch drill bit for most wall anchors, but check the specifications in the instruction manual.
- Masonry Bits: If you plan to mount your camera on a brick or concrete wall, masonry bits are necessary to effectively drill into those hard surfaces.
2. Screwdriver
While most modern cameras come with screws that can be driven with a drill, a manual screwdriver is often useful for precise adjustments. A Phillips screwdriver is typically best for the screws provided with Nest camera mounting kits.
3. Level
A level is essential to ensure that your camera is straight when installed. An uneven camera can lead to missed angles, affecting the effectiveness of your surveillance.
4. Tape Measure
Using a tape measure helps you mark the perfect spot for mounting the camera. It ensures that the camera is placed at an optimal height and angle for the best field of view.
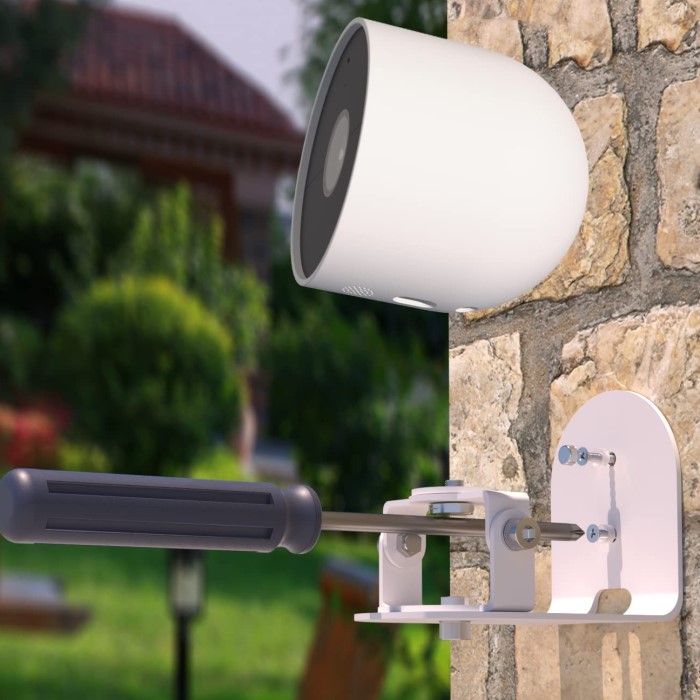
5. Anchors and Screws
Ensure you have the proper anchors and screws that are compatible with the mounting bracket of your Nest camera. The mounting kit usually comes with these, but having extras on hand can make the job easier.
Preparing for Installation
Before you start mounting your Nest camera, proper preparation is vital. Here are some steps to take before beginning the installation process:
- Choose the Right Location: Identify the areas both inside and outside your property where you want to place the camera. Important considerations include visibility, coverage, and avoiding obstructions like trees or posts.
- Check Wi-Fi Signal: Ensure that the location you choose has a strong Wi-Fi signal. Nest cameras rely on a stable internet connection for functionality. Use your smartphone or a Wi-Fi analyzer app to check the signal strength in the desired camera location.
- Avoid Direct Sunlight and Weather Exposure: If you are mounting an outdoor camera, avoid areas that receive direct sunlight throughout the day. Direct sunlight can impair video quality and affect the camera’s performance due to overheating.
- Prepare the Necessary Tools: Gather all your tools and materials in one place to ensure an efficient installation process. Lay everything out to easily access what you need.
Step-by-Step Guide to Mounting Your Nest Camera
Now that you have the right tools and have prepared for the installation, follow these steps to mount your Nest camera successfully:
Mark the Mounting Position
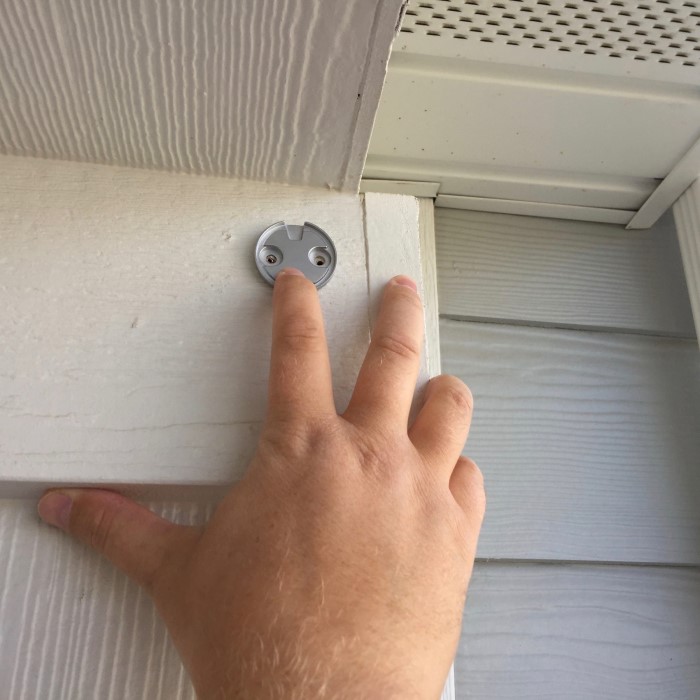
- Use a Pencil: Hold the camera bracket against the wall at the chosen location, ensuring it’s at the desired height and angle. Use a pencil to mark the drilling points.
- Level the Bracket: Use the level to ensure the mounting bracket is straight before making any drill marks.
Drill Holes
- Utilize the Drill: With your drill and the correctly sized bit, drill holes in the locations you marked. If necessary, use a masonry bit for concrete or brick surfaces.
- Insert Anchors: If screws are going into drywall, insert wall anchors. This will provide extra support for the screws.
Attach Mounting Bracket
- Screw in the Bracket: Align the mounting bracket with the drilled holes. Use screws (or anchors) to secure the bracket firmly in place.
- Double Check Level: Once the bracket is in place, check to ensure it’s still level. Make any necessary adjustments.
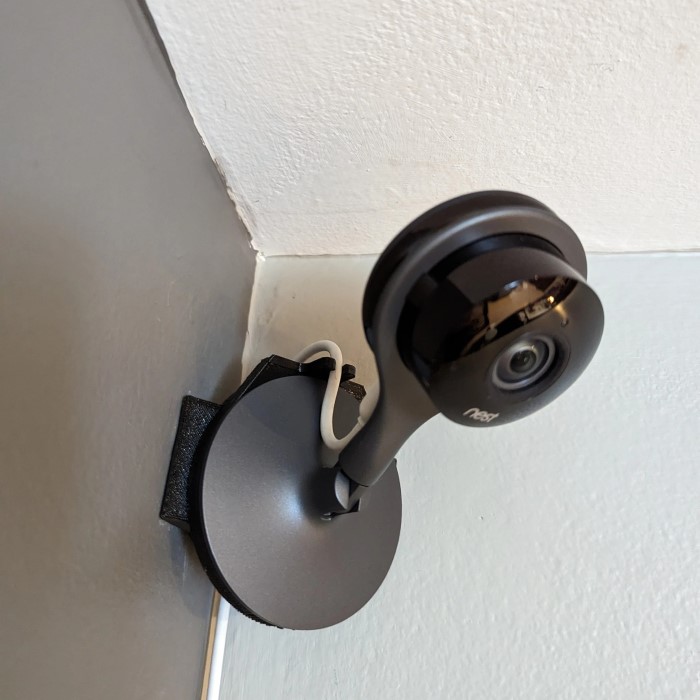
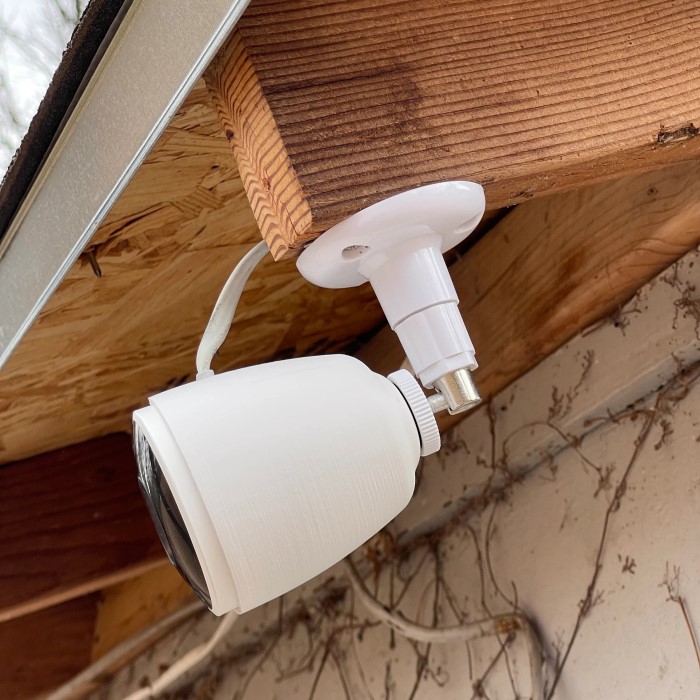
Attach the Camera
- Position the Camera: With the mounting bracket secured, attach your Nest camera according to the manufacturer’s instructions. Most models simply click into place.
- Check the Angle: Adjust the camera to the desired angle for optimal field of view.
Connect to Power and Wi-Fi
- Plug In the Camera: For wired models, connect the camera to a power source. For battery models, ensure that they are charged before final installation.
- Connect to Wi-Fi: Use the Nest app to connect your camera to your Wi-Fi network. Follow the in-app instructions to finalize the setup.
FAQ: Common Questions About Mounting Nest Cameras
How are Nest cameras mounted?
Nest cameras can be mounted using various methods, primarily through wall-mounted brackets that come with the device. Installation typically involves drilling holes, placing wall anchors, and securely screwing in the mounting bracket.
How to attach Nest camera to the wall?
To attach a Nest camera to the wall, mark the spot for drilling, secure the mounting bracket and make sure it is level, then attach the camera per the manufacturer’s instructions.
Can I install a Nest camera myself?
Yes, you can install a Nest camera yourself. With the right tools and a clear understanding of the installation steps, it’s designed to be user-friendly.
How to connect Nest camera to PC?
To connect a Nest camera to a PC, you typically use the Nest app on a browser. Log into your Nest account and access the camera feed from there.
Improving Your Nest Camera Experience
Once you complete the mounting and installation of your Nest camera, consider the following tips to enhance your security experience:
Utilize Motion Alerts
- Configuration of Motion Alerts: To set up motion alerts, access the Nest app on your smartphone or tablet. Navigate to the camera settings and enable motion detection features. This ensures you receive notifications whenever the camera detects any movement within its field of view.
- Real-Time Notifications: Once motion alerts are enabled, you will receive real-time notifications on your device. These alerts inform you immediately when the camera senses movement, allowing you to stay aware of any activity occurring in monitored areas.
- Customize Alert Sensitivity: The Nest app allows users to customize the sensitivity of motion detection. You can adjust these settings based on your specific needs. For example, if you live in a busy area, you might prefer a lower sensitivity to avoid receiving too many notifications due to passing cars.
- Viewing Recorded Events: The app not only sends notifications but also allows you to review recorded video clips of detected motion. This feature helps you verify what triggered the alert, whether it was a person, an animal, or something else.
Adjust Camera Settings
- Video Quality Control: Open the Nest app and go to the camera settings to adjust the video quality. Higher quality settings provide clearer images but may use more bandwidth. Choose a setting that balances clarity and streaming efficiency, especially if you have limitations on internet speed.
- Sensitivity Adjustments: In addition to setting motion alerts, you can modify the sensitivity to specific environmental factors. For instance, you can reduce sensitivity during windy conditions when tree branches might trigger alerts, ensuring you receive notifications only for significant movements.
- Alert Preferences: The app also allows you to customize how and when you receive alerts. You can choose to receive push notifications, emails, or both based on your preferences. Additionally, you can set “Do Not Disturb” times when you do not want to be disturbed by alerts.
- Privacy Settings: Adjust the privacy settings to ensure you maintain control over who can access the camera feed and when. This is especially important for shared households or if visitors have access to your home’s network.
Regular Maintenance
- Conduct Regular Checks: Make it a habit to perform routine inspections of your Nest camera. Check for any physical damage, such as scratches or a loose mount. Ensuring that your camera is secure is vital for maintaining optimal functionality.
- Cleaning the Lens: Dirt and debris on the camera lens can significantly impact video clarity. Use a soft cloth to clean the lens regularly, especially if you notice any blurriness or distortion in the video feed. Proper cleaning ensures that your camera captures clear images without obstruction.
- Inspect Power Sources: For wired cameras, check connections to ensure the device remains powered. For battery-operated models, regularly assess battery levels and replace them as needed. Maintaining a functioning power source is crucial for continuous monitoring.
- Review Performance: Occasionally, review the camera’s performance analytics within the app. This can help identify any potential issues, such as connectivity problems or lower-than-expected video quality.
Stay Updated
- Regular App Updates: Make sure the Nest app is updated regularly. Updates can introduce new features, improve user experience, and fix bugs that may affect functionality. Check for updates in your device’s app store and enable automatic updates if possible.
- Firmware Upgrades: The firmware on your Nest camera may also require updates to enhance security and performance. The app typically notifies you of available firmware upgrades. Install these updates to keep your device functioning optimally and securely.
- Read Release Notes: When updates are available, read the release notes to understand what improvements and changes have been implemented. This can help you take advantage of new features and ensure you are utilizing your camera’s full capabilities.
- Enhanced Security: Staying updated not only improves functionality but also fortifies the security of your devices. Regular updates can patch vulnerabilities, making it harder for unauthorized users to gain access to your camera feed.
Utilize Additional Devices
- Integrate Nest Devices: Consider adding other compatible Nest devices to your home security system. Devices such as the Nest Hello doorbell, Nest Cam IQ, or Nest Protect smoke alarms can work together to enhance your overall security setup.
- Creating Routines: With multiple Nest devices, you can create routines that allow your devices to communicate with one another. For example, if the Nest Cam detects motion, it could trigger an alert on your Nest Hub while also turning on outdoor lights.
- Comprehensive Coverage: By integrating additional devices, you can cover more areas of your home. This creates a comprehensive surveillance system that allows for monitoring different access points and vulnerable areas effectively.
- Smart Home Integration: Integrate your Nest devices with other smart home systems. This integration allows you to control everything from lights to alarms using a single platform or app, giving you a seamless experience managing your home security.
Conclusion: Successfully Mounting Your Nest Camera
Mounting your Nest camera is a straightforward process that can significantly boost your home security. By using the right tools and following the methods outlined for mounting nest camera in this guide, you can successfully set up your camera to maximize its effectiveness. Remember that proper positioning, Wi-Fi connectivity, and regular maintenance play crucial roles in maintaining your system’s reliability.
By understanding how to mount your Nest camera effectively, you’re not just improving your surveillance system but also enhancing your peace of mind. Enjoy the benefits of a well-implemented security system and stay connected to your home, no matter where you are.