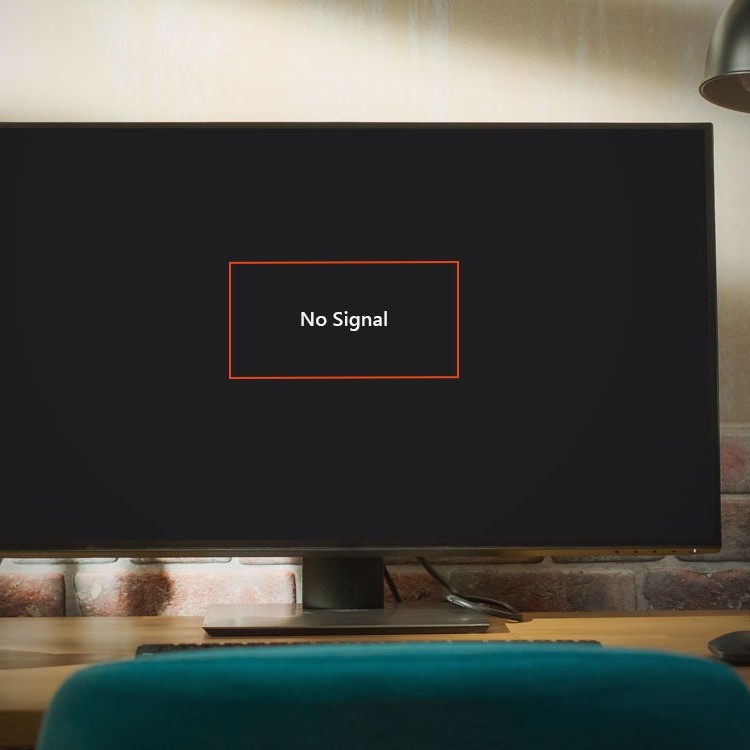
Introduction: Understanding the HDMI No Signal Issue
Have you ever encountered the frustrating message of “HDMI No Signal” while trying to connect your PC to a monitor or TV? If so, you’re not alone. Many users face this common issue, which can arise from various factors. Understanding the reasons behind the HDMI no signal problem and knowing how to troubleshoot it effectively is essential for a seamless experience.
In this article, we will explore the possible causes of the hdmi no signal pc and provide essential troubleshooting techniques to help you resolve this issue quickly. By following the steps in this guide, you can confidently fix your HDMI connection problems and get back to enjoying your media without interruptions.
Common Causes of HDMI No Signal on PC
Before diving into the troubleshooting process, it’s crucial first to recognize the different factors that can lead to an HDMI no signal error on your PC. Awareness of these potential causes can help streamline the troubleshooting process.
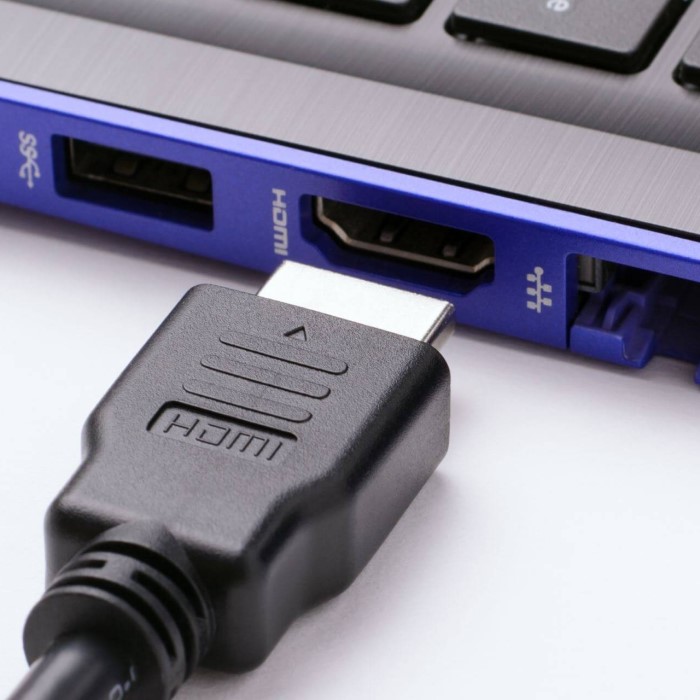
1. Faulty HDMI Cable
One of the most straightforward explanations for an HDMI no signal issue is a faulty HDMI cable. Cables can become damaged over time—whether through wear and tear or accidental bending. Consider the following signs of a faulty cable:
- Physical Damage: Check for visible signs of wear, such as frayed wires or bent connectors.
- Connection Issues: If one or both ends of the cable do not connect securely, it may indicate the need for replacement.
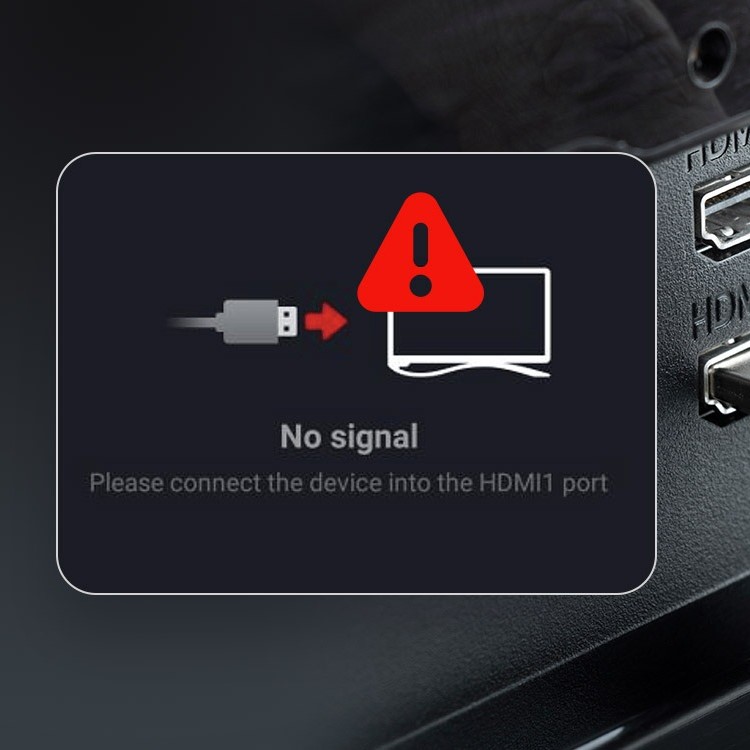
2. Incorrect Input Source
Another common reason for receiving an hdmi no signal pc is selecting the wrong input source on your monitor or TV. Many devices have multiple input options, leading to confusion about which one is currently active.
- Confirm Input Selection: Ensure that you have selected the correct HDMI input source on the display device. Most TVs and monitors have a button labeled “Source” or “Input” that cycles through the available options.

3. Display Settings on Your PC
Sometimes, the settings on your PC can lead to an HDMI no signal error. Adjustments might be required to ensure that the PC recognizes the display properly.
- Display Configuration: Check your PC’s display settings to see if the secondary display has been enabled. This can often be done through right-clicking on the desktop and selecting “Display settings.”
4. Driver Issues
Outdated or faulty graphics drivers can also lead to connection problems. If your drivers have not been updated in some time, it’s possible they could be causing issues with the HDMI signal.
- Driver Updates: Ensure that your graphics drivers are up to date. You can check for updates through the manufacturer’s website or the device manager on your PC.
5. Hardware Malfunction
Lastly, it is possible that an issue with the hardware itself could lead to an HDMI no signal error. This can include problems with the PC’s graphics card or the HDMI ports on either device.
- Inspect Hardware: If none of the above solutions work, inspecting for physical problems with the graphics card or HDMI ports may be necessary.
Essential Troubleshooting Techniques for HDMI No Signal Errors
Now that we understand the common causes of HDMI no signal issues, we can explore a step-by-step troubleshooting approach to resolve these problems effectively.
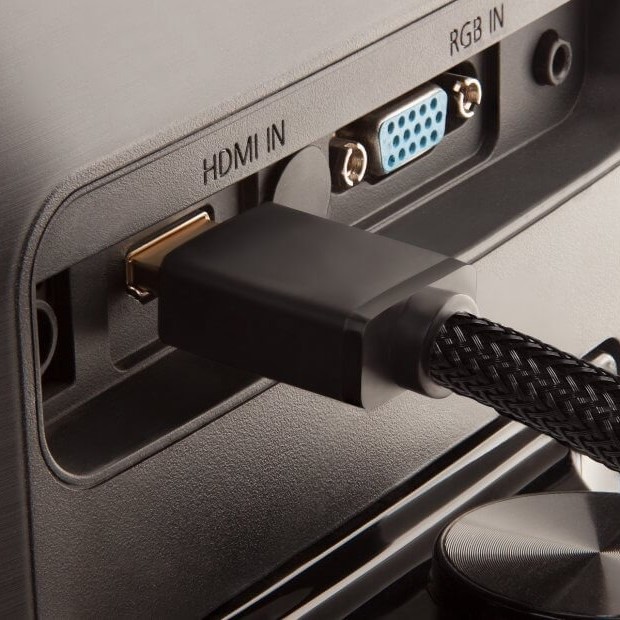
1. Check Your HDMI Cable and Connections
Start by ensuring that both ends of the HDMI cable are securely connected to your PC and display device. If the cable seems damaged, consider replacing it with a new one. Follow these steps:
- Disconnect and Reconnect: Unplug the HDMI cable from both the PC and the monitor/TV, then reconnect securely.
- Try a Different Cable: If a new cable is available, swap it out to see if the issue persists.
2. Change the Input Source
It’s essential to verify that you have selected the correct input source on your monitor or TV. Here’s how to check:
- Access Input Menu: Use the remote control or built-in buttons on the TV/monitor to access the input menu. Ensure that the HDMI port corresponding to your connected device is selected.
3. Adjust Display Settings on Your PC
If the screen is still showing the HDMI no signal error, changing the display settings might help:
Windows Settings
- Accessing Display Settings: Begin by right-clicking on an empty area of your desktop. This action will bring up a context menu with various options, and from this menu, select “Display settings.” This is the gateway to configuring how your computer interacts with connected displays.
- Detecting the Second Screen: In the display settings menu, look for the section that indicates whether your computer has detected a second screen. This is typically found near the top of the settings window, displaying how many screens are in use (such as ‘1 of 2’ if two screens are recognized).
- Troubleshooting Detection Issues: If the second screen is not detected, ensure that all connections are secure. You can also click the “Detect” button within the settings to prompt Windows to search for additional displays. This can be helpful in refreshing the system’s connection to the external monitor.
- Adjusting Resolution and Arrangement: If the second screen is detected, you may have options to adjust the resolution and arrangement of the displays. This includes specifying which screen is the primary display and how they are oriented relative to each other (e.g., side by side).
Project Settings
- Using the Windows Key + P Shortcut: A convenient way to manage your display settings is to press the Windows Key + P on your keyboard. This keyboard shortcut opens the “Project” sidebar, providing quick access to various display configurations.
- Selecting Display Modes: The Project sidebar offers several display modes, such as “PC screen only,” “Duplicate,” “Extend,” and “Second screen only.” Each option serves a different purpose, making it easy to choose how you want your displays to interact.
- Mirroring vs. Extending:
- Duplicate: Selecting the “Duplicate” option mirrors your main display onto the second screen, showing the same content on both displays. This is useful for presentations or sharing information with an audience.
- Extend: Choosing “Extend” allows you to use the second screen as an extension of your desktop. This effectively increases your workspace, enabling you to drag windows across screens, which is beneficial for multitasking and organizing applications.
- Switching Between Modes: You can cycle through the display modes by repeatedly pressing the Windows Key + P. This allows for a quick way to experiment with different configurations until you find the one that best suits your needs.
- Finalizing Your Setup: After selecting your preferred project setting, remember to click outside the sidebar or press the Escape key to close it and continue with your work. Your adjustments should take effect immediately, optimizing your display setup for your tasks.
4. Update Graphics Drivers
If the above steps don’t resolve the issue, consider updating the graphics drivers for your PC:
- Check for Updates: Type “Device Manager” in the Windows search box. Expand the “Display adapters” section, right-click on the graphics card, and select “Update driver.” Follow the prompts to search for available updates.
5. Test with Another Device
To determine whether the problem lies with the original device or the HDMI cable set up, you can test the HDMI connection with another device:
- Connect Different Equipment: If you have another PC, laptop, or gaming console, connect it to the same monitor or TV using the same HDMI cable to see if the issue persists.
- Identify Source: If another device works, then your original device may have an internal issue. If it doesn’t work, the problem could be with the cable or display device itself.
6. Restart Your Devices
Sometimes a simple reboot can solve temporary glitches. Restart both your PC and your display device:
- Turn Off and On: Power off your PC and monitor/TV. Wait a few moments before turning them back on. This action can refresh all connections.
7. Inspect Hardware Components
If all else fails, check for hardware-related issues. This step may require opening up your PC or visually inspecting your HDMI ports:
- Inspect Ports: Look for any dust, debris, or physical damage. Cleaning can sometimes solve the connection issue. If you feel comfortable, check to see if the graphics card is securely seated in its slot.
Preventing Future HDMI Connection Issues
After successfully resolving your HDMI no signal issue, consider adopting preventive measures to minimize the likelihood of encountering the problem again.
1. Regularly Clean Connections
- Dust and Debris: Regularly clean your HDMI ports and cable connections to prevent dust from building up.
- Use Compressed Air: A can of compressed air can effectively remove dust from ports without causing damage.
2. Quality Cables
Invest in high-quality HDMI cables. Choosing reputable brands can enhance durability and reduce the likelihood of connection issues.
3. Software Updates
Keep your operating system and graphics drivers updated to ensure all components work seamlessly together. Regularly check for new updates to avoid software conflicts.
4. Monitor Temperature
Overheating can affect both your PC and monitor. Ensure that your devices are in well-ventilated areas, which helps maintain optimal operating temperatures.
Conclusion: Effective Solutions for HDMI No Signal Issues
In summary, knowing how to troubleshoot HDMI no signal PC errors is essential for anyone using high-definition equipment. By following the steps outlined in this article, from checking cables to ensuring proper software functionality, you can quickly identify and resolve these frustrating connection issues.
Maintaining your devices through regular cleaning and keeping software updated can further enhance performance and reliability. When problems arise, don’t panic; instead, take a systematic approach to diagnosing and fixing the issue.
Armed with this knowledge, you can confidently tackle HDMI no signal errors, allowing you to maximize your viewing experience without interruptions. Enjoy your devices fully, free from the hassles of connectivity issues!