If you own a Samsung smart TV, you likely use a Samsung remote to control it. This remote is an essential tool for navigating your TV’s features, settings, and applications. Over time, you may notice that the battery level decreases. At this point, you must recharge your remote to ensure it continues functioning properly. In this article, we will guide you on how to charge your Samsung remote effectively.
Understanding Your Samsung Remote
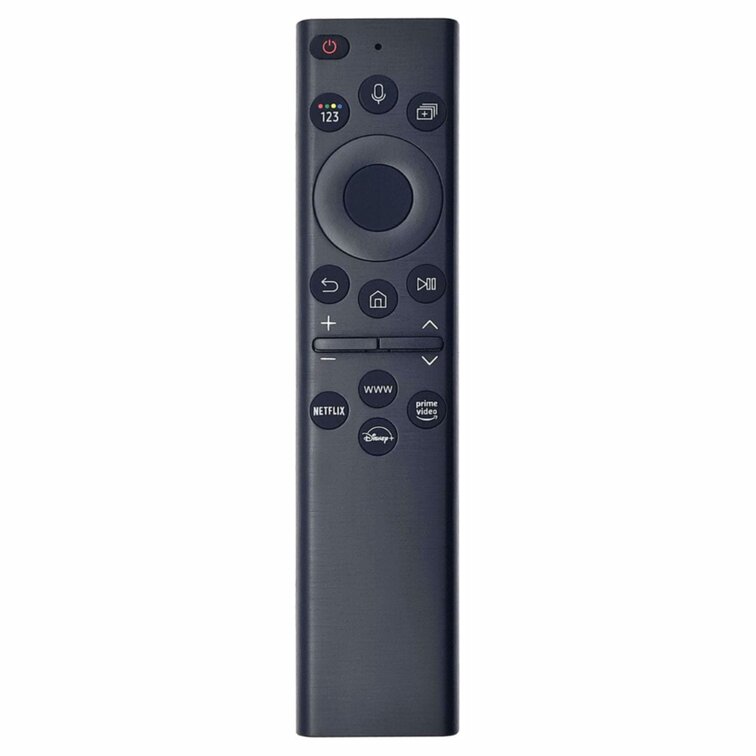
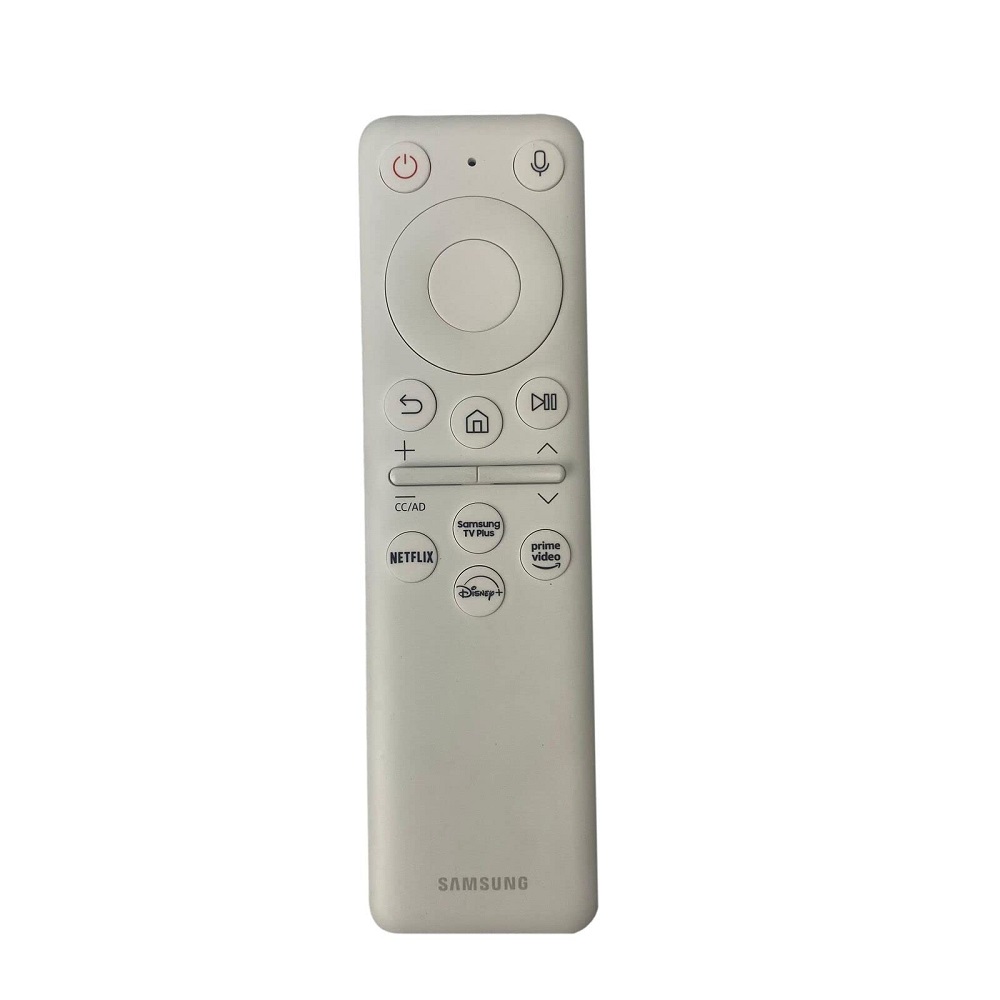
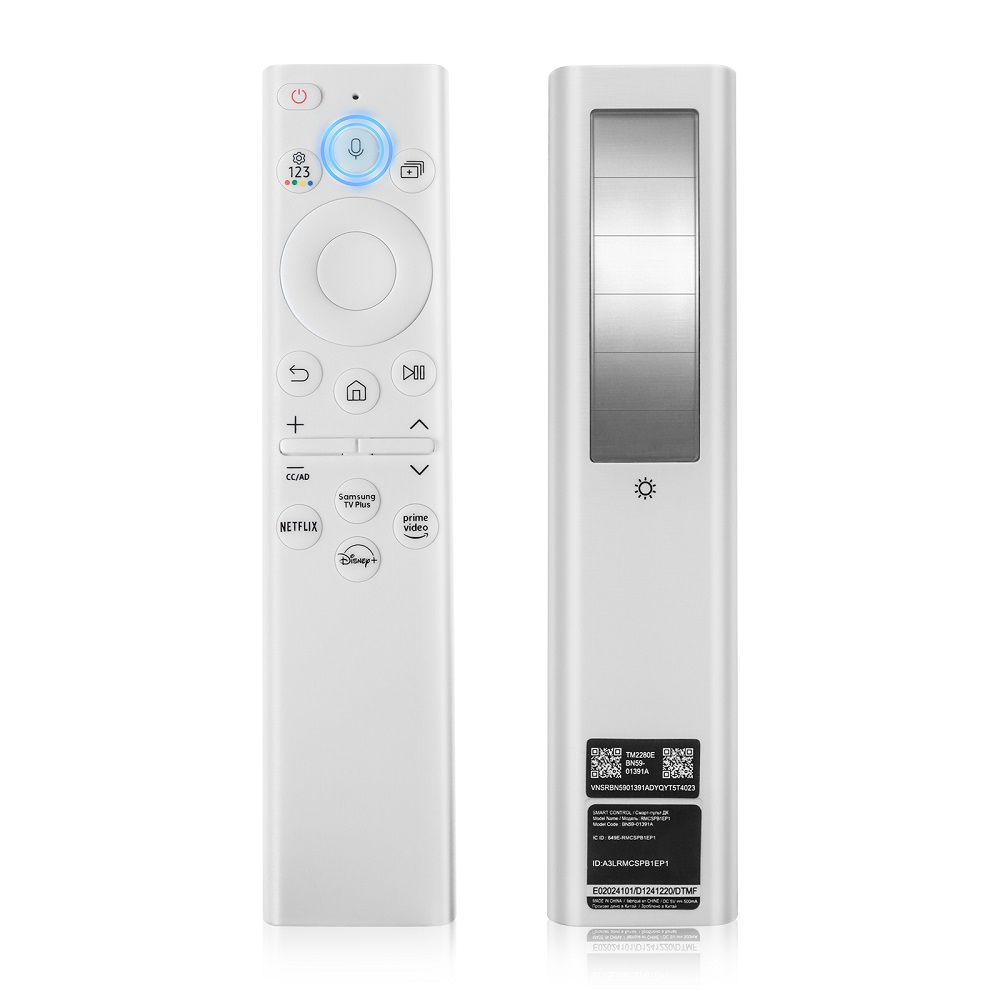
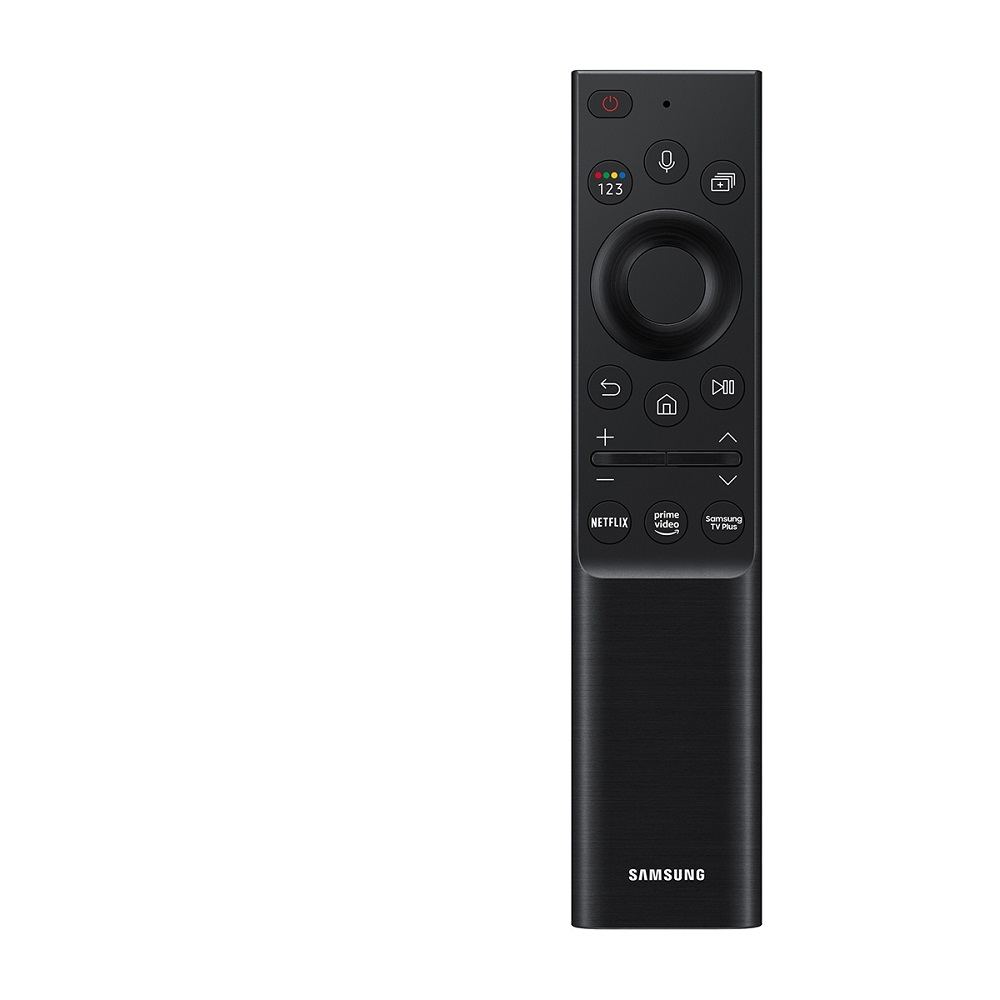
Before we dive into the specifics of charging your Samsung remote, it is vital to understand its features. Samsung remotes come in various styles, such as the Smart Remote and the standard remote. The Smart Remote often includes features such as voice control and a touchpad. This remote typically has a built-in rechargeable battery, while the standard remote mostly relies on replaceable batteries. Knowing which type of remote you have will help you determine how to charge or replace its batteries.
Types of Samsung Remotes
Samsung offers several remote models to suit different users’ needs. The most common types are the Smart Remote and the standard remote with AA or AAA batteries. The Smart Remote usually has a sleek design and features that enhance user experience, such as voice recognition and smart capabilities. These remotes often have a built-in lithium-ion rechargeable battery.
On the other hand, the standard remote operates with replaceable batteries. If you find that you are frequently changing batteries in your standard remote, it may be worth considering upgrading to a Smart Remote. This decision can help you save money on batteries in the long run and provide you with more features.
Charging a Samsung Smart Remote
To charge a Samsung Smart Remote, follow the steps below. This remote generally has a micro USB port that allows easy recharging. Ensure you have a compatible charger or cable to initiate the charging process.
Step-by-Step Charging Process
- Locate the Micro USB Port: The micro USB port is usually located at the bottom of the remote. Take a moment to examine it closely. This port enables you to connect the charger.
- Get the Right Charger: Use a micro USB cable that is compatible with your remote. Samsung chargers or any standard micro USB chargers should work well. Avoid using damaged cables to ensure safety during the charging process.
- Connect the Charger: Insert one end of the micro USB cable into the remote’s port. Connect the other end to a USB power adapter or a USB-enabled device, such as a computer or gaming console.
- Check Charging Status: Once connected, look for an indicator light on the remote. This light should illuminate to signal that charging has begun. If the light does not turn on, ensure that the connections are secure.
- Let It Charge: Allow the remote to charge fully. The charging time typically varies but can take a few hours. Most Samsung remotes can last for several weeks on a full charge, depending on your usage.
- Disconnect After Charging: Once your remote is fully charged, disconnect the charger from the device and plug it back into your storage or another safe spot.
Tips for Efficient Charging
To ensure your remote charges efficiently, consider a few tips. Regularly check the battery level. If you notice that you need to recharge frequently, perhaps there are issues with the battery health.
Maintain the Battery Health
- Avoid Overcharging: Once the remote is fully charged, disconnect it from the charger. Overcharging can affect battery health and lifespan. Always monitor the charging process.
- Use Original Chargers: Whenever possible, use the original Samsung charger. This practice ensures compatibility and helps maintain the integrity of the remote’s battery.
- Keep It Clean: Dust and debris can accumulate in the charging port over time. Use a soft cloth or a can of compressed air to clean the port gently. This cleaning routine helps improve charging efficiency.
- Store Properly: If you don’t use the remote for an extended period, store it in a cool and dry environment. Avoid exposing it to extreme temperatures, as this can diminish battery life.
Troubleshooting Charging Issues
If you find that your remote does not charge, you might want to troubleshoot a few common issues. Identifying the problem can save you time and help prolong the life of your device.
Common Issues and Solutions
- Check the Cable: If the remote doesn’t charge, start by examining the charging cable. Look for any signs of wear or damage. If you see frayed wires, replace the charging cable with a new one.
- Inspect the Remote: Examine the remote itself. Check for any physical damage, especially around the charging port. If you notice cracks or broken components, you may need to replace the remote.
- Test with Another Charger: If you are unsure whether your charger is functioning correctly, test it with another compatible device. This test can help you confirm whether the issue lies with the charger or the remote.
- Allow for Reset: Sometimes, resetting the remote can solve charging issues. Remove the batteries for a few minutes before reinserting them. If your remote is rechargeable, locating the reset button might help restore function.
- Consult the Manual: If you’ve tried all of these solutions without luck, consult the user manual for troubleshooting tips specifically designed for your remote model.
Replacing Batteries in Standard Samsung Remotes
If you own a standard Samsung remote, you won’t be able to recharge it. Instead, you will need to replace the batteries when they run out. Knowing how to do this properly can save you time and frustration.
Step-by-Step Battery Replacement Process
- Identify Battery Type: Standard Samsung remotes usually use AA or AAA batteries. Check your user manual if you are unsure about the type required.
- Open the Battery Compartment: Flip the remote over to locate the battery compartment. Usually, this compartment is at the back of the remote. Slide or pull the compartment cover off to access the batteries.
- Remove Old Batteries: Take out the old batteries carefully. Make a note of their orientation for proper installation of the new batteries.
- Insert New Batteries: Insert the new batteries, ensuring that the positive (+) and negative (-) ends align correctly according to the markings in the battery compartment.
- Replace the Cover: Slide or snap the cover back onto the remote to secure the batteries in place. Test the remote to ensure it’s functioning correctly.
Tips for Extending Battery Life
If you frequently find yourself replacing batteries in your Samsung remote, you might want to consider ways to extend their life. Simple habits can make a big difference.
Battery Life Maintenance Practices
- Turn Off When Not in Use: Always turn off your TV and remote when you are finished. Some remotes have a feature that allows them to go into low power mode, which can help save battery life.
- Limit Backlight Usage: Some remotes have backlit keys. If your model has this feature, limit the use of the backlight, as it can drain battery life more quickly.
- Regularly Clean the Remote: Keeping your remote clean can help the buttons respond better. Dirty contacts can lead to increased battery consumption as the remote requires more power to function.
Signs That Your Remote Needs Charging or New Batteries
Sometimes it’s not obvious when your Samsung remote needs recharging or new batteries. Understanding the signs can help you prevent issues before they arise.
Identifying Battery Life Issues
- Unresponsive Buttons: If you press a button and nothing happens, the battery may be low. Try recharging or replacing the batteries to restore functionality.
- Intermittent Connection: If your remote works sometimes and not others, this inconsistency may indicate that the battery is running low.
- Dim Remote Light: If your Smart Remote has an indicator light that seems faint or flickering, it might be time to recharge.
- Full Discharge Periods: If you notice that the battery depletes much faster than expected, it may indicate that the battery is losing its capacity and might need replacing.
When to Seek Professional Help
If you have tried recharging or replacing the batteries without success, it may be time to seek professional help. Some issues may require expert attention.
Considerations for Seeking Help
- Warranties: Check if your remote is still under warranty. If it is, contact Samsung for a repair or replacement at no cost.
- Local Repair Shops: In some cases, local repair shops can fix electronic devices efficiently. Look for technicians who specialize in electronic repairs.
- Samsung Support: If you cannot resolve the issue, reaching out to Samsung’s customer support can be helpful. They can guide you through additional troubleshooting steps or facilitate a replacement if necessary.
Conclusion
Charging your Samsung remote is an essential part of maintaining your smart TV experience. By understanding how to charge, replace batteries, and troubleshoot common issues, you can ensure your remote remains functional for years to come. Whether you have a rechargeable Smart Remote or a standard remote, knowing these details can enhance your overall user experience. Following the tips and steps outlined in this article will leave you confident in managing your Samsung remote, allowing you to enjoy your favorite shows and movies without interruption.