Introduction: Embracing Wireless Freedom
Wireless mice have revolutionized the way we interact with our digital world, offering convenience, flexibility, and clutter-free desks. Among the leading brands in this space, Logitech stands out for its blend of innovation, comfort, and compatibility. If you’ve recently acquired a Logitech wireless mouse and are eager to get started, this step-by-step guide will walk you through the connection process, ensuring a smooth and frustration-free setup.
Understanding the Connection Methods
Before diving into the setup, it’s essential to know the two primary ways Logitech wireless mice connect to your devices:
- Logitech Unifying Receiver: A tiny USB dongle that pairs with multiple Logitech devices.
- Bluetooth: A wireless technology built into most modern computers, laptops, and even some tablets and smartphones.
Section 1: Connecting via Logitech Unifying Receiver
Inserting the Unifying Receiver
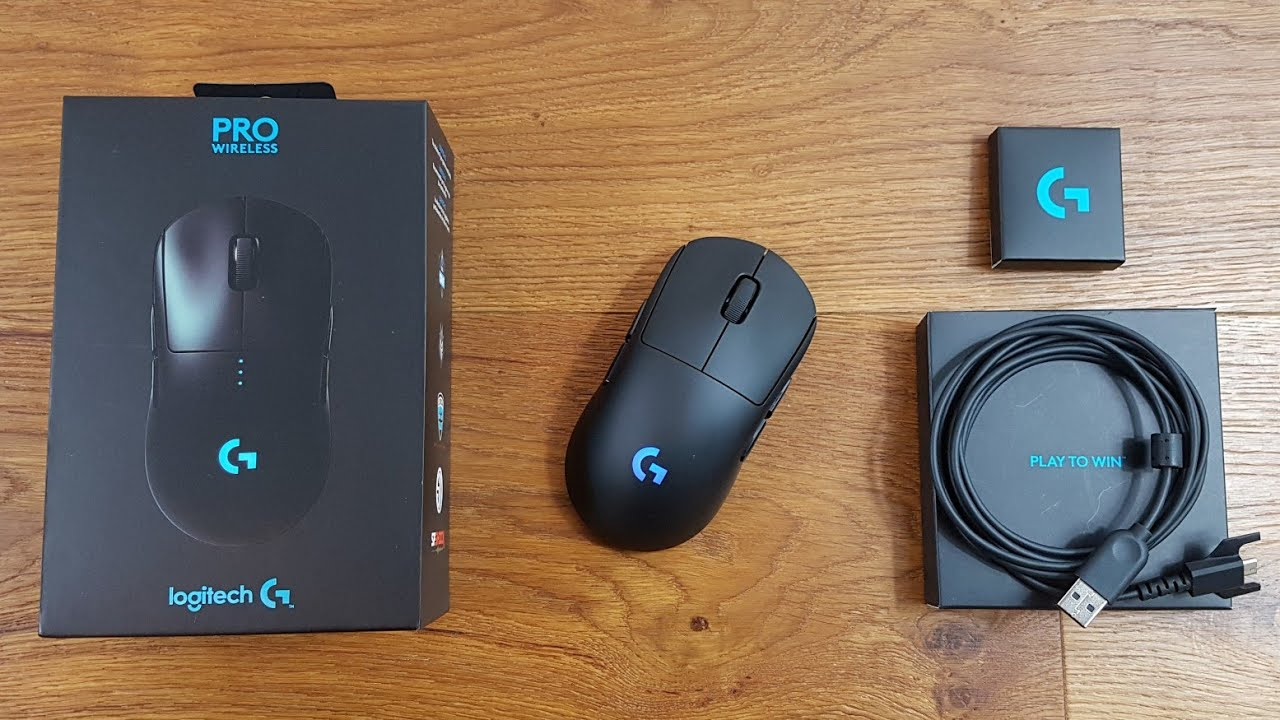
Locate the small, plug-and-forget Unifying Receiver in your mouse’s packaging. With your computer turned on, gently insert the receiver into an available USB port. Avoid using USB hubs to ensure optimal signal strength.
Installing Logitech Options Software (Optional but Recommended)
For added customization options, visit Logitech’s website to download and install the Logitech Options software. This software enhances your mouse’s capabilities, enabling button customization and other advanced features.
Pairing Your Mouse
With the Unifying Receiver plugged in and the Options software installed (if chosen), turn on your Logitech wireless mouse by pressing the power switch, usually located at the bottom. The mouse should automatically connect. If not, open the Logitech Options software, click on “Add Device,” and follow the on-screen instructions to complete the pairing process.
Section 2: Connecting via Bluetooth
Enabling Bluetooth on Your Device
Begin by ensuring Bluetooth is enabled on your computer, laptop, tablet, or smartphone. On Windows, go to “Settings” > “Devices” > “Bluetooth & other devices” and toggle “Bluetooth” to “On.” For macOS, click the Bluetooth icon in the menu bar and ensure it’s set to “Discoverable.”
Putting Your Mouse in Pairing Mode
Place your Logitech wireless mouse in pairing mode. This typically involves pressing and holding the Connect/Pairing button (often found near the battery compartment) until the LED light flashes rapidly. The exact steps may vary slightly depending on the model, so consult your mouse’s manual if needed.
Pairing Your Mouse with the Device
Back on your device, within the Bluetooth settings, look for your Logitech mouse listed among the available devices. Click on its name to initiate pairing. Some devices might require you to enter a passcode, which is usually provided in the mouse’s documentation or is simply a generic code like “0000.”
Confirming the Connection
Once paired, your device should confirm the connection. Test your mouse by moving the cursor around and clicking to ensure it’s functioning properly. If you encounter any issues, try restarting the Bluetooth on your device or resetting the mouse and repeating the pairing process.
Enhancing Your Experience
Customizing Buttons and Settings
Whether you connected via the Unifying Receiver or Bluetooth, take advantage of Logitech’s customization software. Within Logitech Options, personalize button functions, adjust pointer speed, and explore advanced features tailored to your workflow or gaming preferences.
Battery Management
To prolong battery life, consider adjusting power-saving settings within the Logitech software. Many Logitech mice come with battery indicators; monitor these and replace or recharge batteries as needed to avoid unexpected disconnections.
Troubleshooting Tips
Connecting a Logitech wireless mouse can sometimes encounter minor issues that are easily resolved with a few troubleshooting steps. Here are some common problems and their solutions to help you get your Logitech wireless mouse working smoothly:
1. Mouse Not Detected
Solution:
- Check Battery: Ensure the batteries in your mouse are fresh and correctly installed.
- Receiver Placement: Make sure the USB receiver is plugged directly into a USB port on your computer, not through a hub, and that it’s not blocked by other devices.
- Restart Devices: Restart both your computer and the mouse. Sometimes a simple restart can resolve connectivity issues.
- Unifying Software: If using a Unifying receiver, install Logitech Options or SetPoint software to help detect and pair devices.
2. Connection Intermittently Drops
Solution:
- Interference: Move the receiver away from other USB devices or sources of wireless interference like routers, cordless phones, or microwaves.
- Update Firmware/Software: Check for updates for your Logitech mouse drivers or the unifying software. Outdated software can cause connection instability.
- Change USB Port: Try plugging the USB receiver into a different USB port on your computer, preferably one at the back for desktops.
3. Slow Response Time
Solution:
- Battery Level: Weak batteries can slow down mouse performance. Replace them if necessary.
- Distance & Obstacles: Keep the mouse within a reasonable distance (usually up to 10 meters or 33 feet) from the receiver and avoid physical barriers between them.
- DPI Adjustment: If your mouse has adjustable DPI (dots per inch), try adjusting it to a higher setting for faster cursor movement.
4. Mouse Button Not Working Properly
Solution:
- Clean Mouse: Dirt or debris under the buttons can interfere with their function. Carefully clean your mouse with a soft, dry cloth or compressed air.
- Button Remapping: It’s possible a software setting has remapped your button functions. Check your mouse settings in Logitech software and restore defaults if needed.
5. Mouse Cursor Jumps or Erratic Movement
Solution:
- Surface Check: Use your mouse on a clean, flat surface. Some surfaces (like glass or reflective desks) can interfere with the mouse’s tracking.
- Sensor Cleaning: If the mouse has an optical or laser sensor, clean the lens with a cotton swab lightly dampened with rubbing alcohol.
- Adjust Tracking Speed: Within your mouse settings, adjust the pointer speed and acceleration to find a comfortable setting.
6. Can’t Find USB Receiver
Solution:
- Lost Receiver: If the tiny USB receiver is lost, check the storage compartment in the mouse (if equipped) or the packaging. Some Logitech mice come with this feature.
- Order Replacement: As a last resort, you may need to order a replacement receiver from Logitech or consider purchasing a new set that is compatible.
Remember, patience and methodically going through these steps often resolve most connectivity issues with Logitech wireless mice. If problems persist after trying these solutions, reaching out to Logitech customer support for further assistance might be necessary.
Conclusion: Effortless Connectivity for Enhanced Productivity
Connecting your Logitech wireless mouse is a straightforward process, whether you opt for the convenience of the Unifying Receiver or the universality of Bluetooth. By following this guide, you’re not just setting up a peripheral; you’re unlocking a world of productivity enhancements and personalized control over your digital experience. Remember, Logitech’s software and ongoing support are invaluable tools in maximizing your mouse’s potential, ensuring that every click brings you closer to seamless, wireless perfection.
